Unique Ombre Herringbone Girl Nursery you’ll Fall in Love With
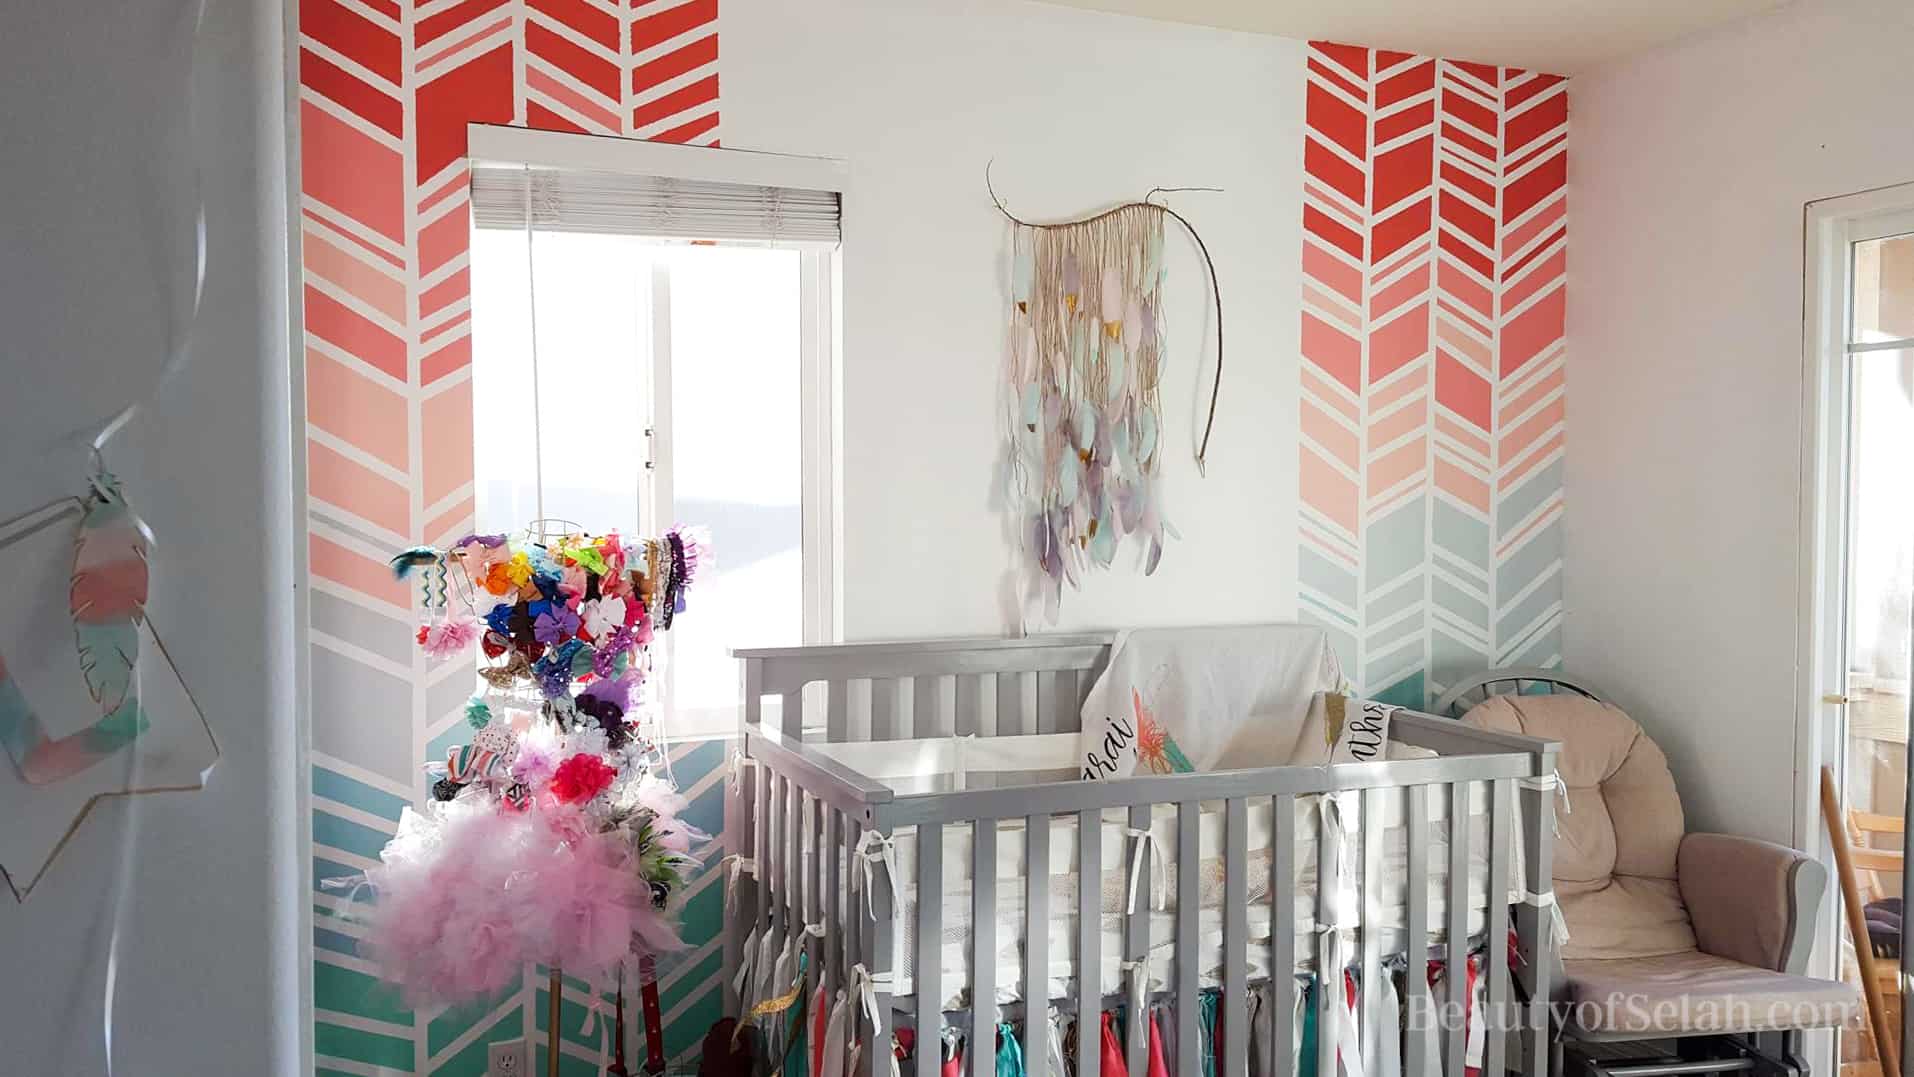
I absolutely loved creating this. I love DIY and making and creating lots of things! When I had a vision of this I tried my best to look around for inspiration on pinterest but couldn’t find anything. So I started looking up hashtags on instagram and came across @ladamslane’s post and it matched exactly what I wanted to do! It was seriously the only ombre herringbone reference I could find and it was absolutely perfect!
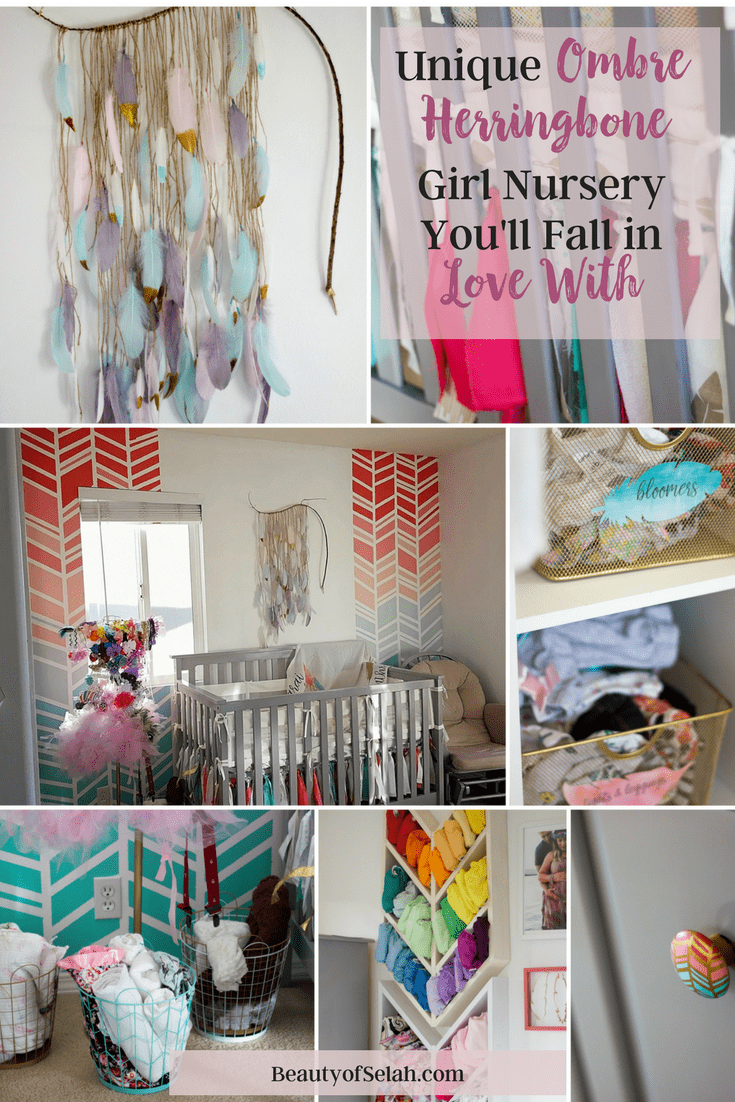
Painting the ombre herringbone nursery wall
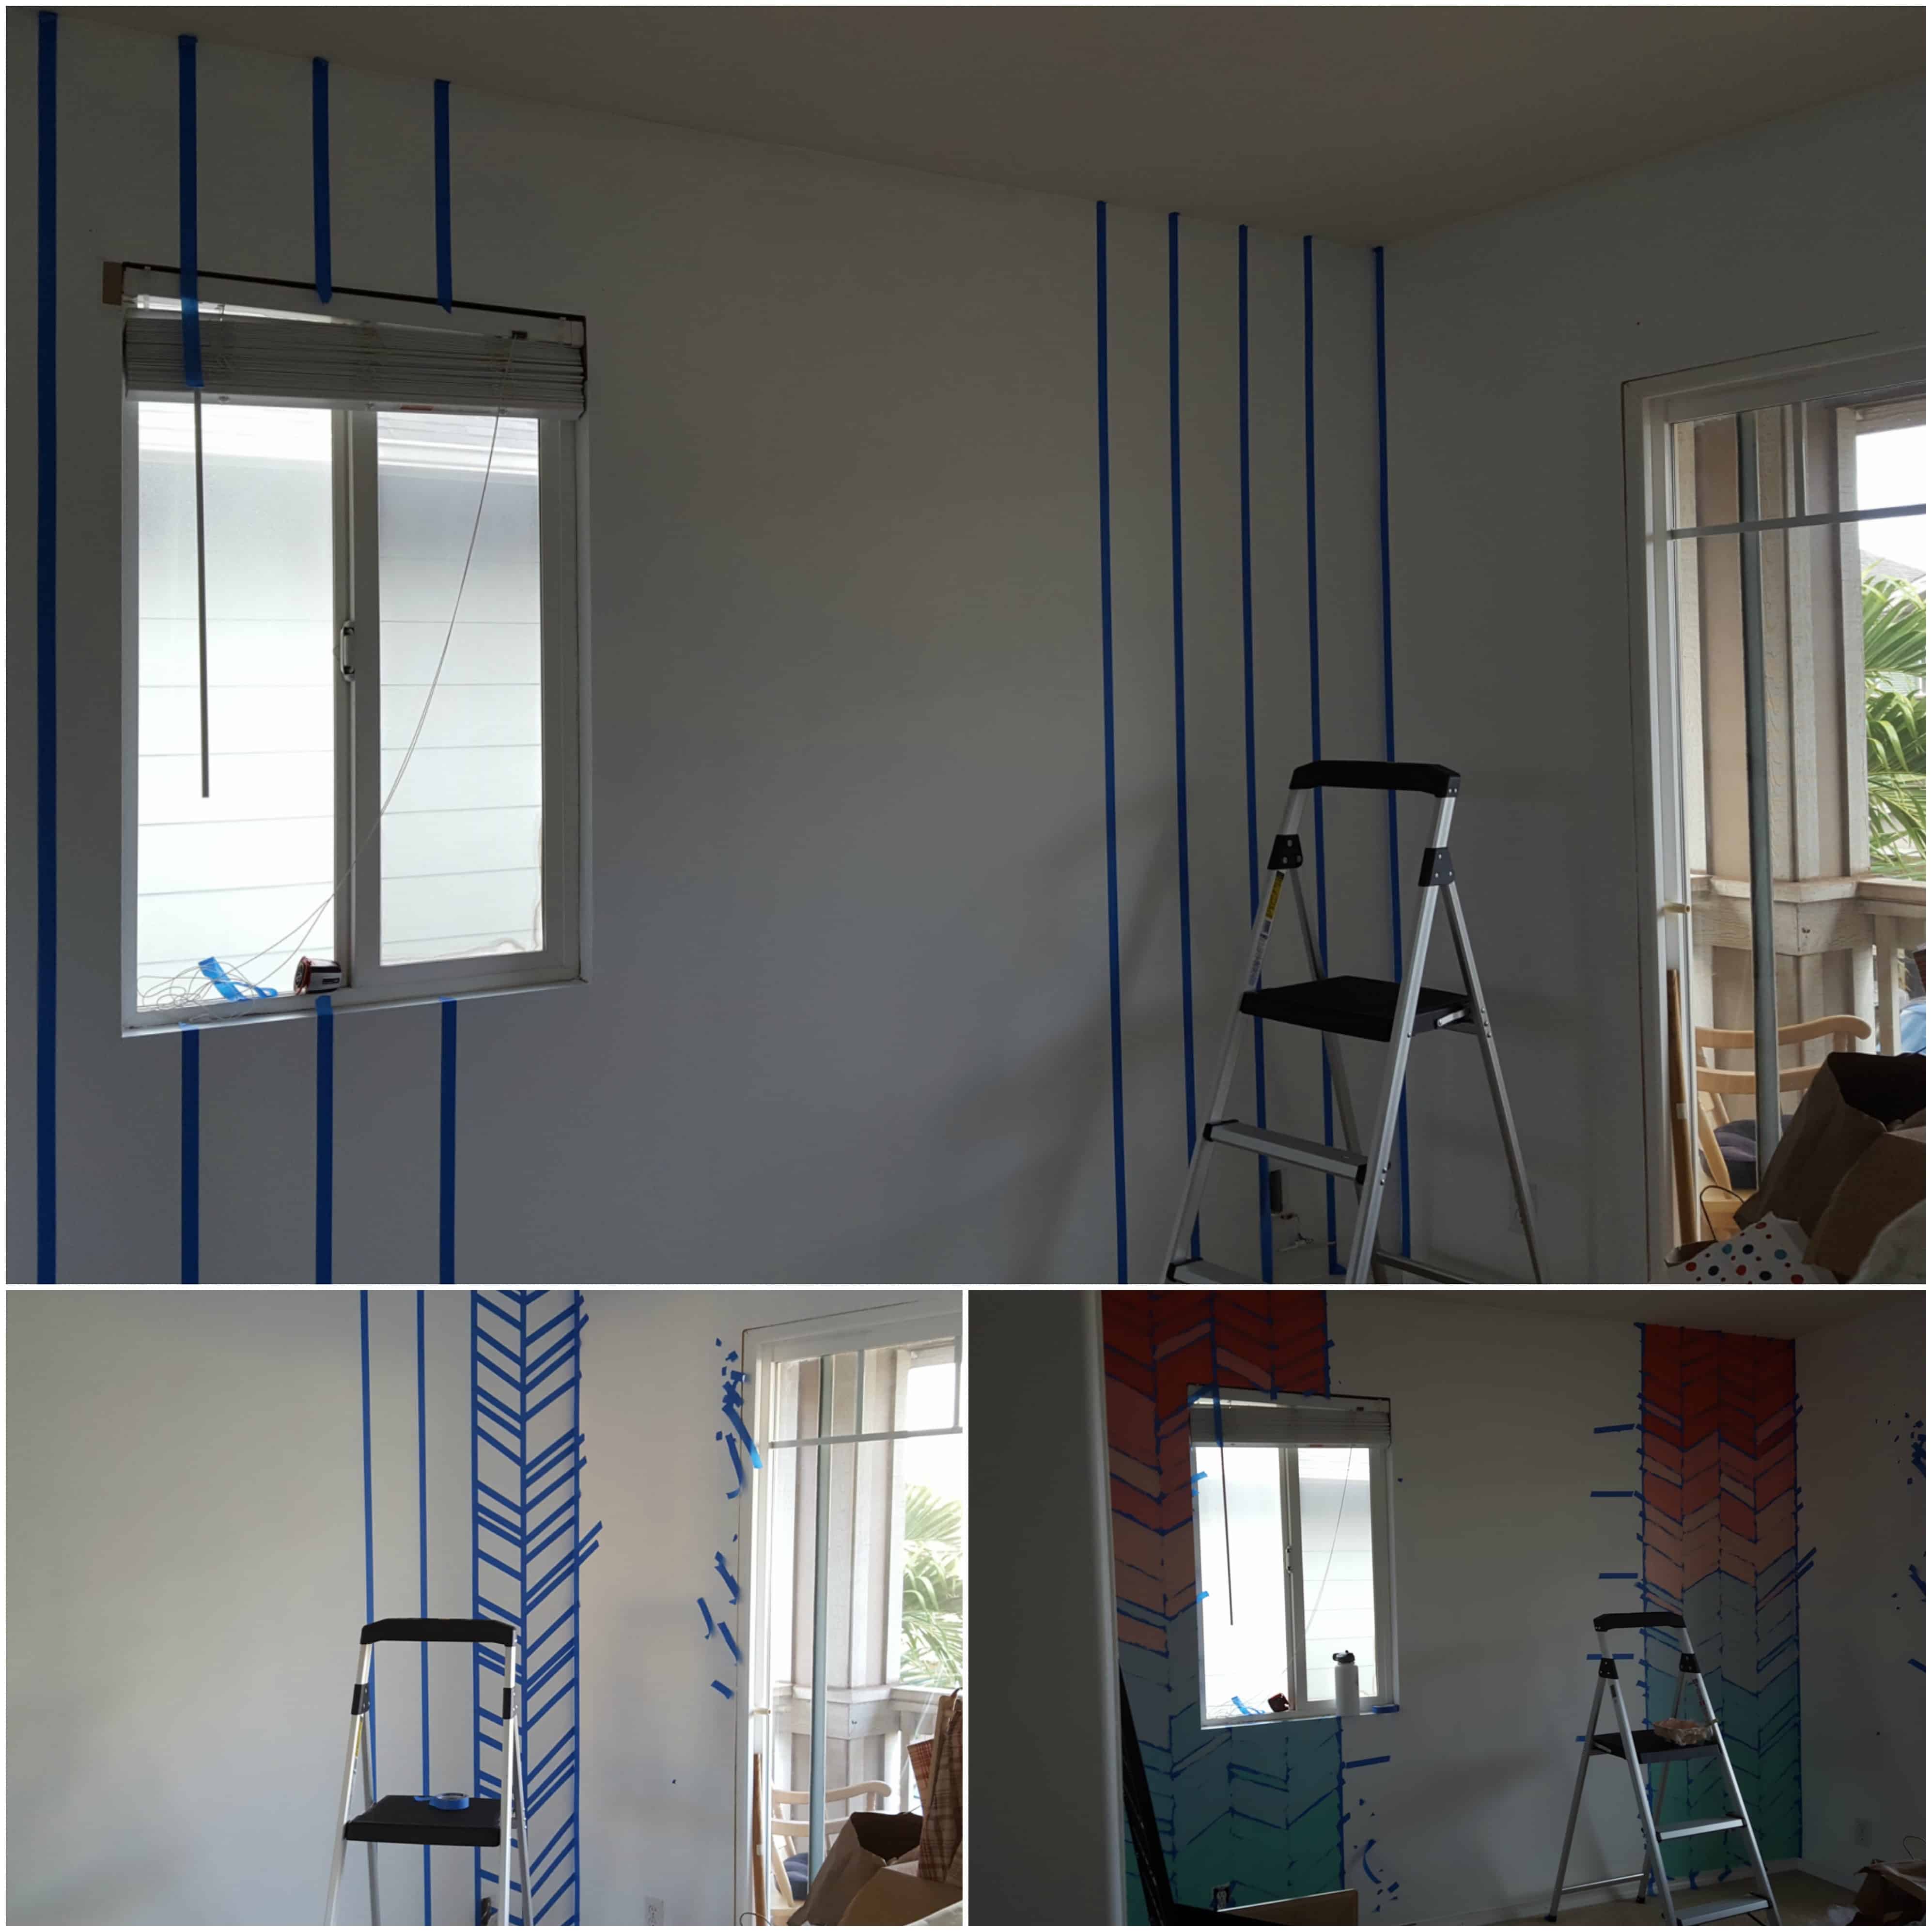
In order to make the wall I measured the entire wall and figured out how big I wanted each section to be. Then I divided up the spaces on each side evenly. I put up four straight lines to divide the two spaces. I used a laser level to make sure the tape was straight. Then I took tape and just randomly placed it at angles, some thick and some thin to create the herringbone effect. I took some extra tape and marked off where I wanted each color to start and stop.
I got the paint from home depot. I got little sample paints and had them colored to fit exactly what I wanted and they were really cheap because they were so small. I used seven colors to make the ombre herringbone wall. A dark medium and light coral, a grey to break it up a little and a light medium and dark mint.
Dresser knobs- also ombre herringbone
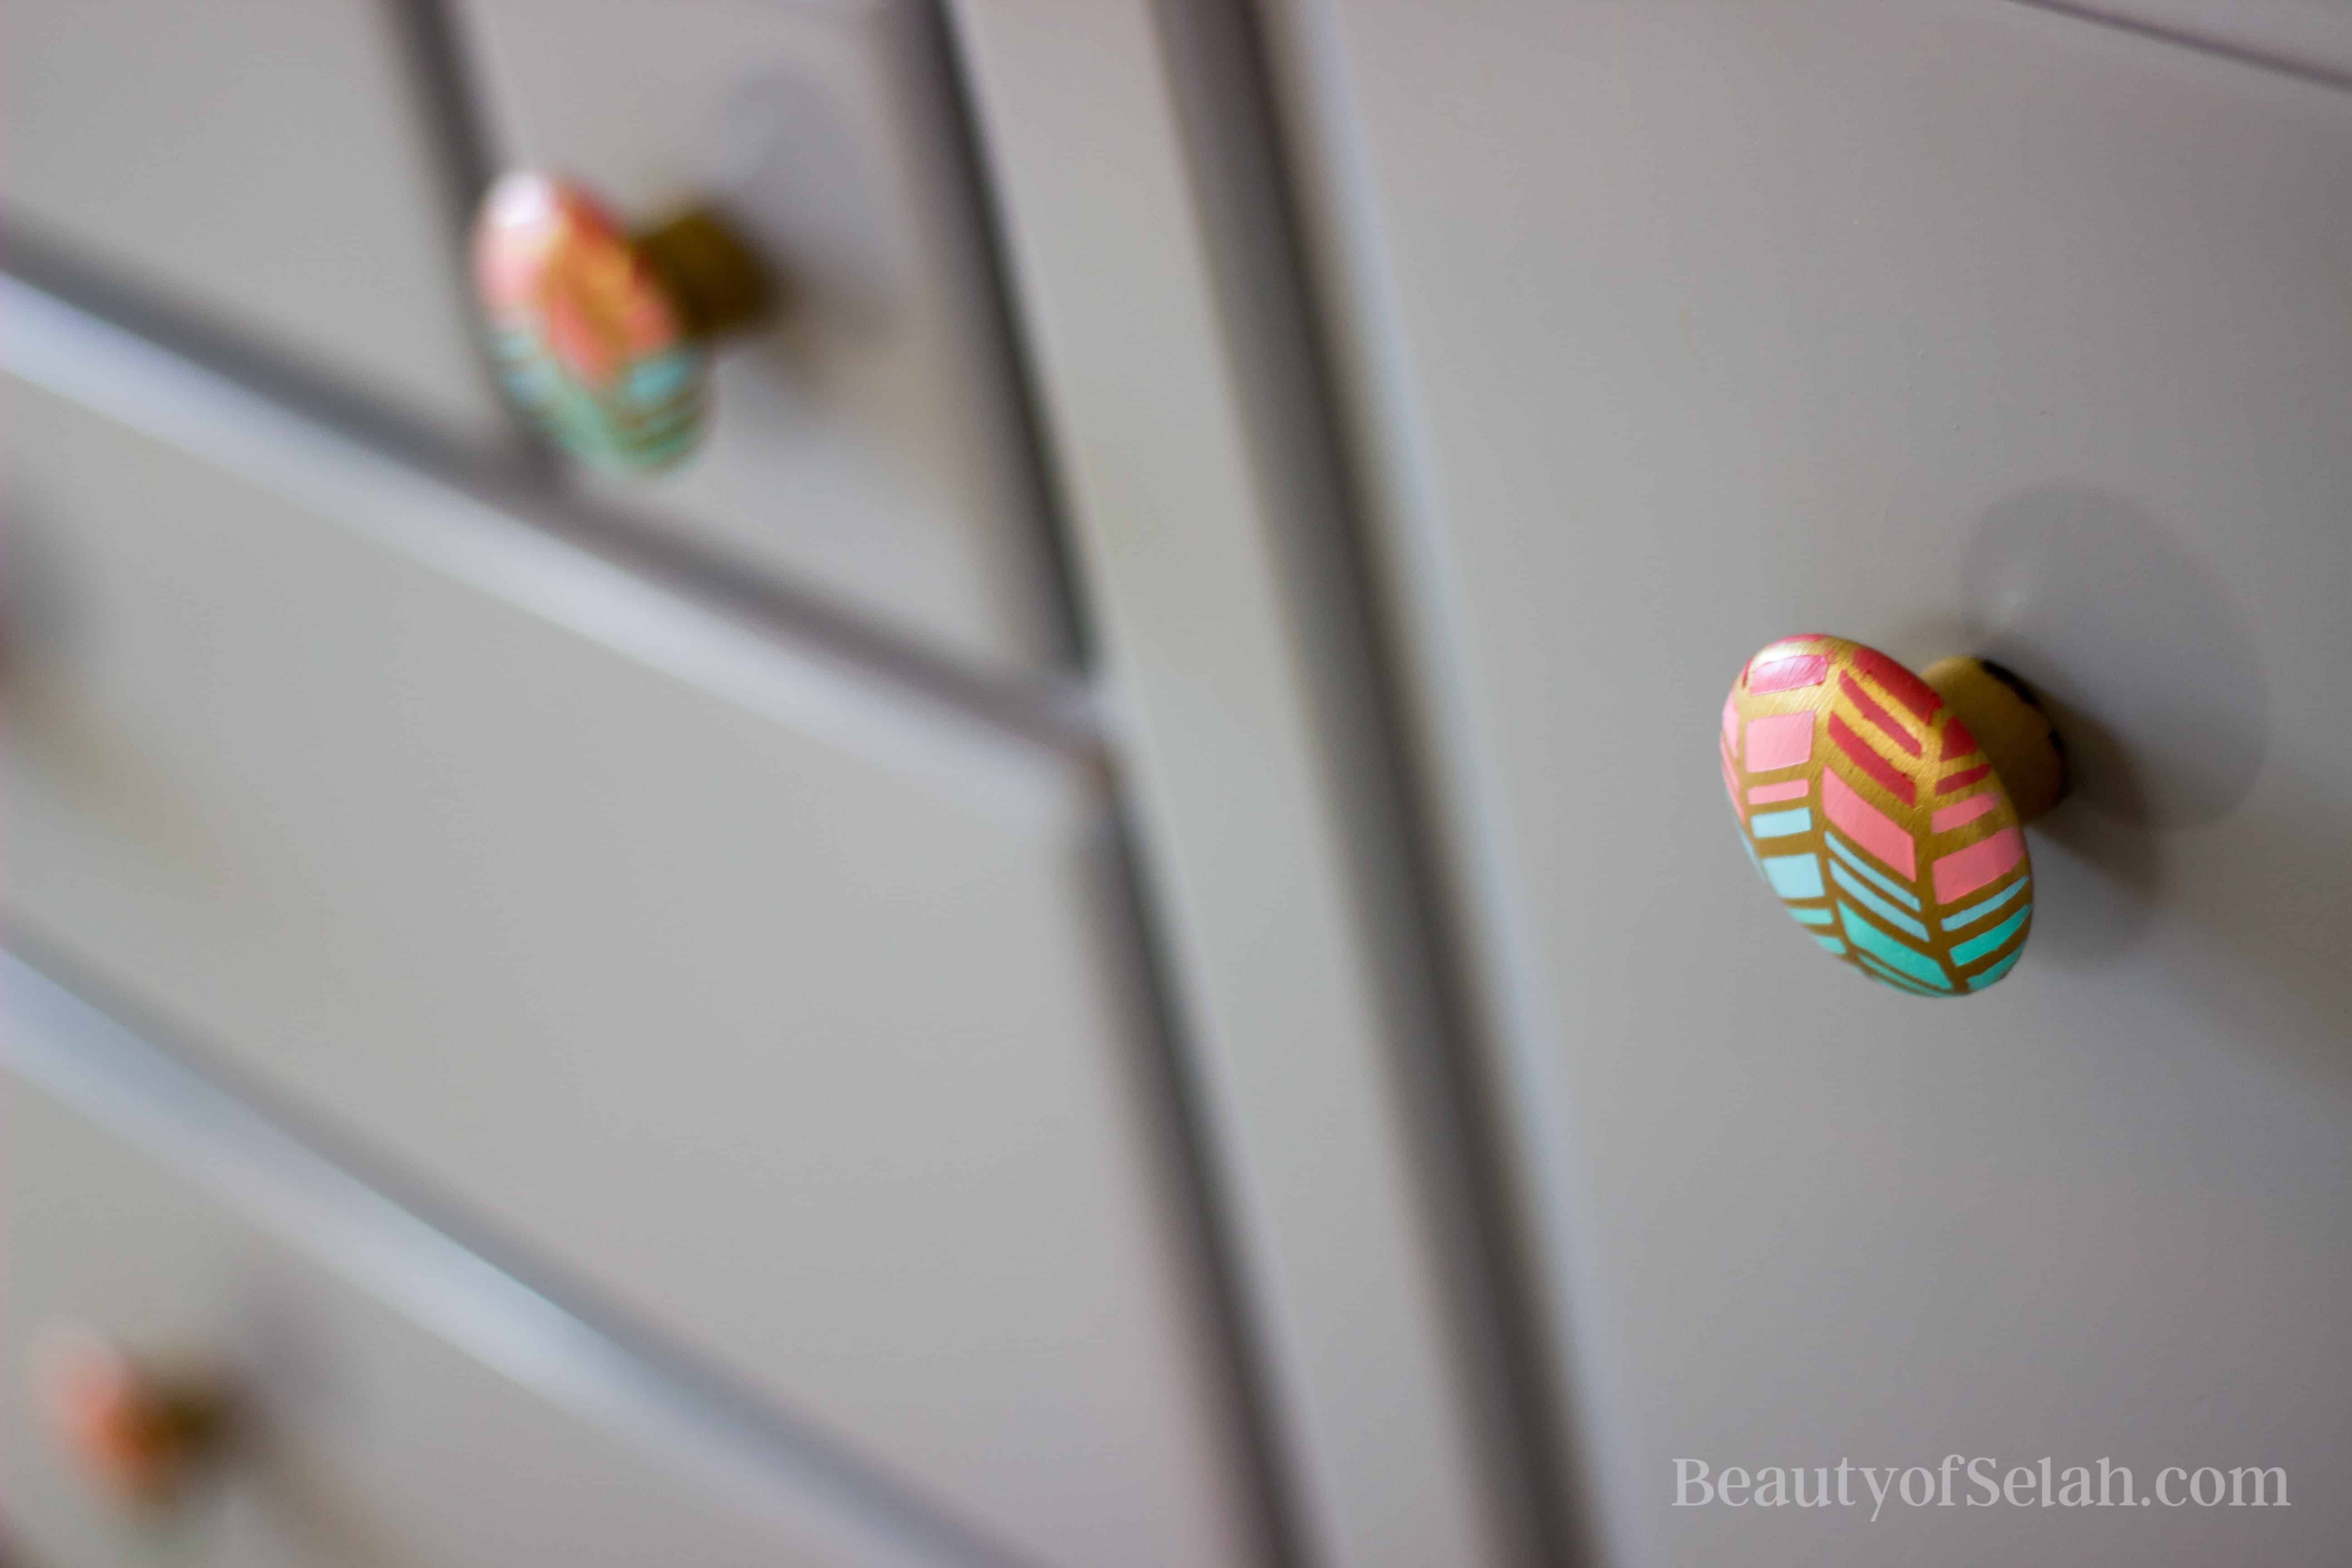
I made the dresser knobs match the wall, thanks to my silhouette.
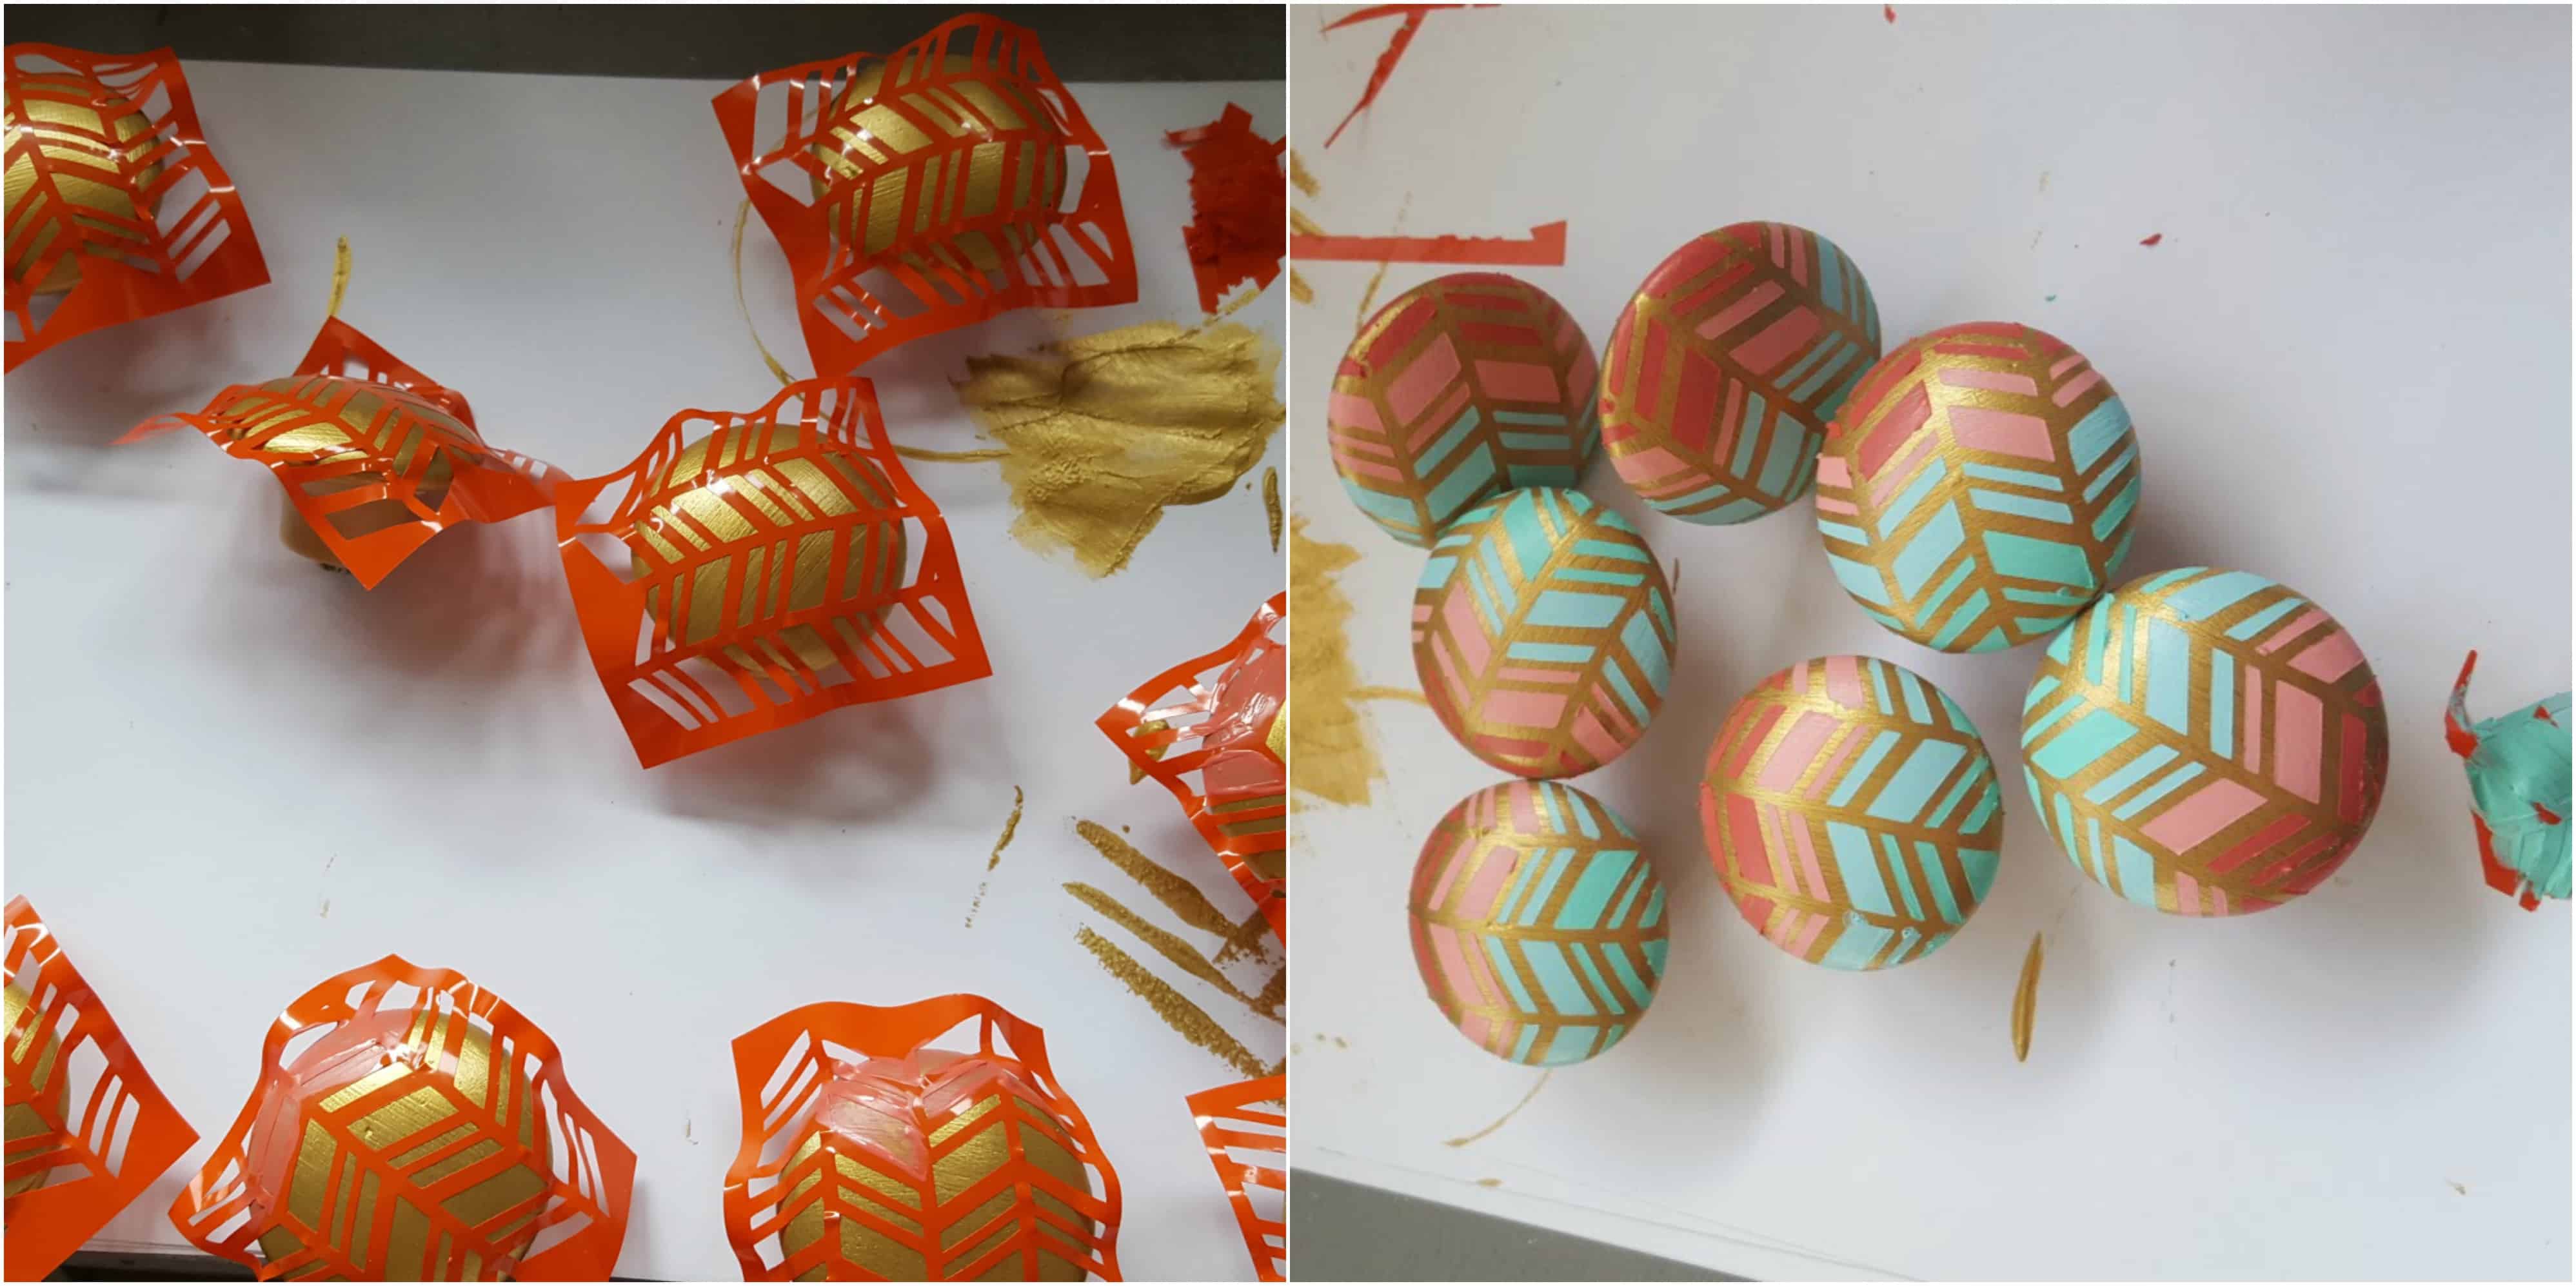
I created a herringbone stencil with my silhouette and put it on the knobs after painting them gold and used the same paint I put on the wall.
Custom wall hanging
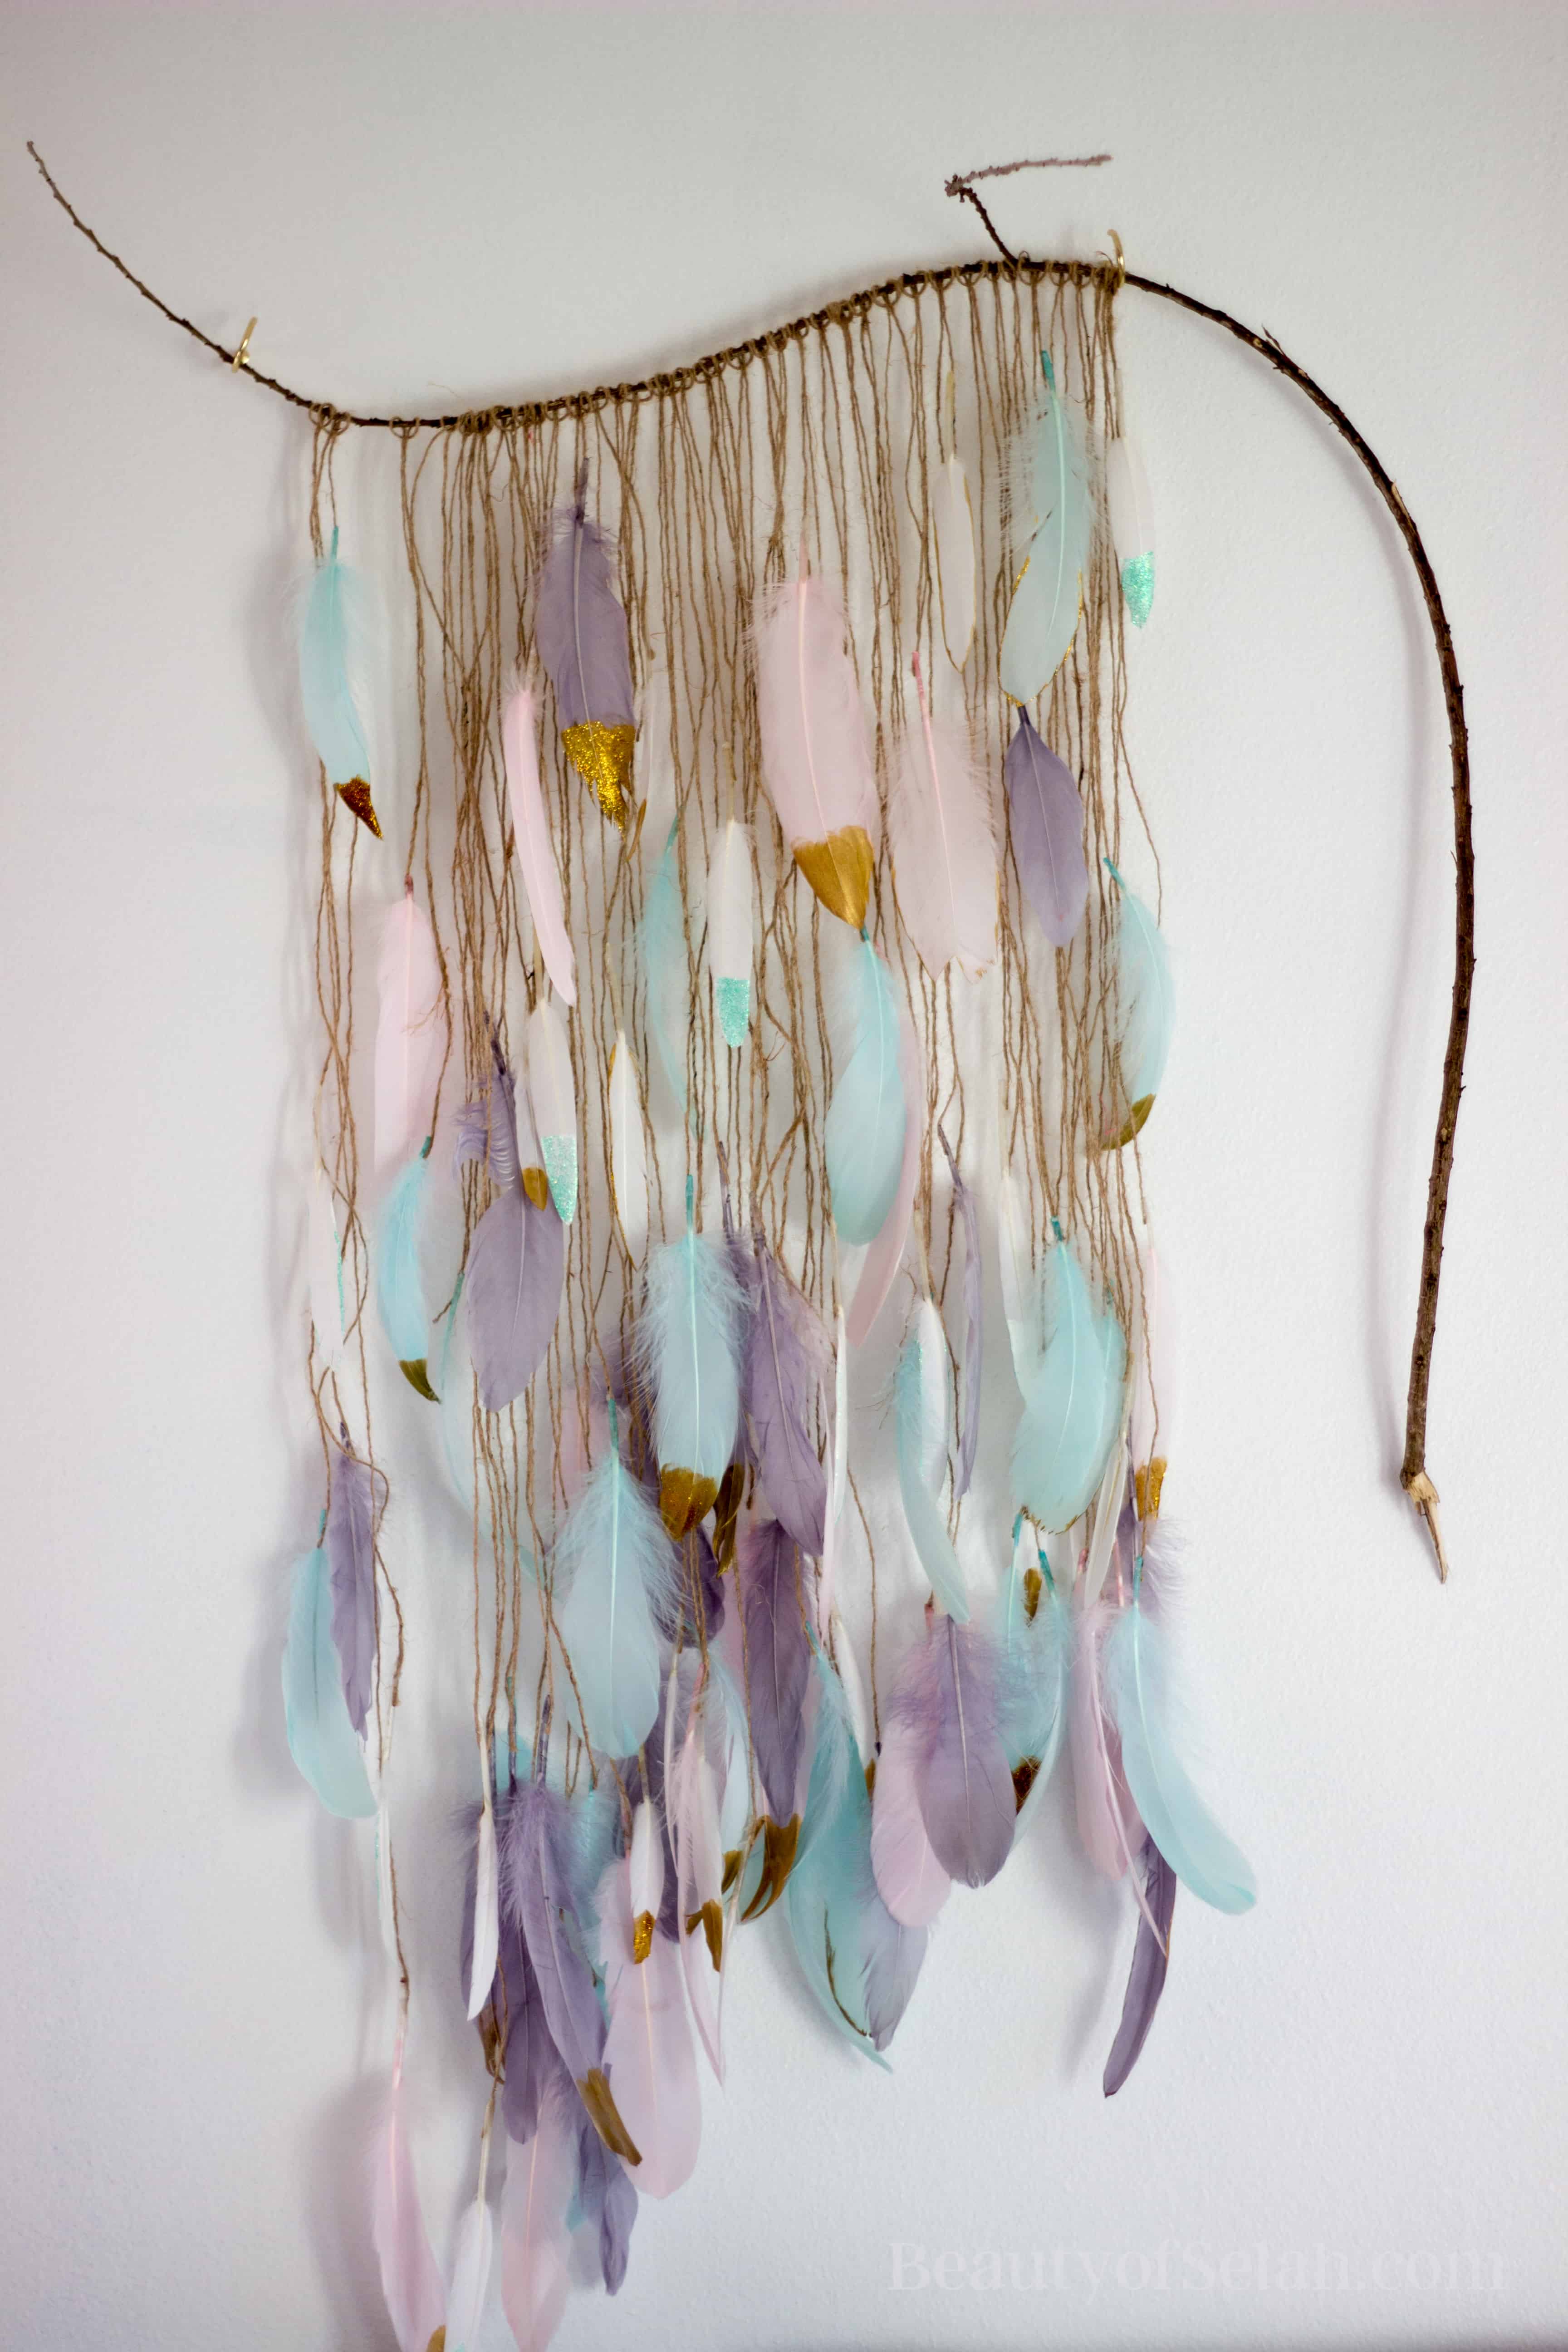
So I had this vision in my mind of what I wanted to create for above her crib. And I wanted it to be made with a tree branch. But I had to find the perfect branch first. Since we had moved off base into a new house, I remembered that there was a tree by our old house that had these types of branches. So I ventured out and go this one!
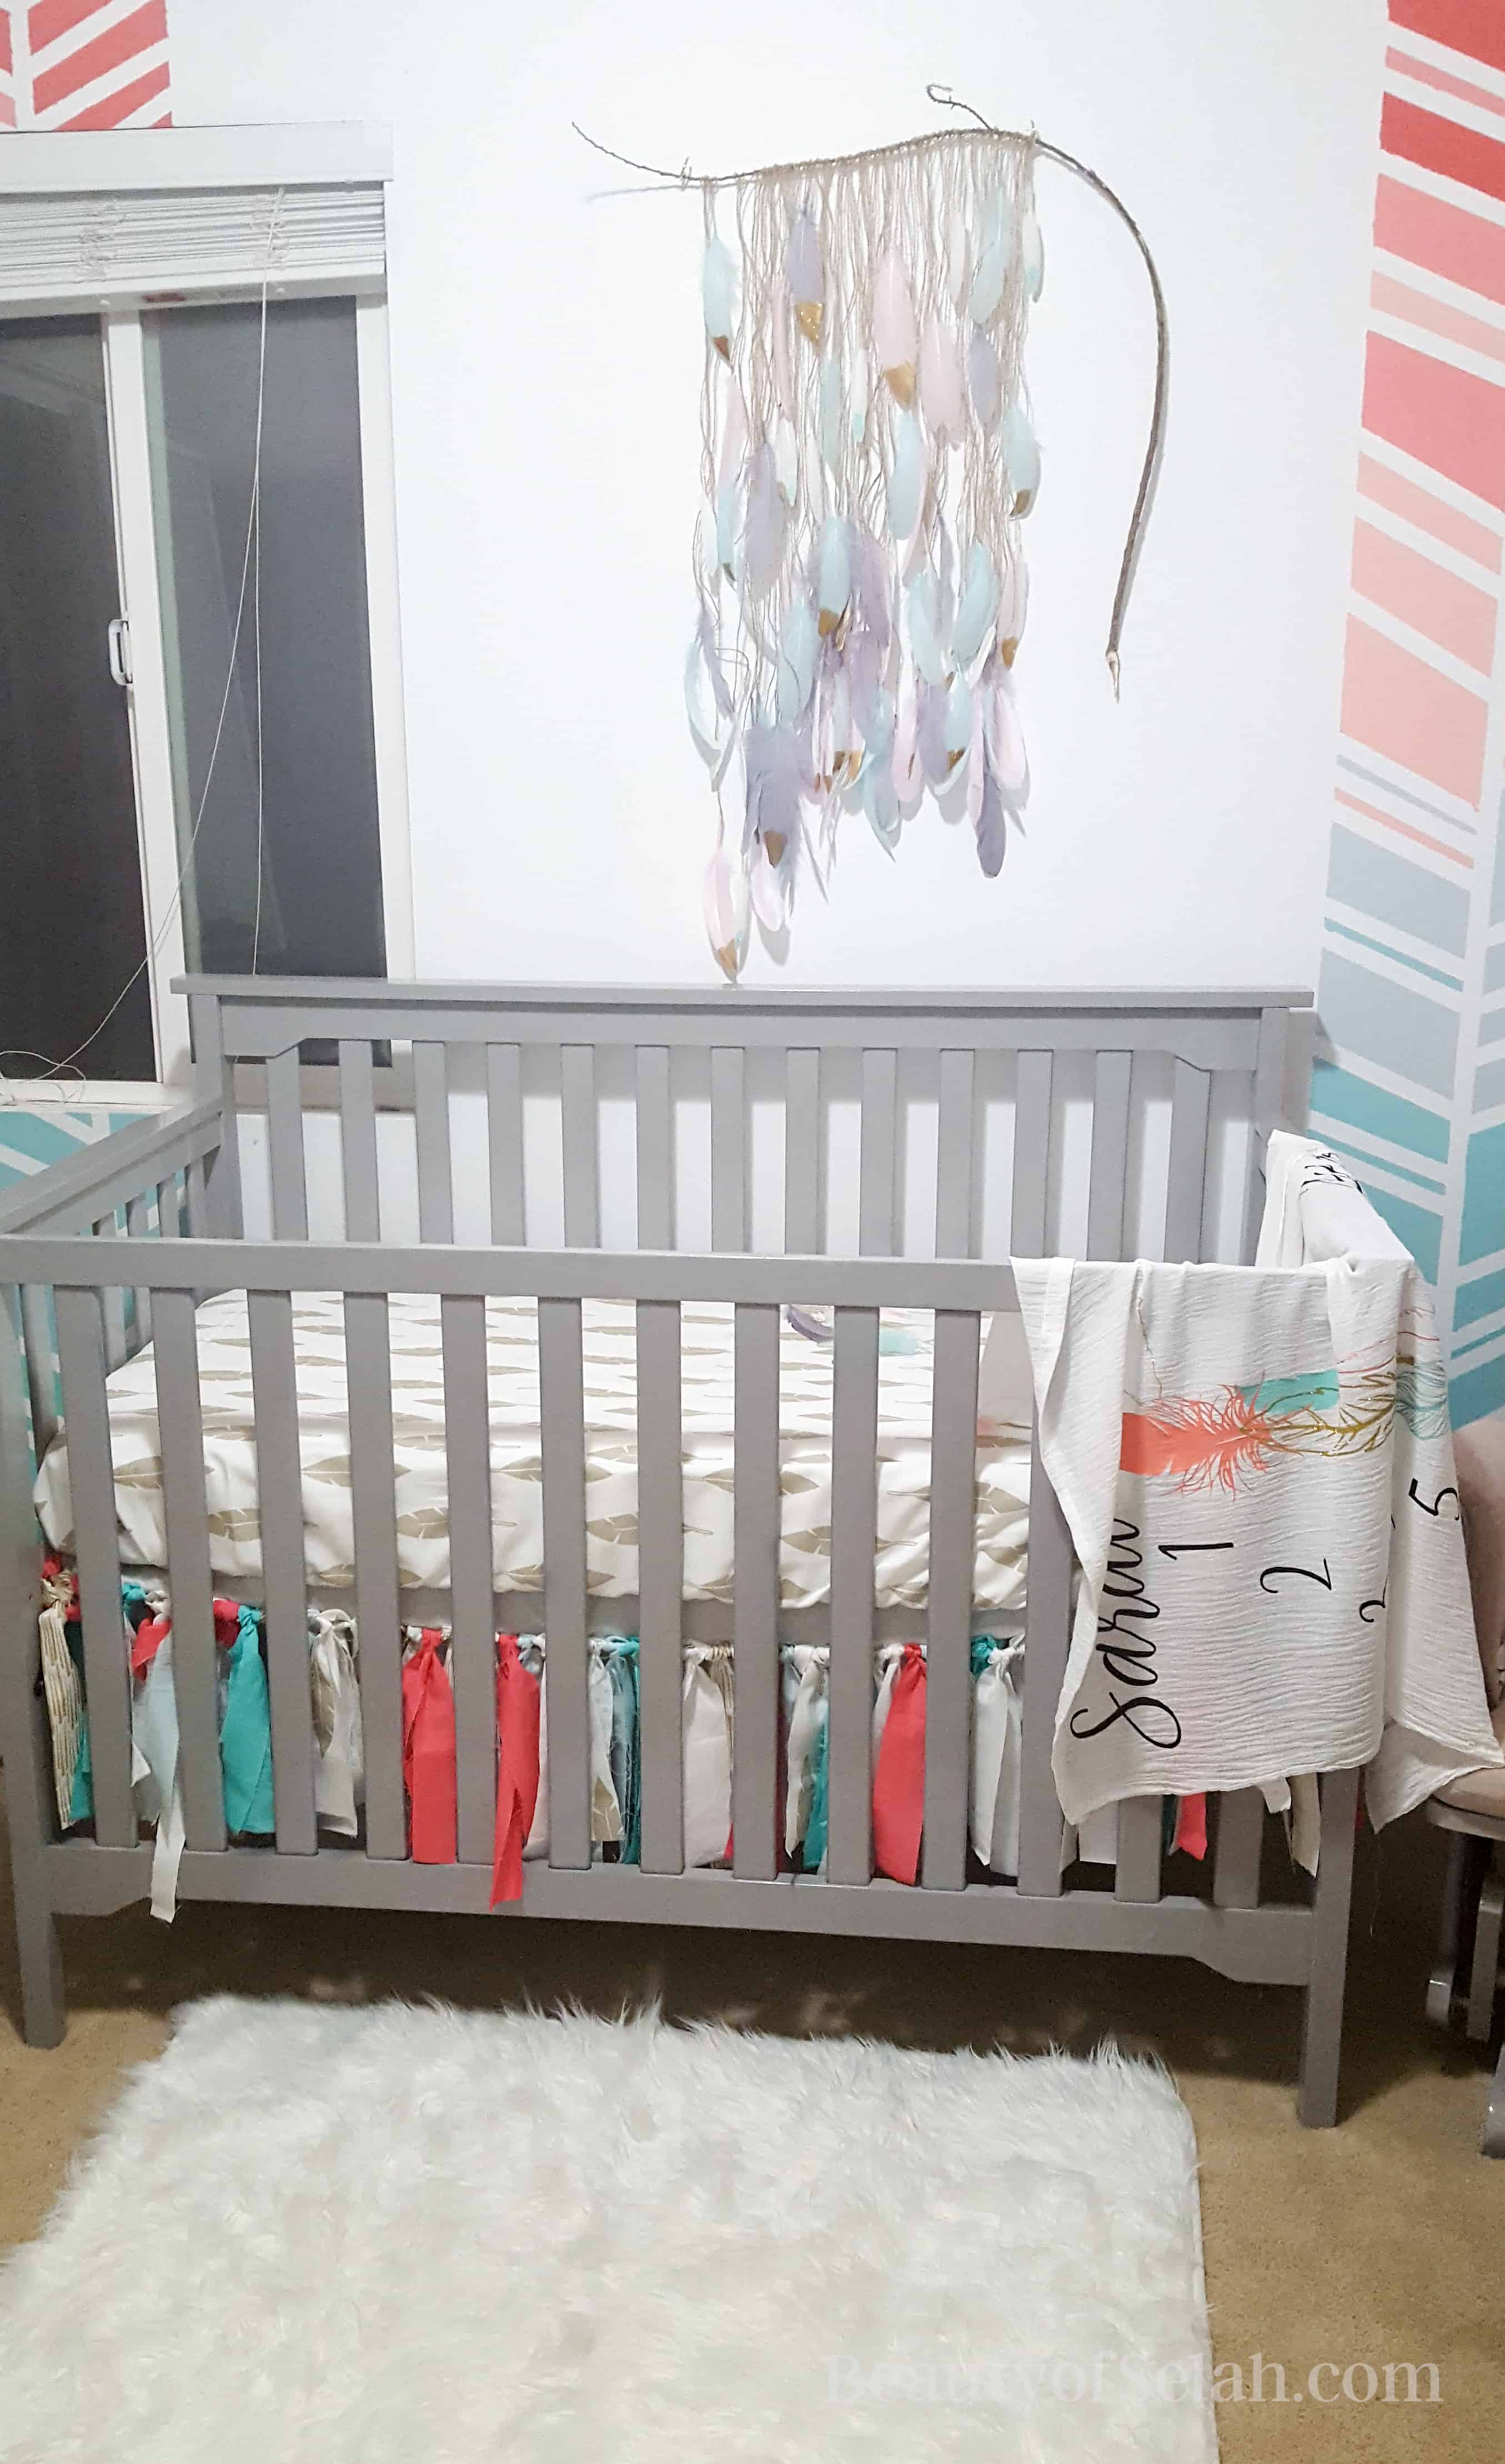
I got tweed to use for the feathers that I bought in mint, grey and coral and tied them onto the branches at different lengths. Then I took different feathers and painted them all a little differently. I painted some of the tips in just gold. Some of them I painted around the edges. Some I added some glitter to the edges or the tips. And some I left plain. I used gold paint and glitter and blue paint and glitter.
Once the feathers were painted I used a hot glue gun to glue them onto the tweed. And this was the end result:
Crib decor
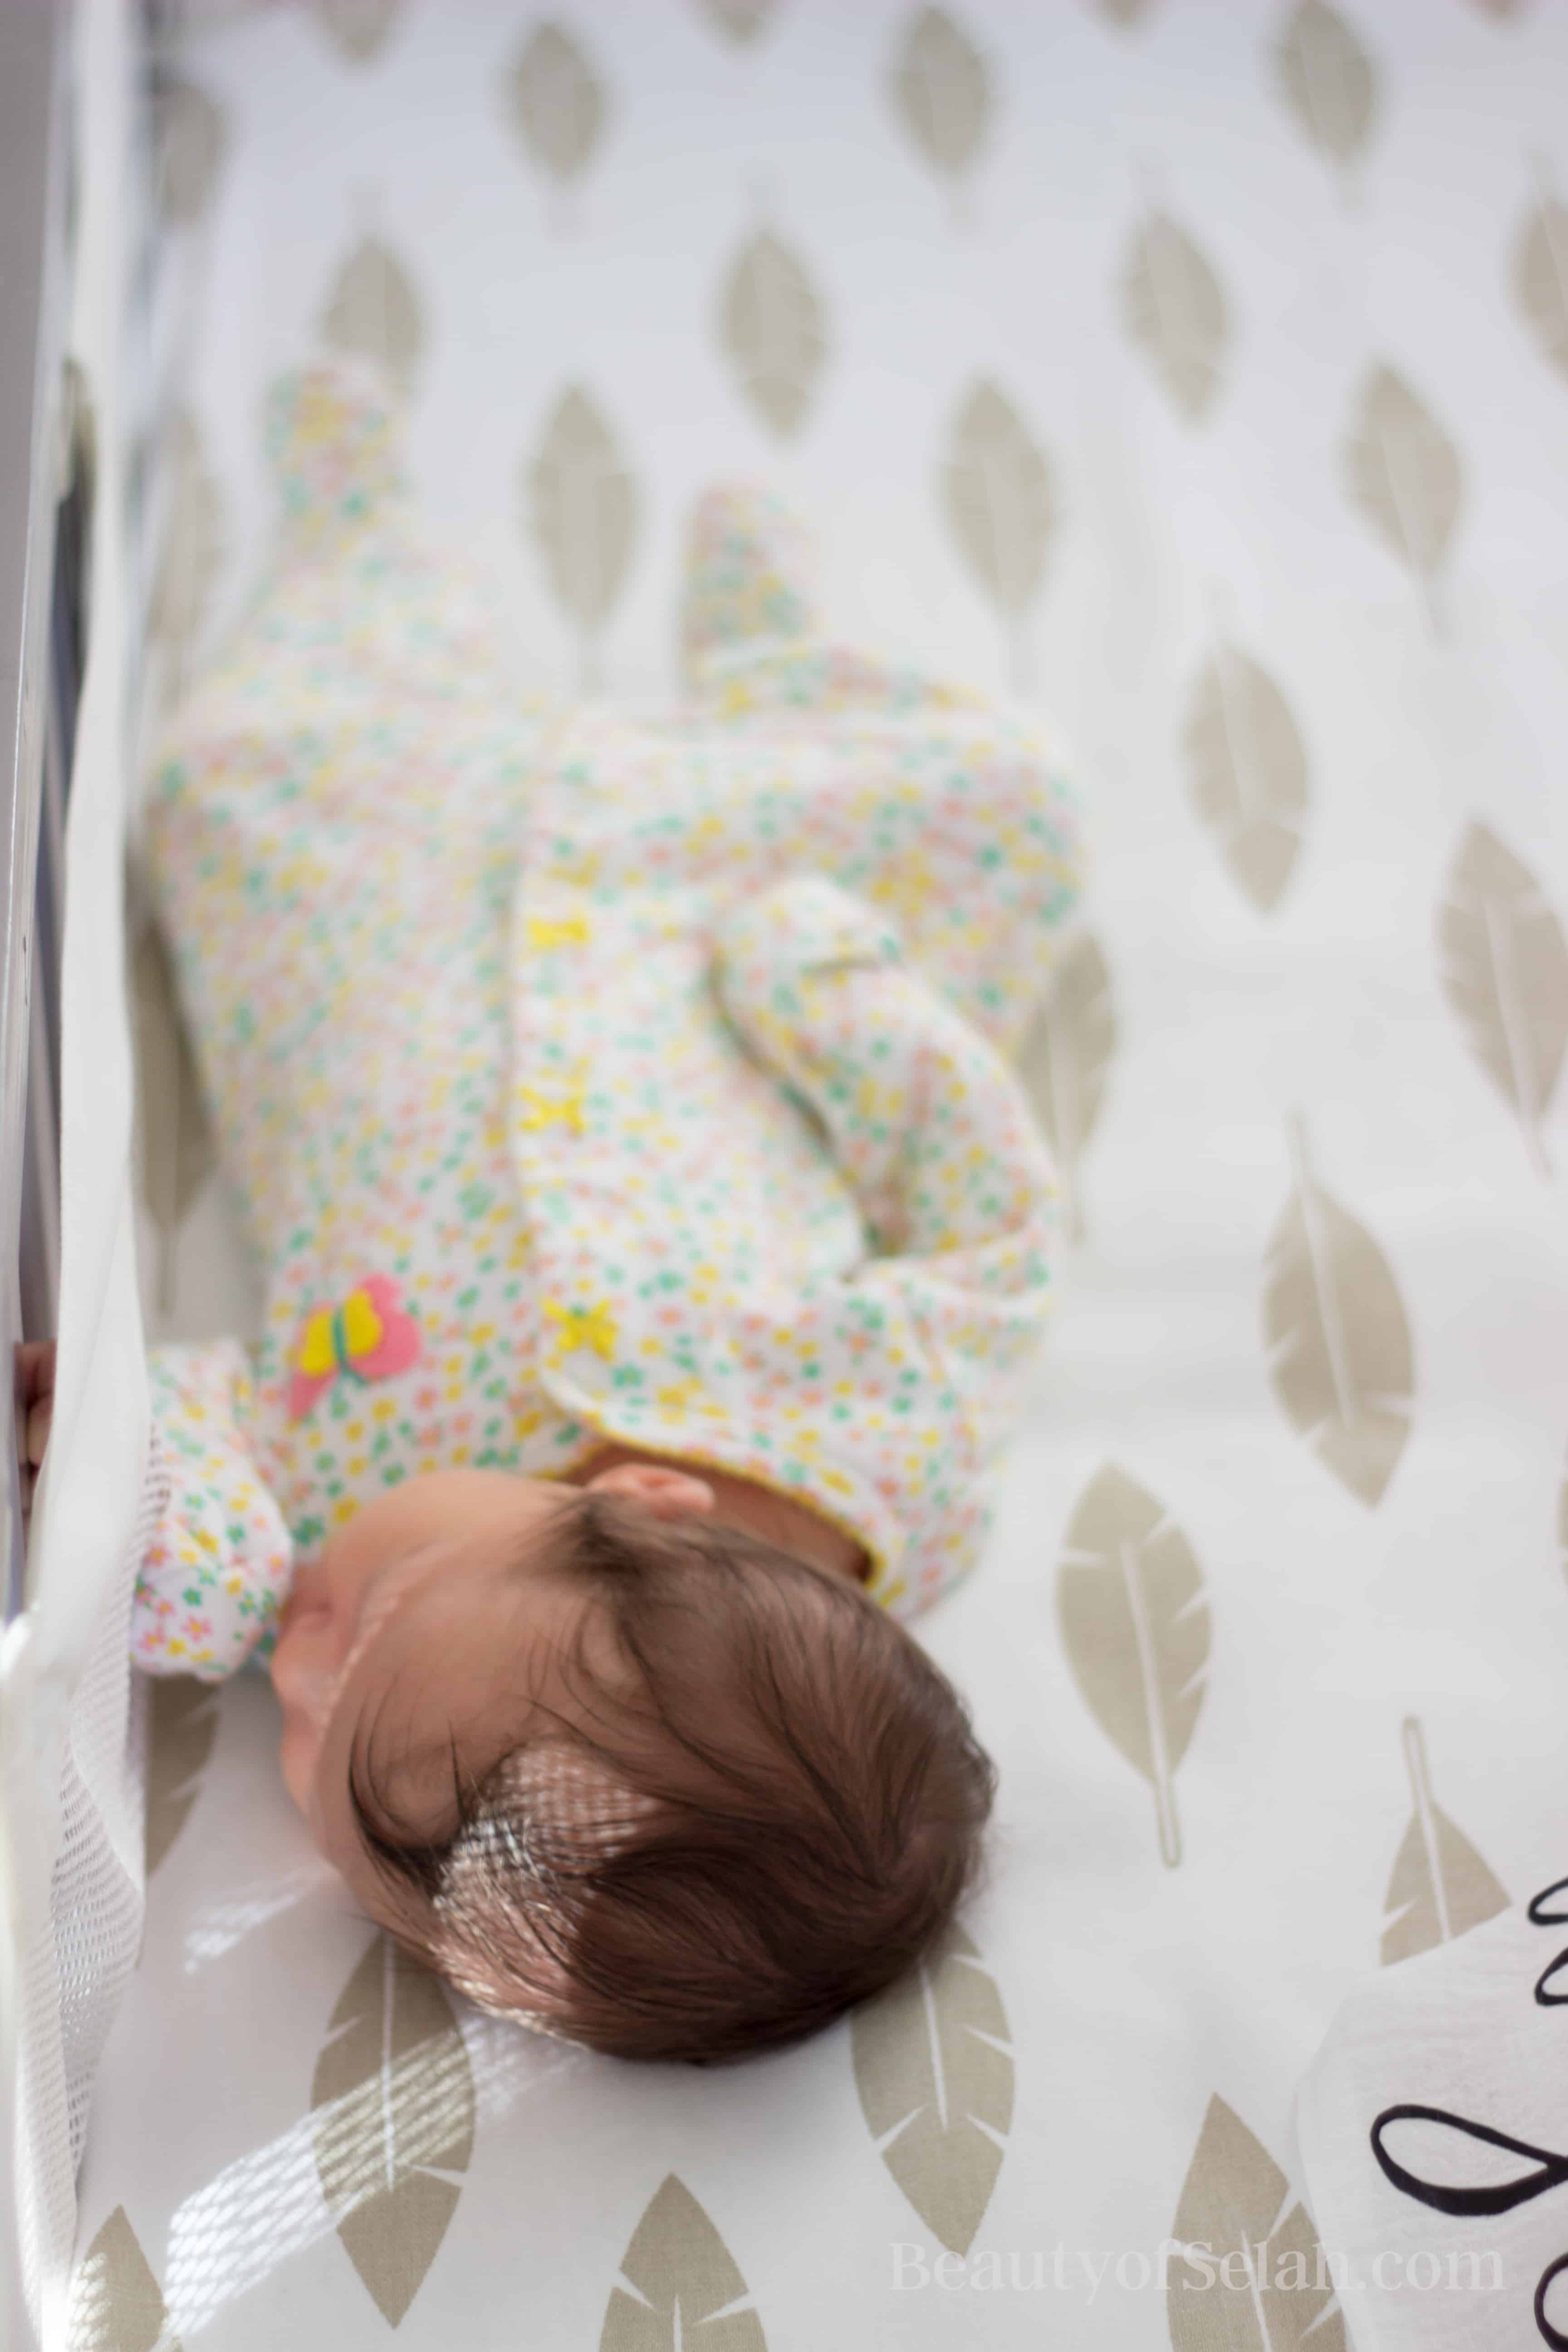
The first thing I made for the crib was the crib sheet. I ordered the fabric from etsy and made the crib sheet and changing pad cover with it!
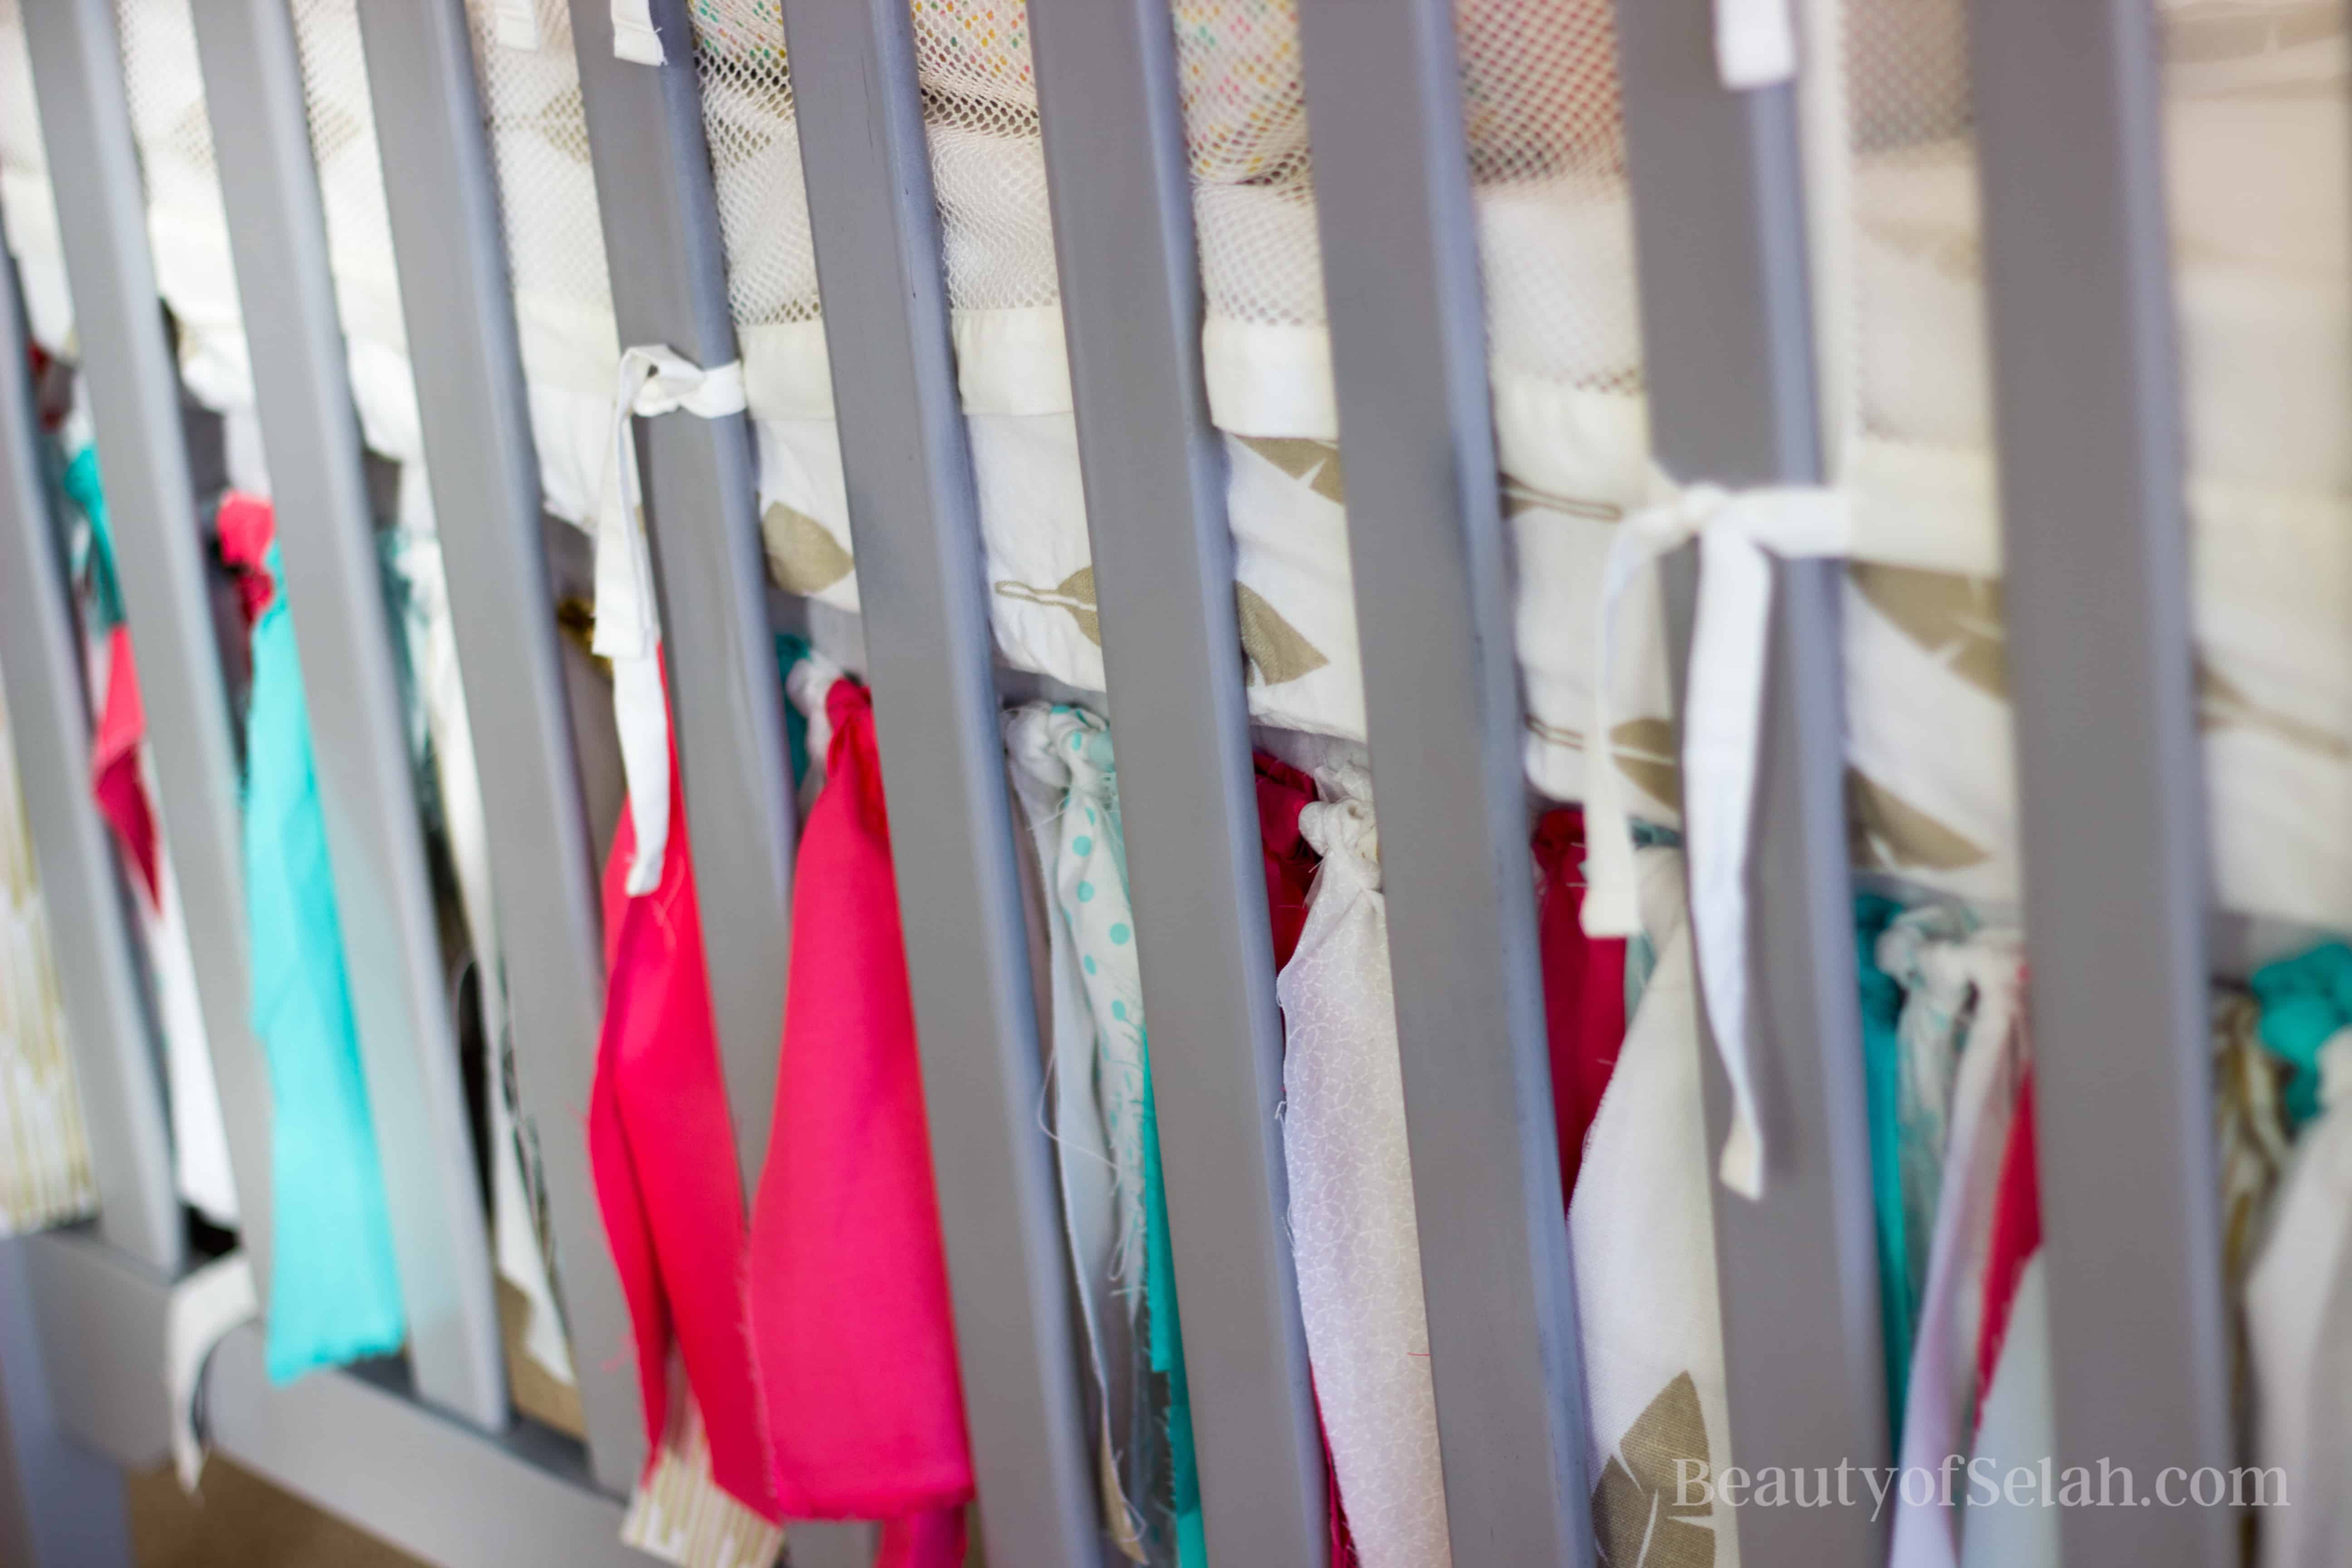
Then I made a fabric scrap crib duster for her crib. A crib duster made out of fabric scraps was something I had never seen before so I thought it would be unique! I used tweed and fabric scraps from her crib sheet and changing pad. I also got some fat quarters from walmart that matched pretty close to the paint colors on her wall and just tied them all onto the tweed. We still had an old crib duster from Cameron’s nursery so I used that and cut the edges off. Then I just hot glued it onto the rectangle that was left.
Out of all the projects in this nursery, I enjoyed this one the most. I felt like it was an added touch of something special just for my little girl.
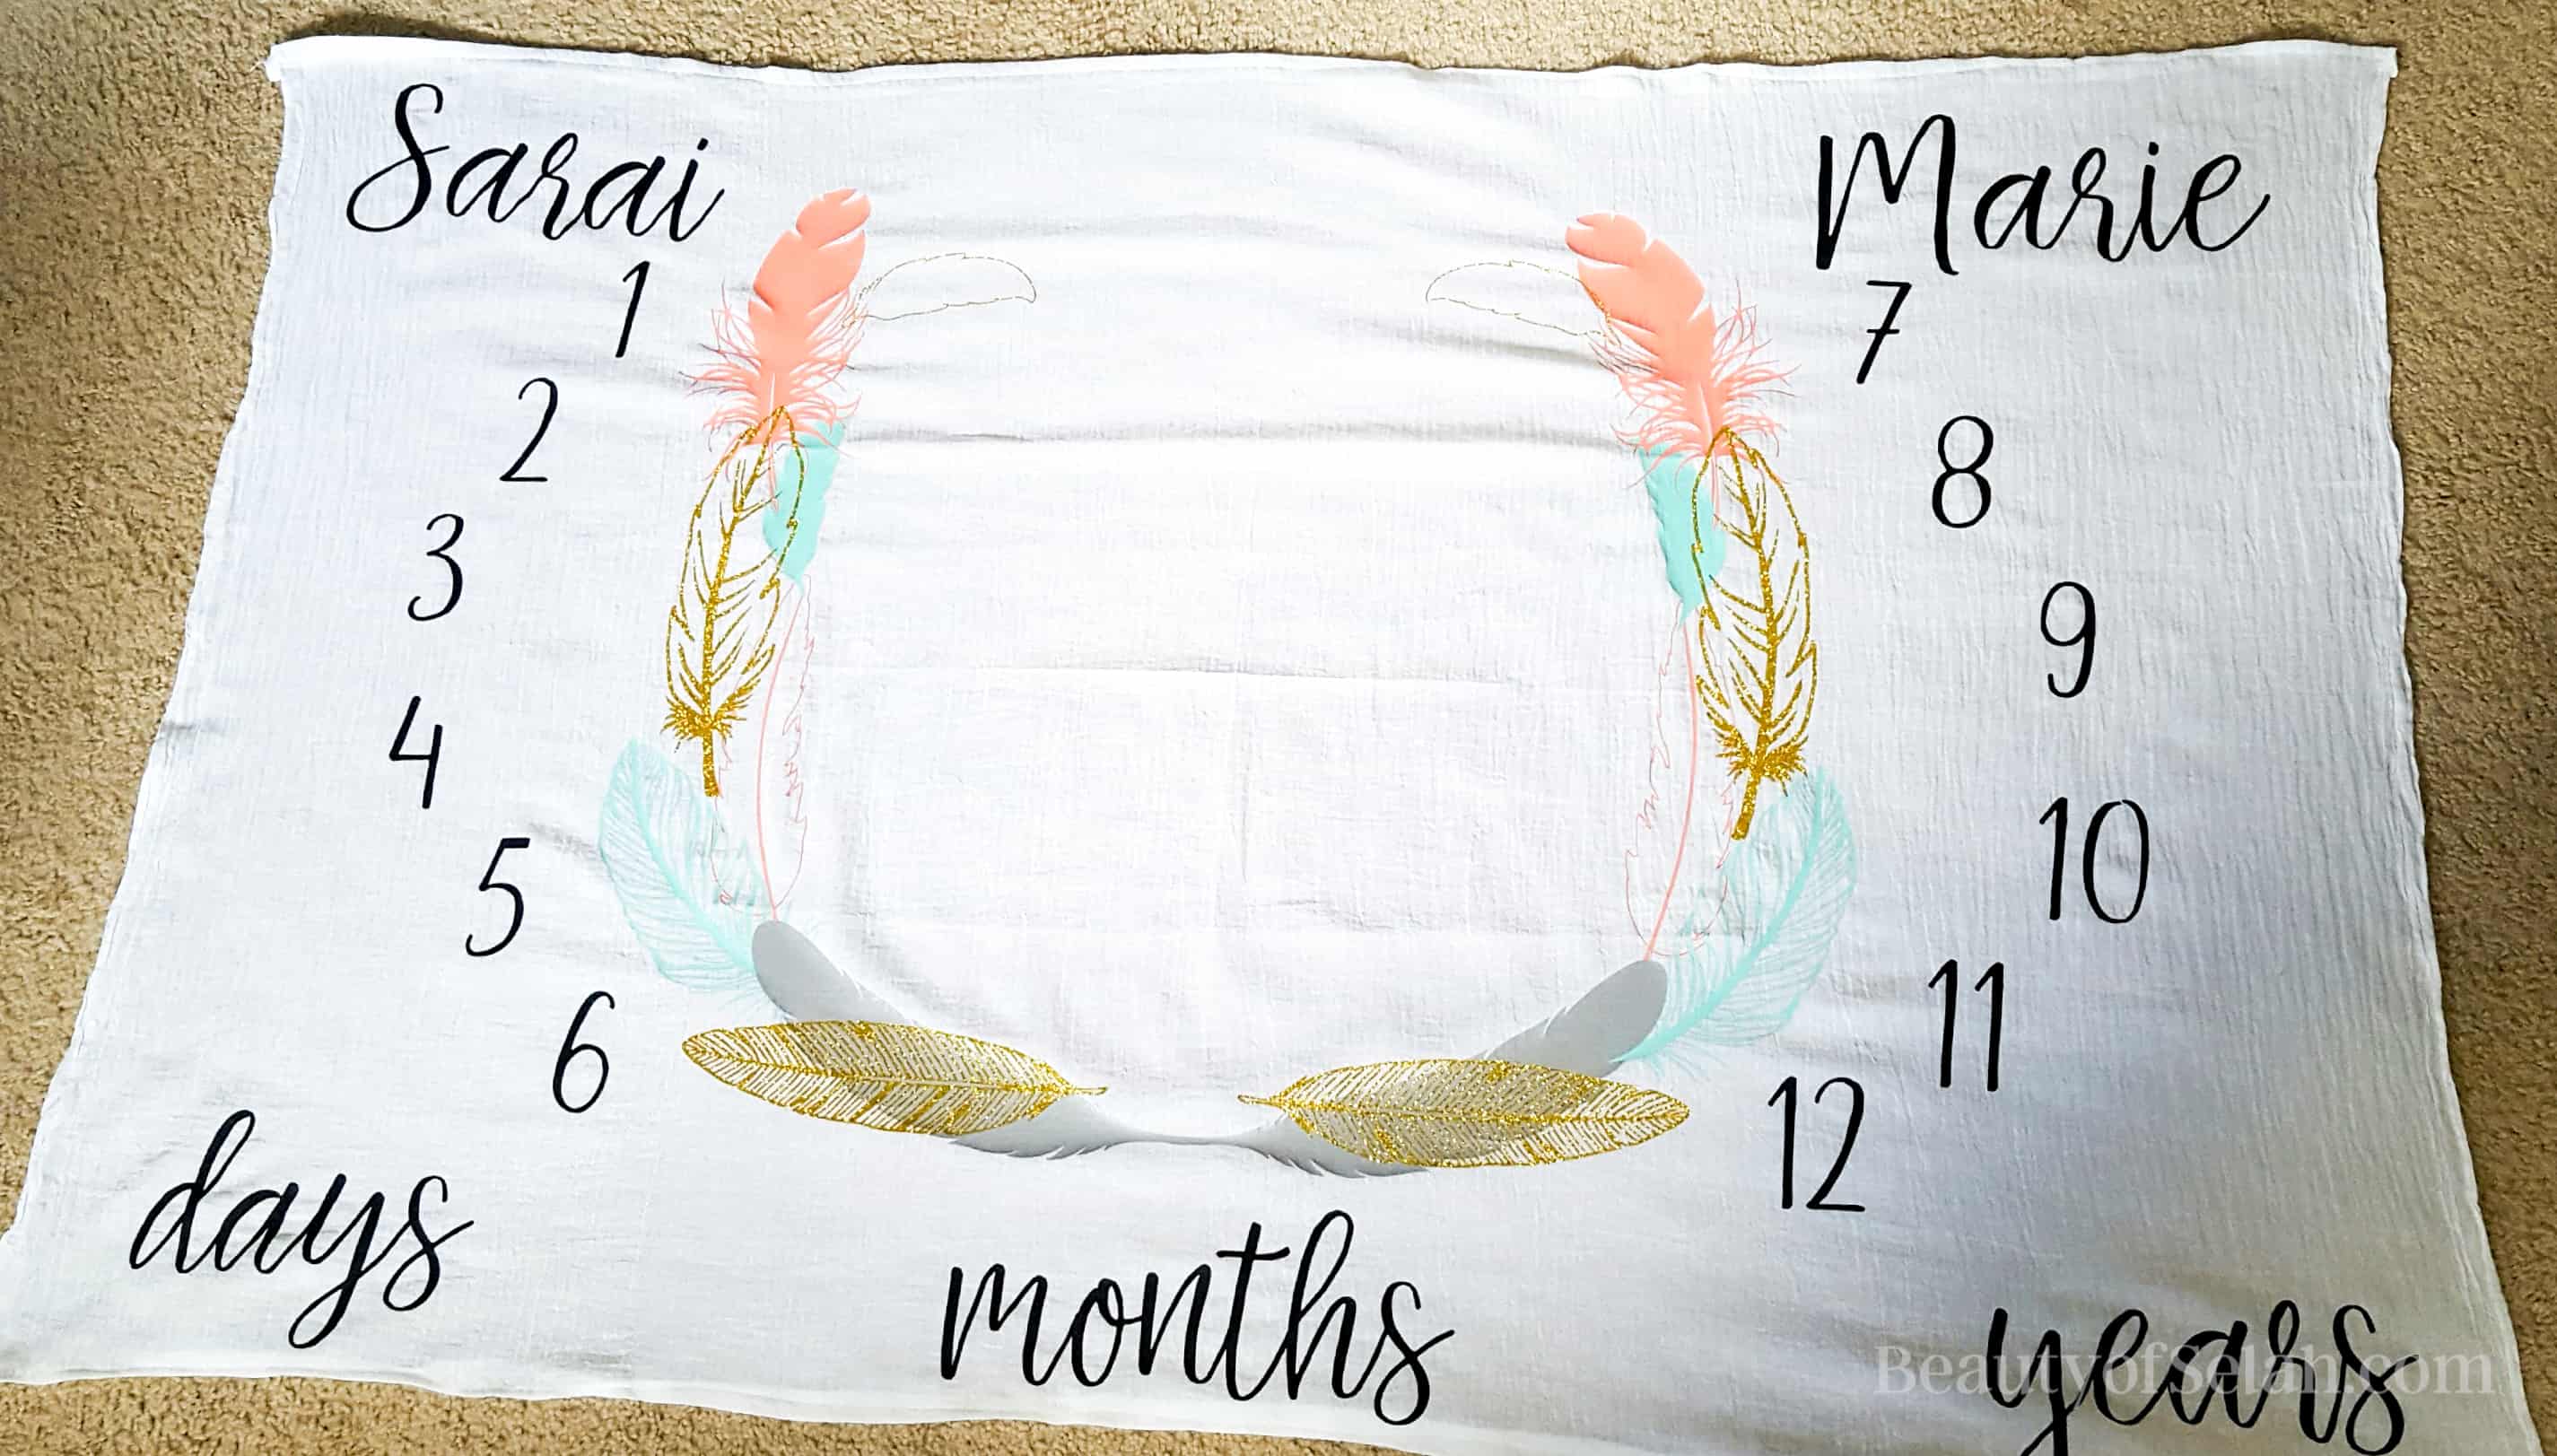
I also made a custom swaddle blanket to take pictures of her on and I kept it on the side of her crib. I always took it off when she slept for crib safety. This one was hard to do while pregnant. I bent down so much positioning all the heat transfer vinyl I had to take a break from decor for a few days to rest!
Decor on other wall
Herringbone shelves
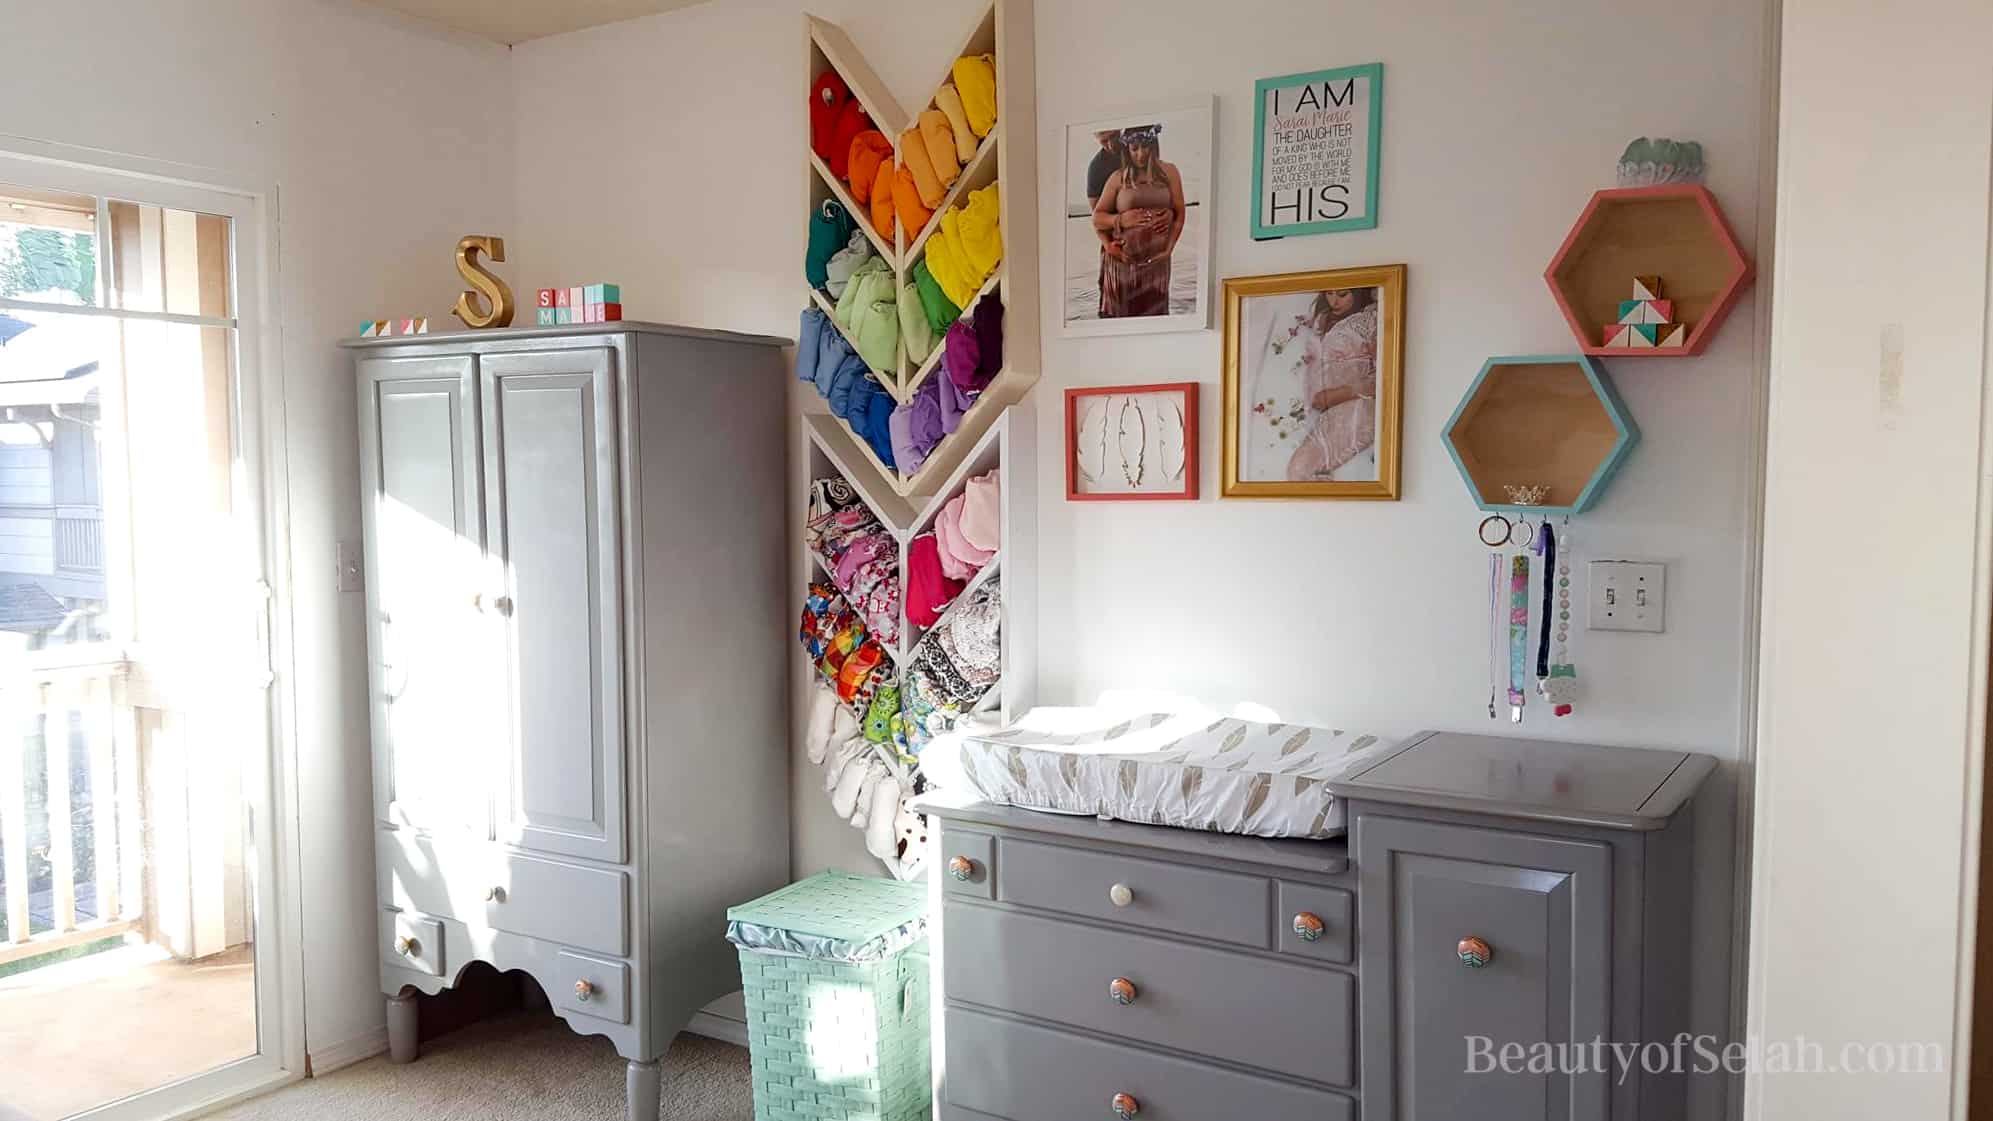
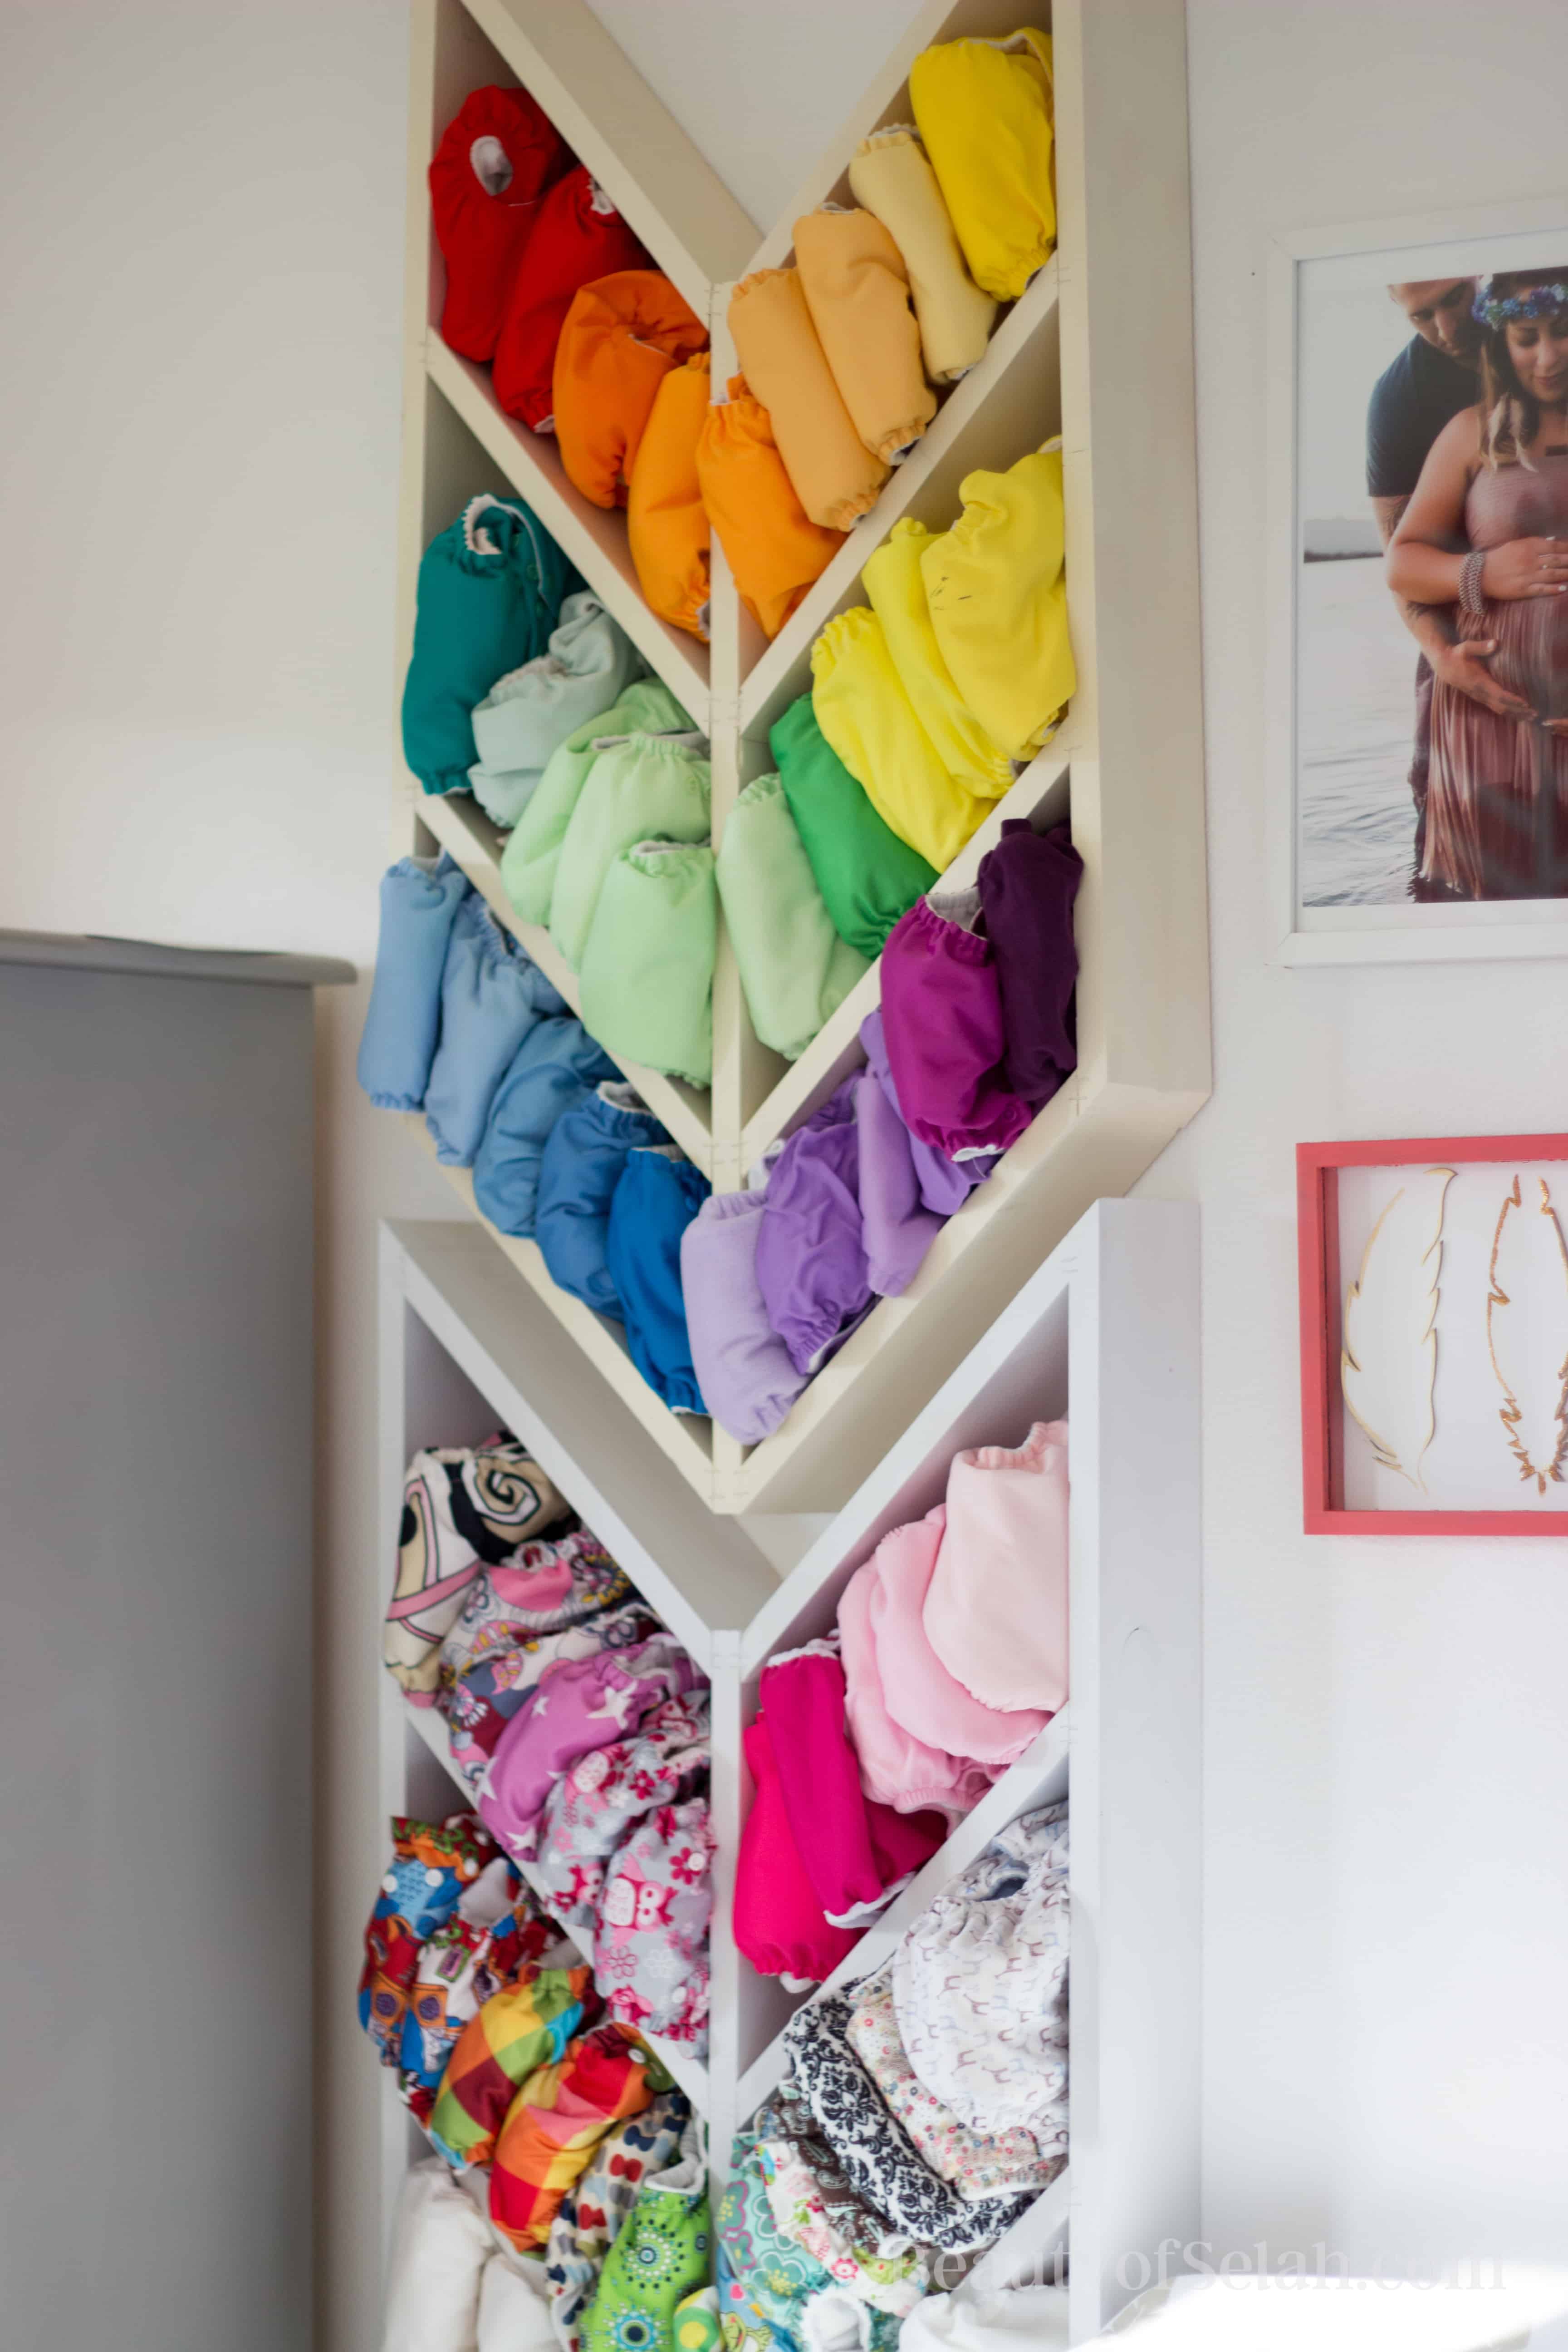
I got inspired by someone on facebook for these herringbone shelves. They were pretty hard to figure out. I’ll have to make a tutorial for these and I’ll make sure to update this post when I do! It’s funny that I went through all the trouble to make these and we only cloth diapered Sarai for a few months. We went through a huge move to Germany when she was only five months old. It took months, and in the meantime we used disposables and then never went back to cloth.
Small gallery wall
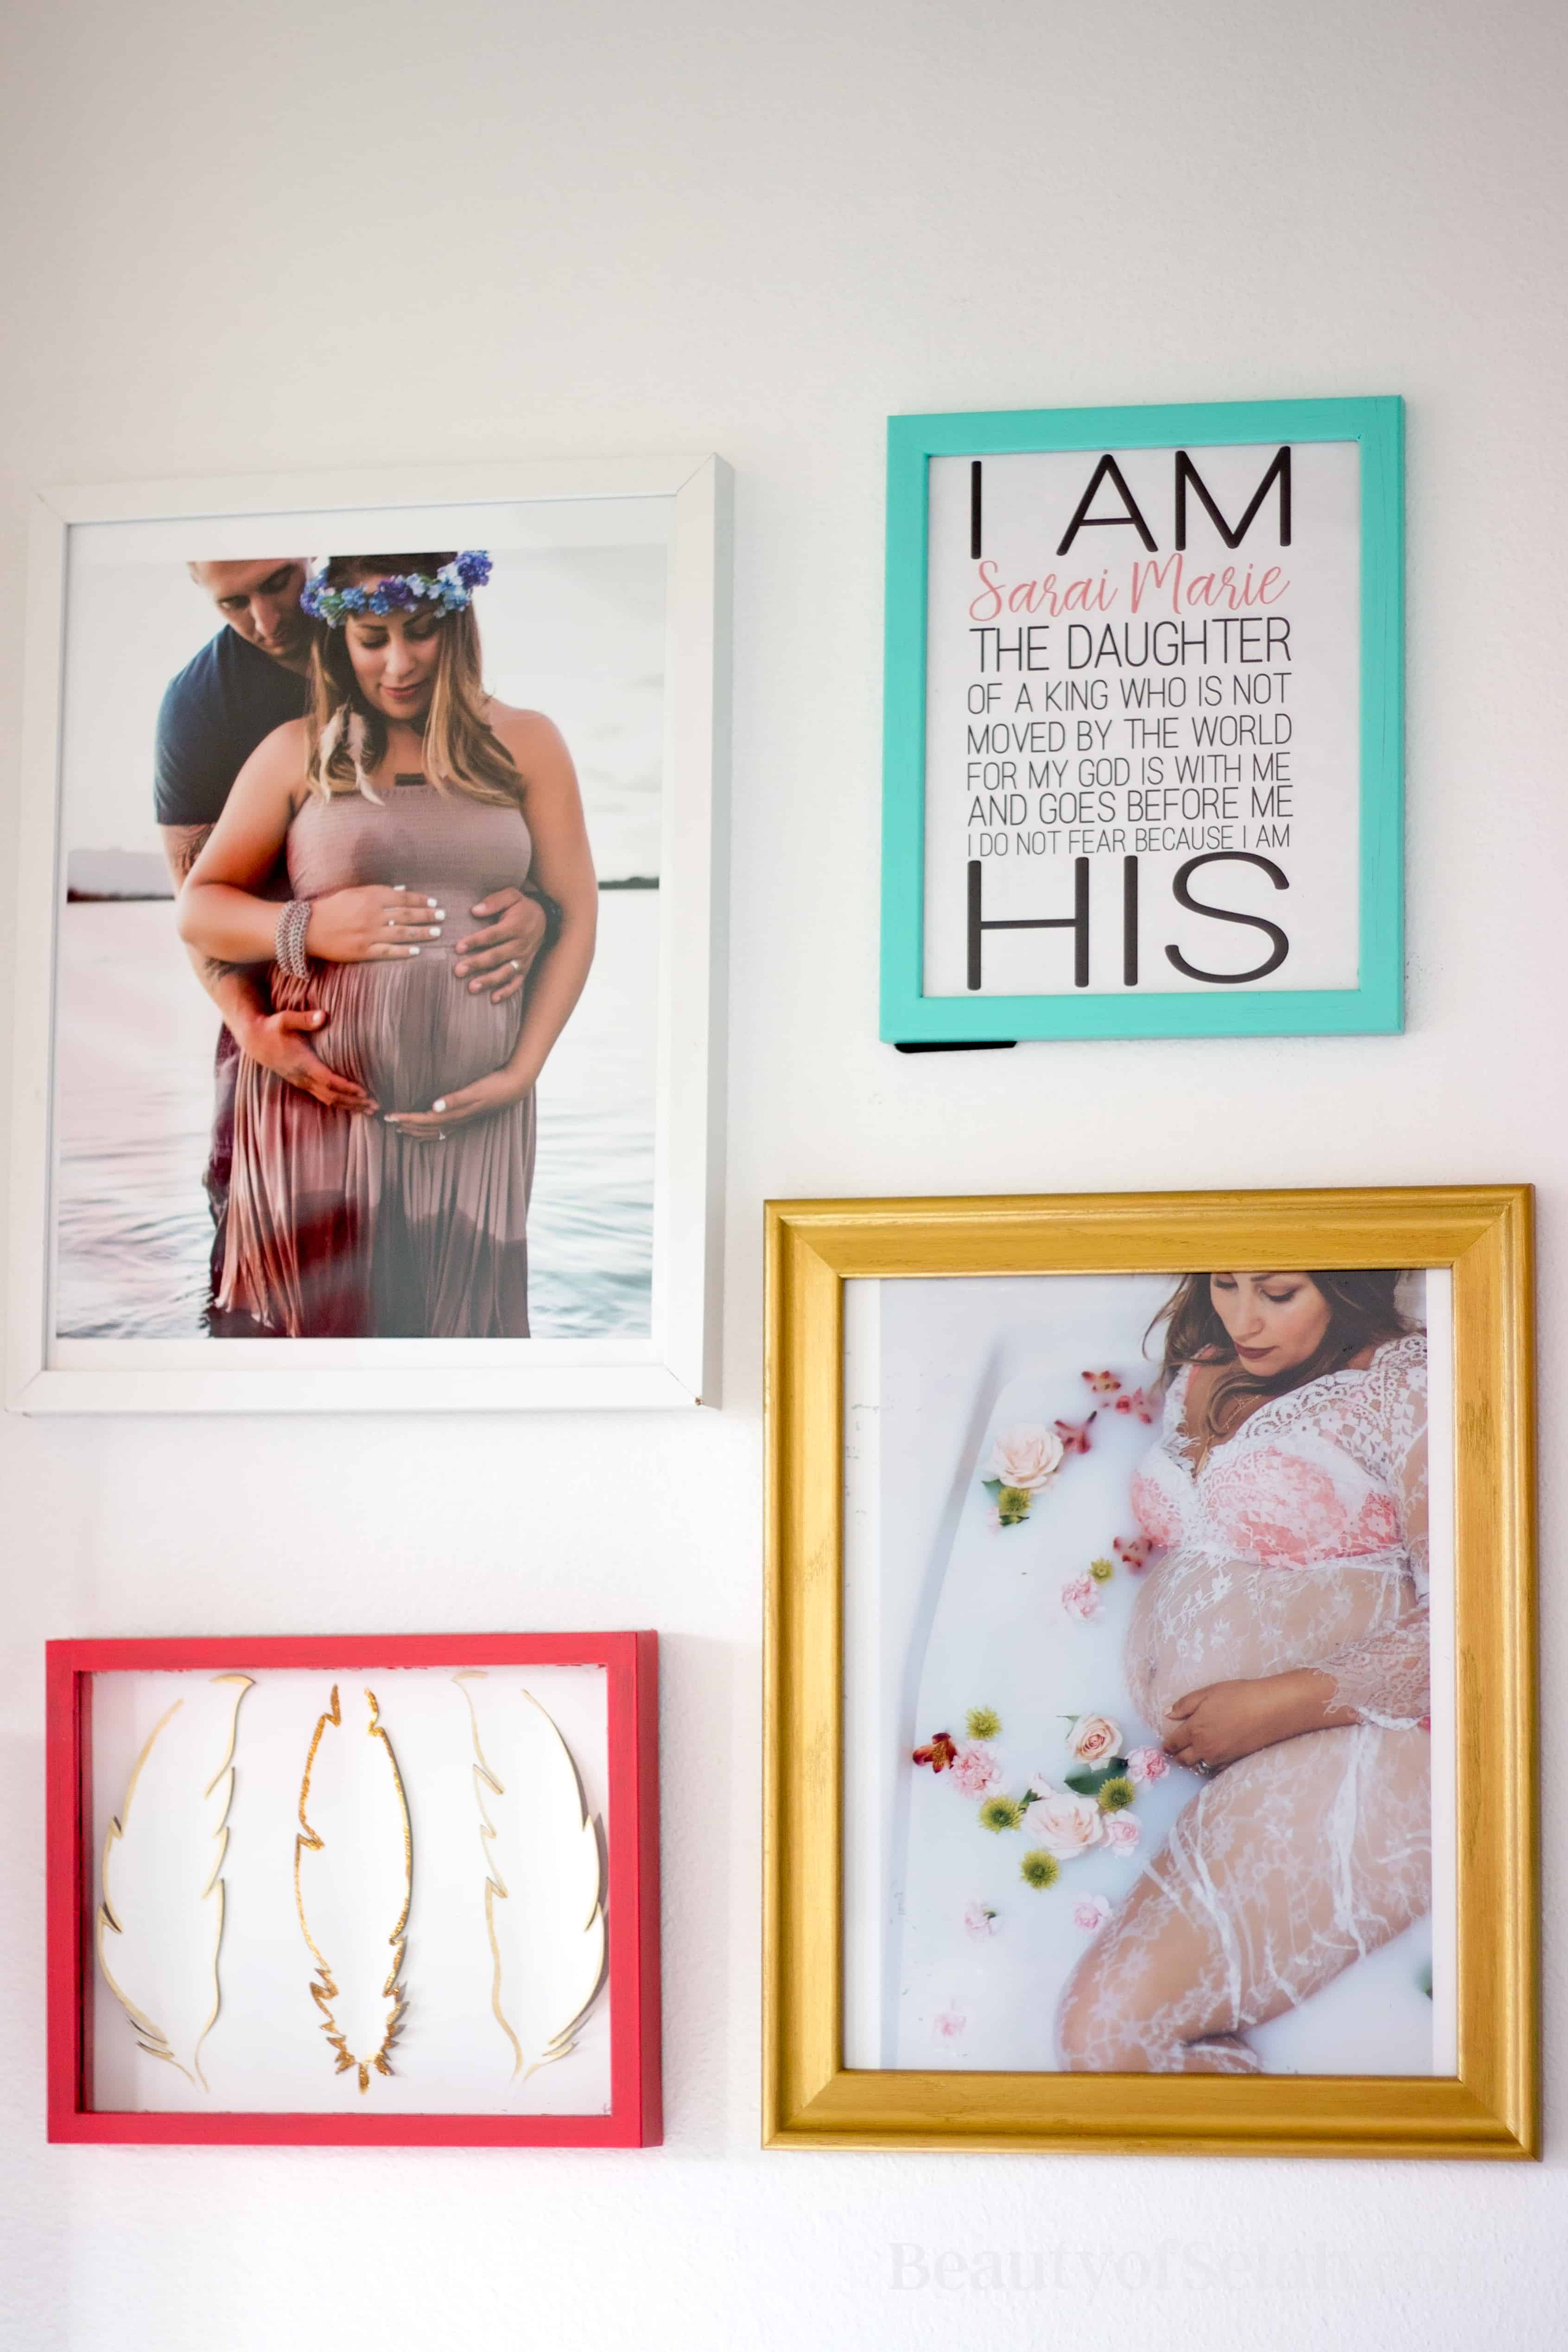
For the gallery wall I used two pictures. One from our maternity photo shoot and one from my milk bath photo shoot. Have I ever mentioned that I love taking pictures? I made the graphic on my silhouette and just printed it. You can find graphics like this on Etsy. For the feathers I cut out card stock with my silhouette. I used feathers and made sure to not have them cut completely out. Then I folded the sides of the feathers up and painted them with gold paint and glitter.
Hexagon Shelves
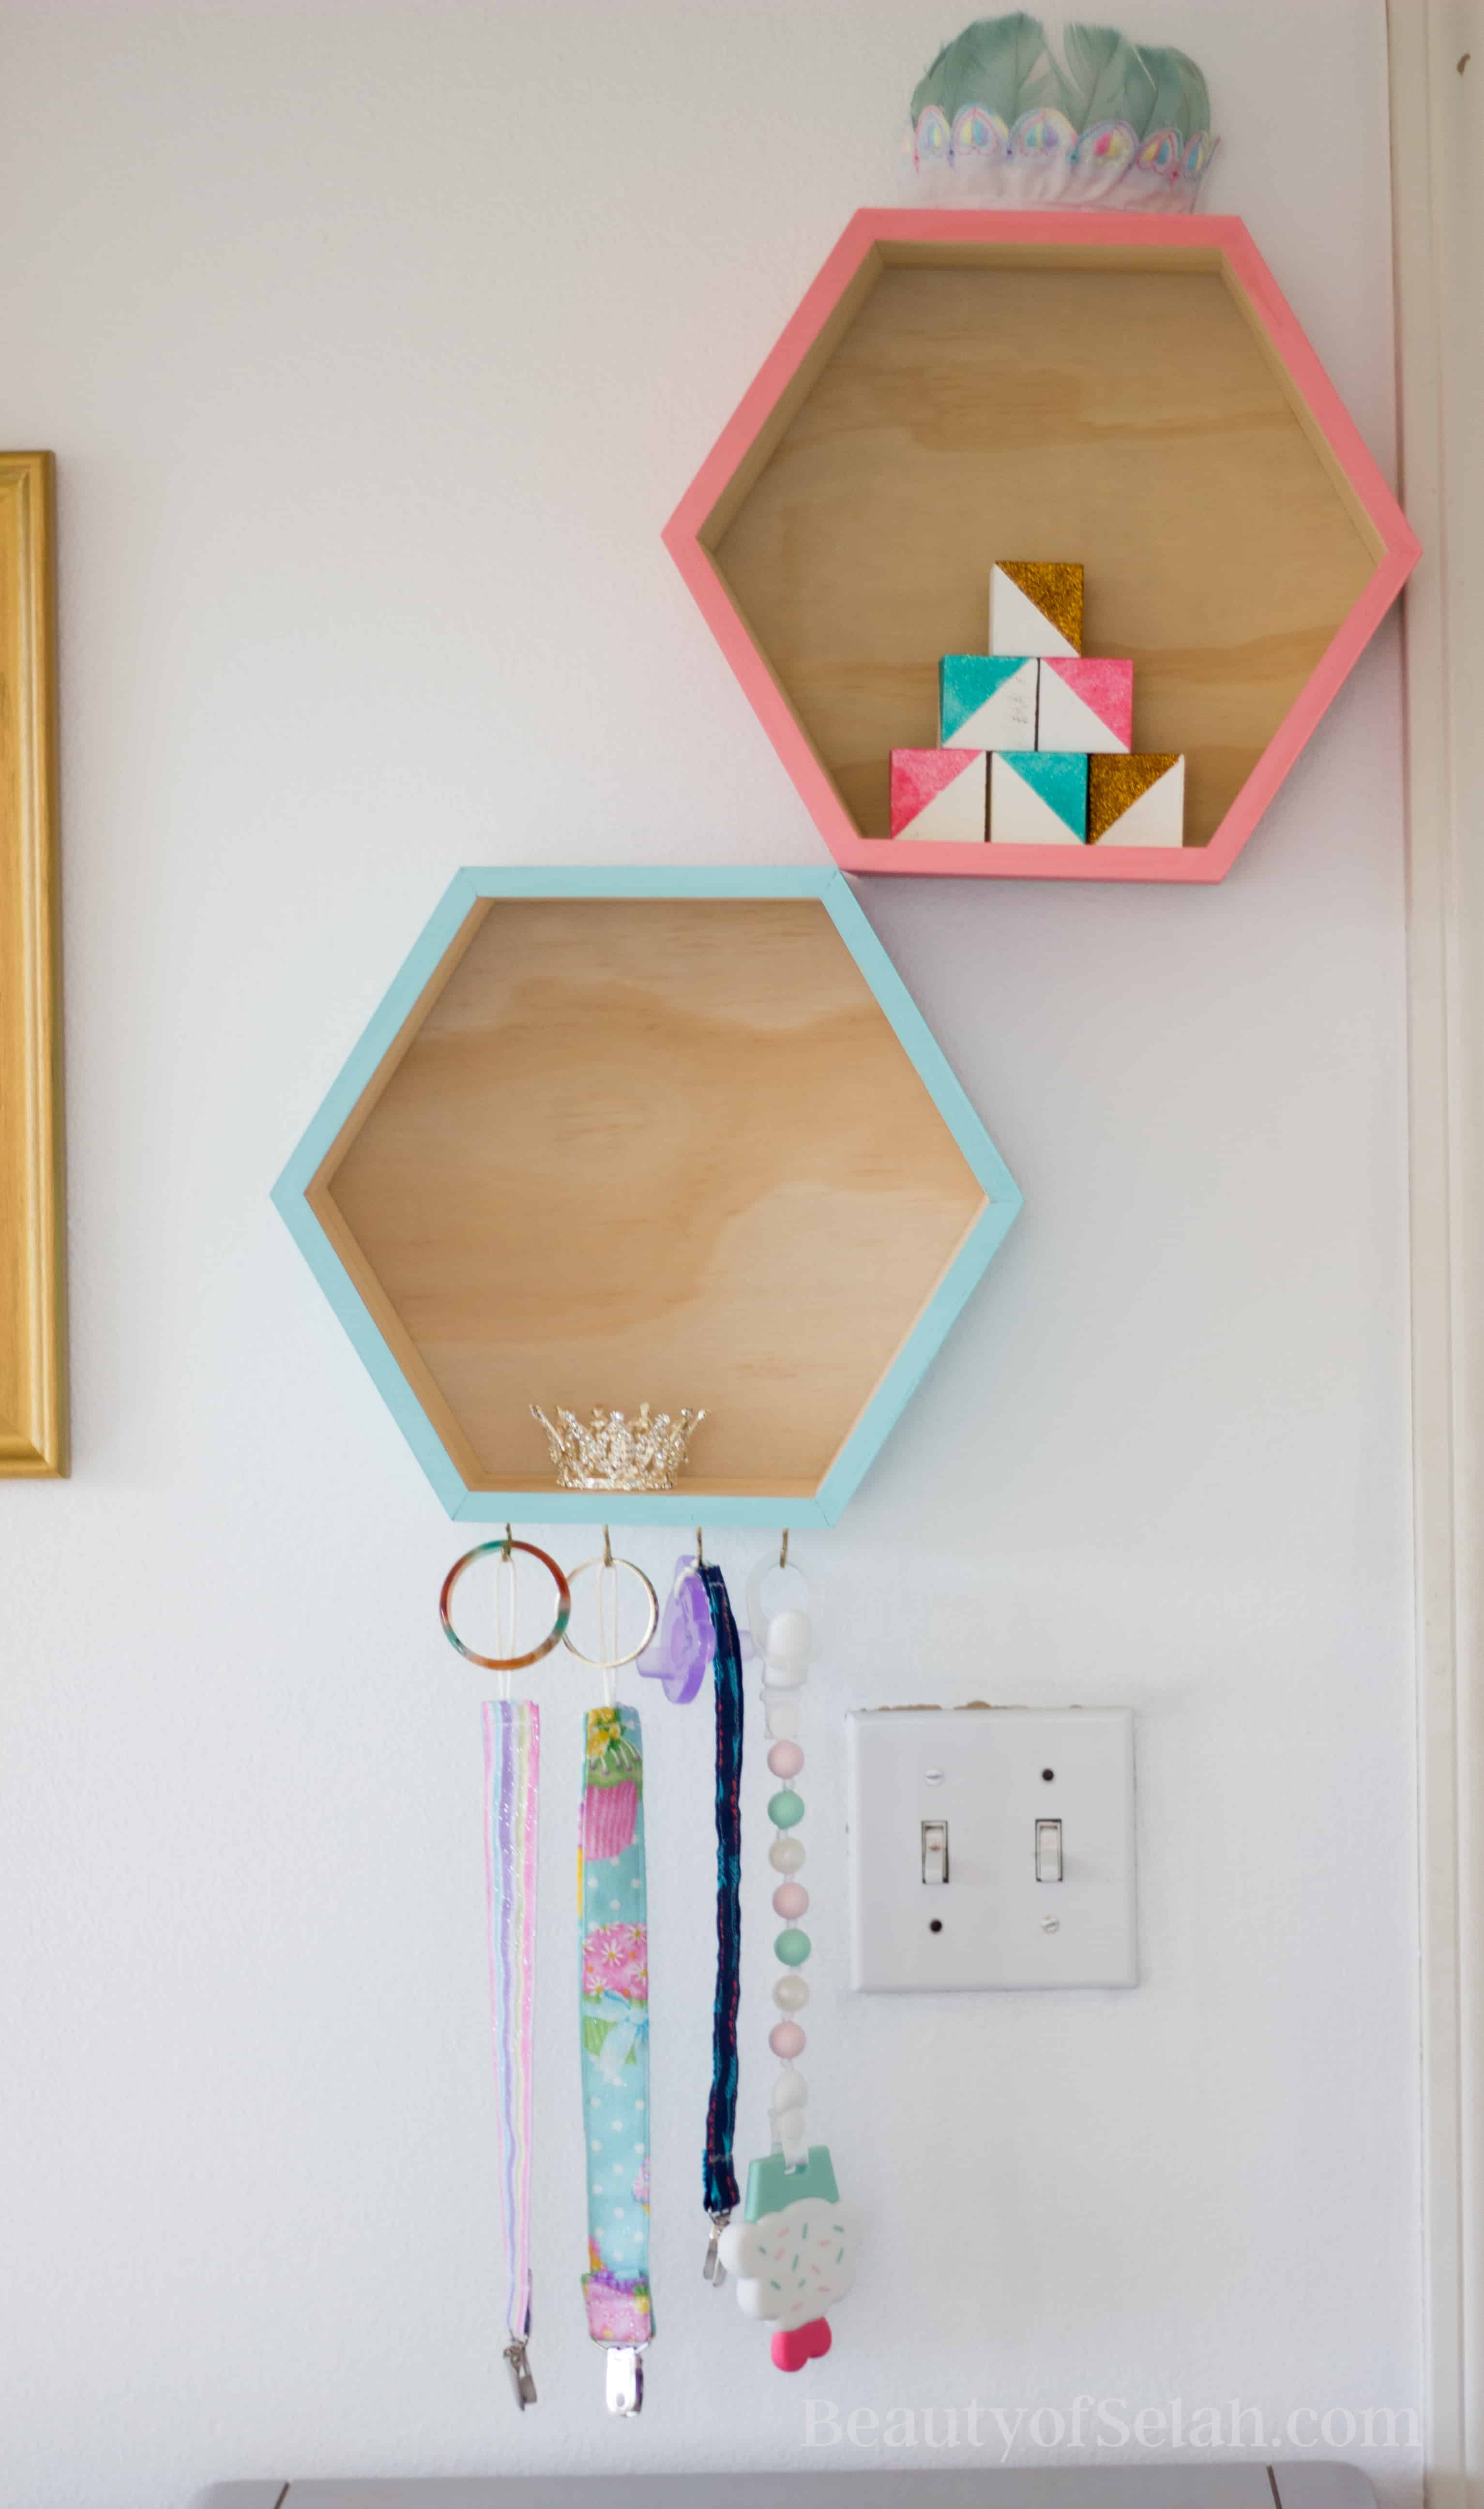
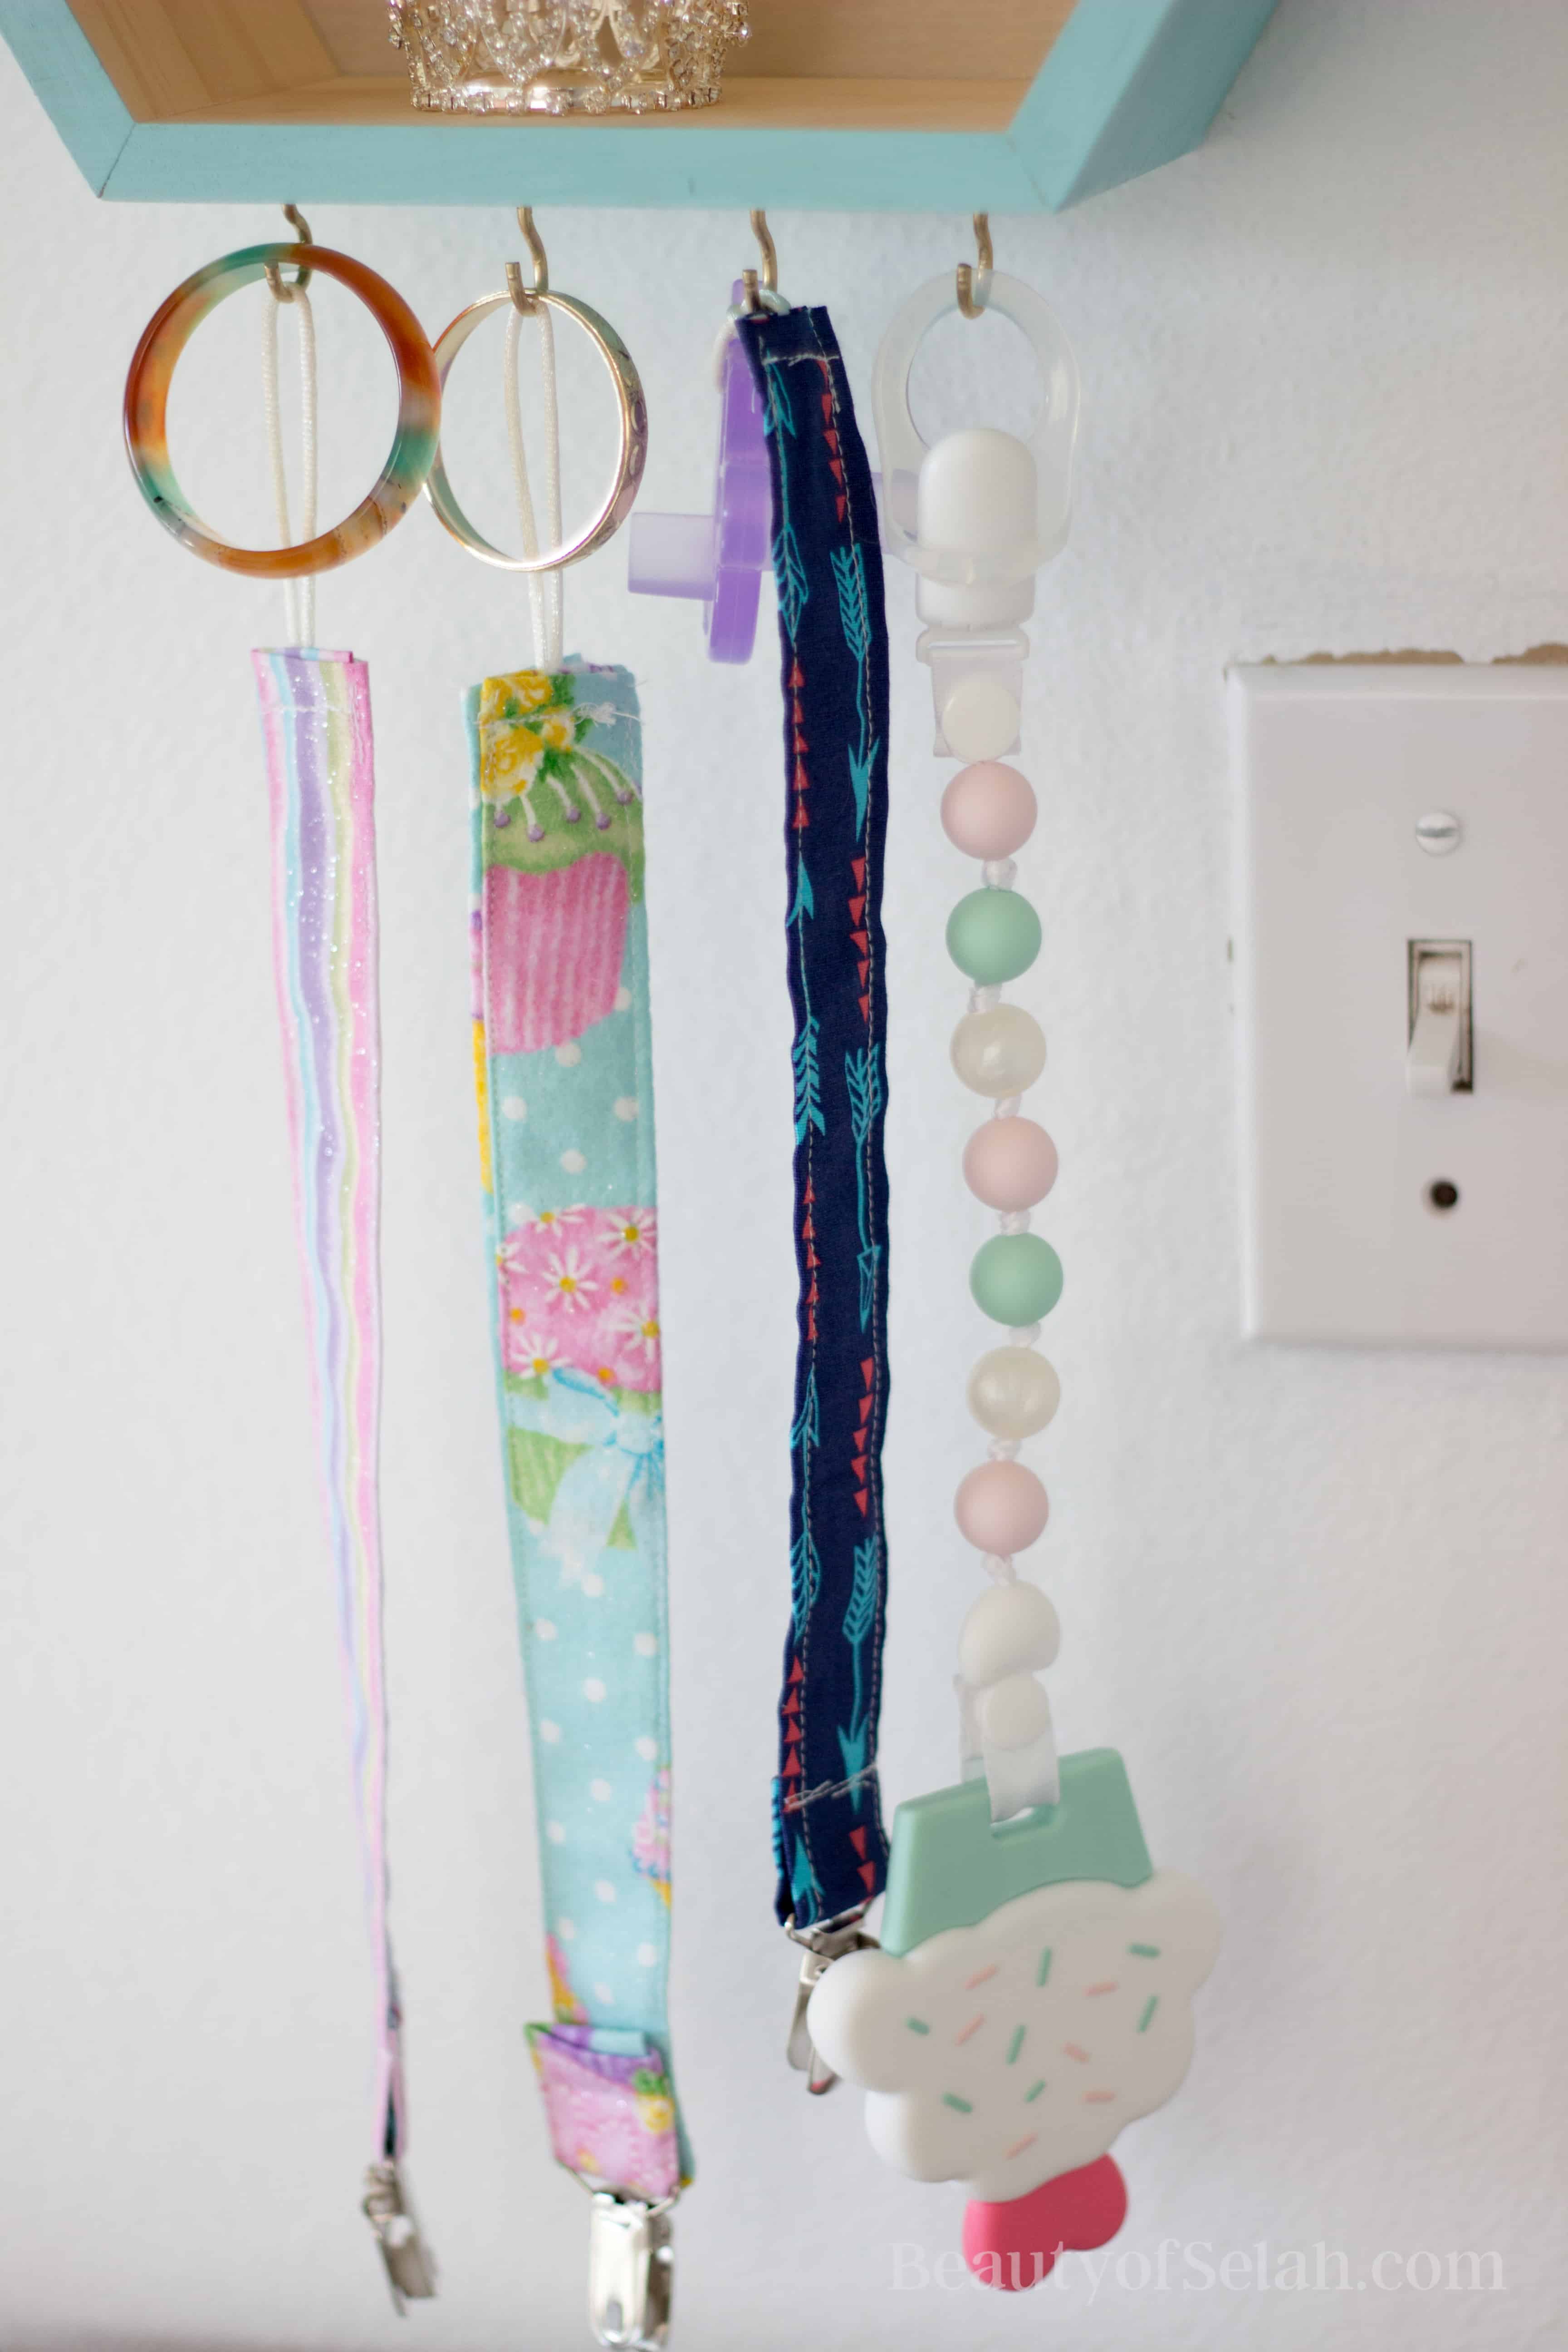
I got these shelves from Target and painted them with leftover paint from the wall. Then I got little gold hooks and screwed them into the bottom of the blue one to hold her teethers, binky clips that I made and some bracelets.
Here’s a closer picture of the hooks. I’m seeing now that I took this picture before touching up the light switches.
Custom blocks
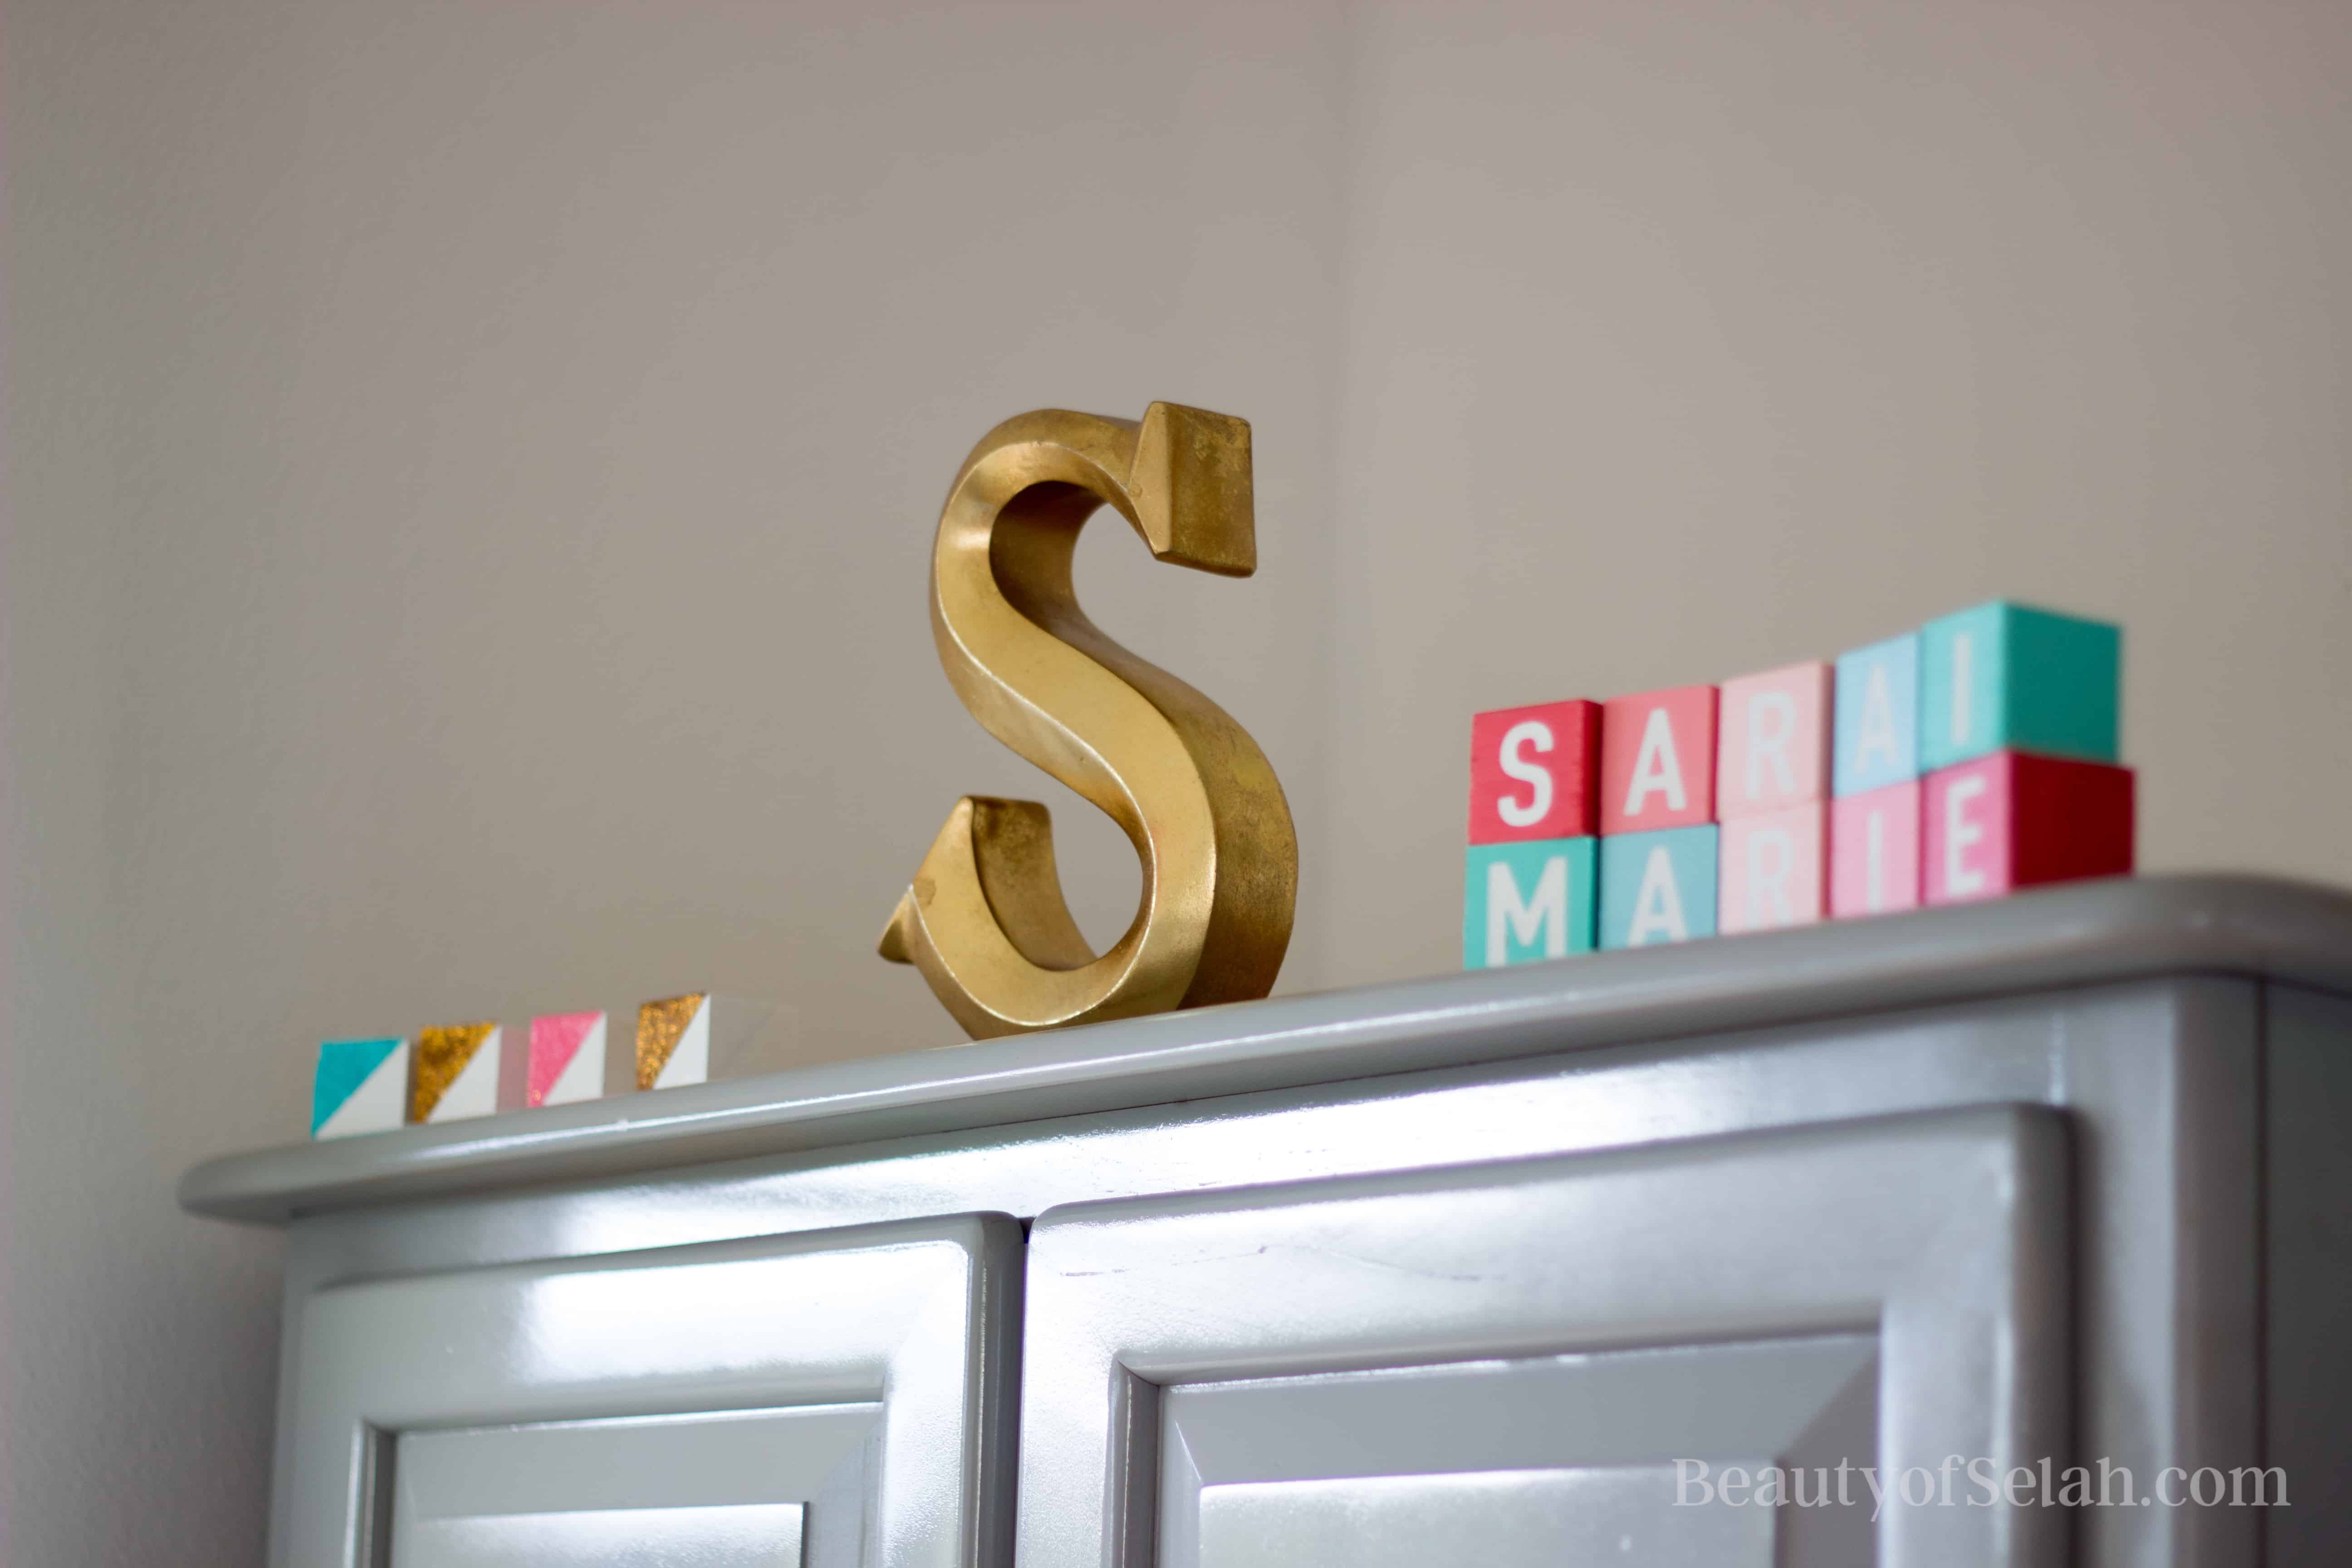
The S I found at TJ Maxx. I love it and when Sarai’s grandfather came to visit he pointed out that it looks like the Seattle Mariners “S” so that made me love it even more!
Inspiration for these blocks came several small shops on instagram. I painted them white and then painted their color after putting a letter sticker on them. The other blocks I painted white and then taped off angles on them and added some layers of glitter. I made several more of the glittered blocks but I hadn’t put them all up for this picture. They double as decor and toys.
Decorating the closet
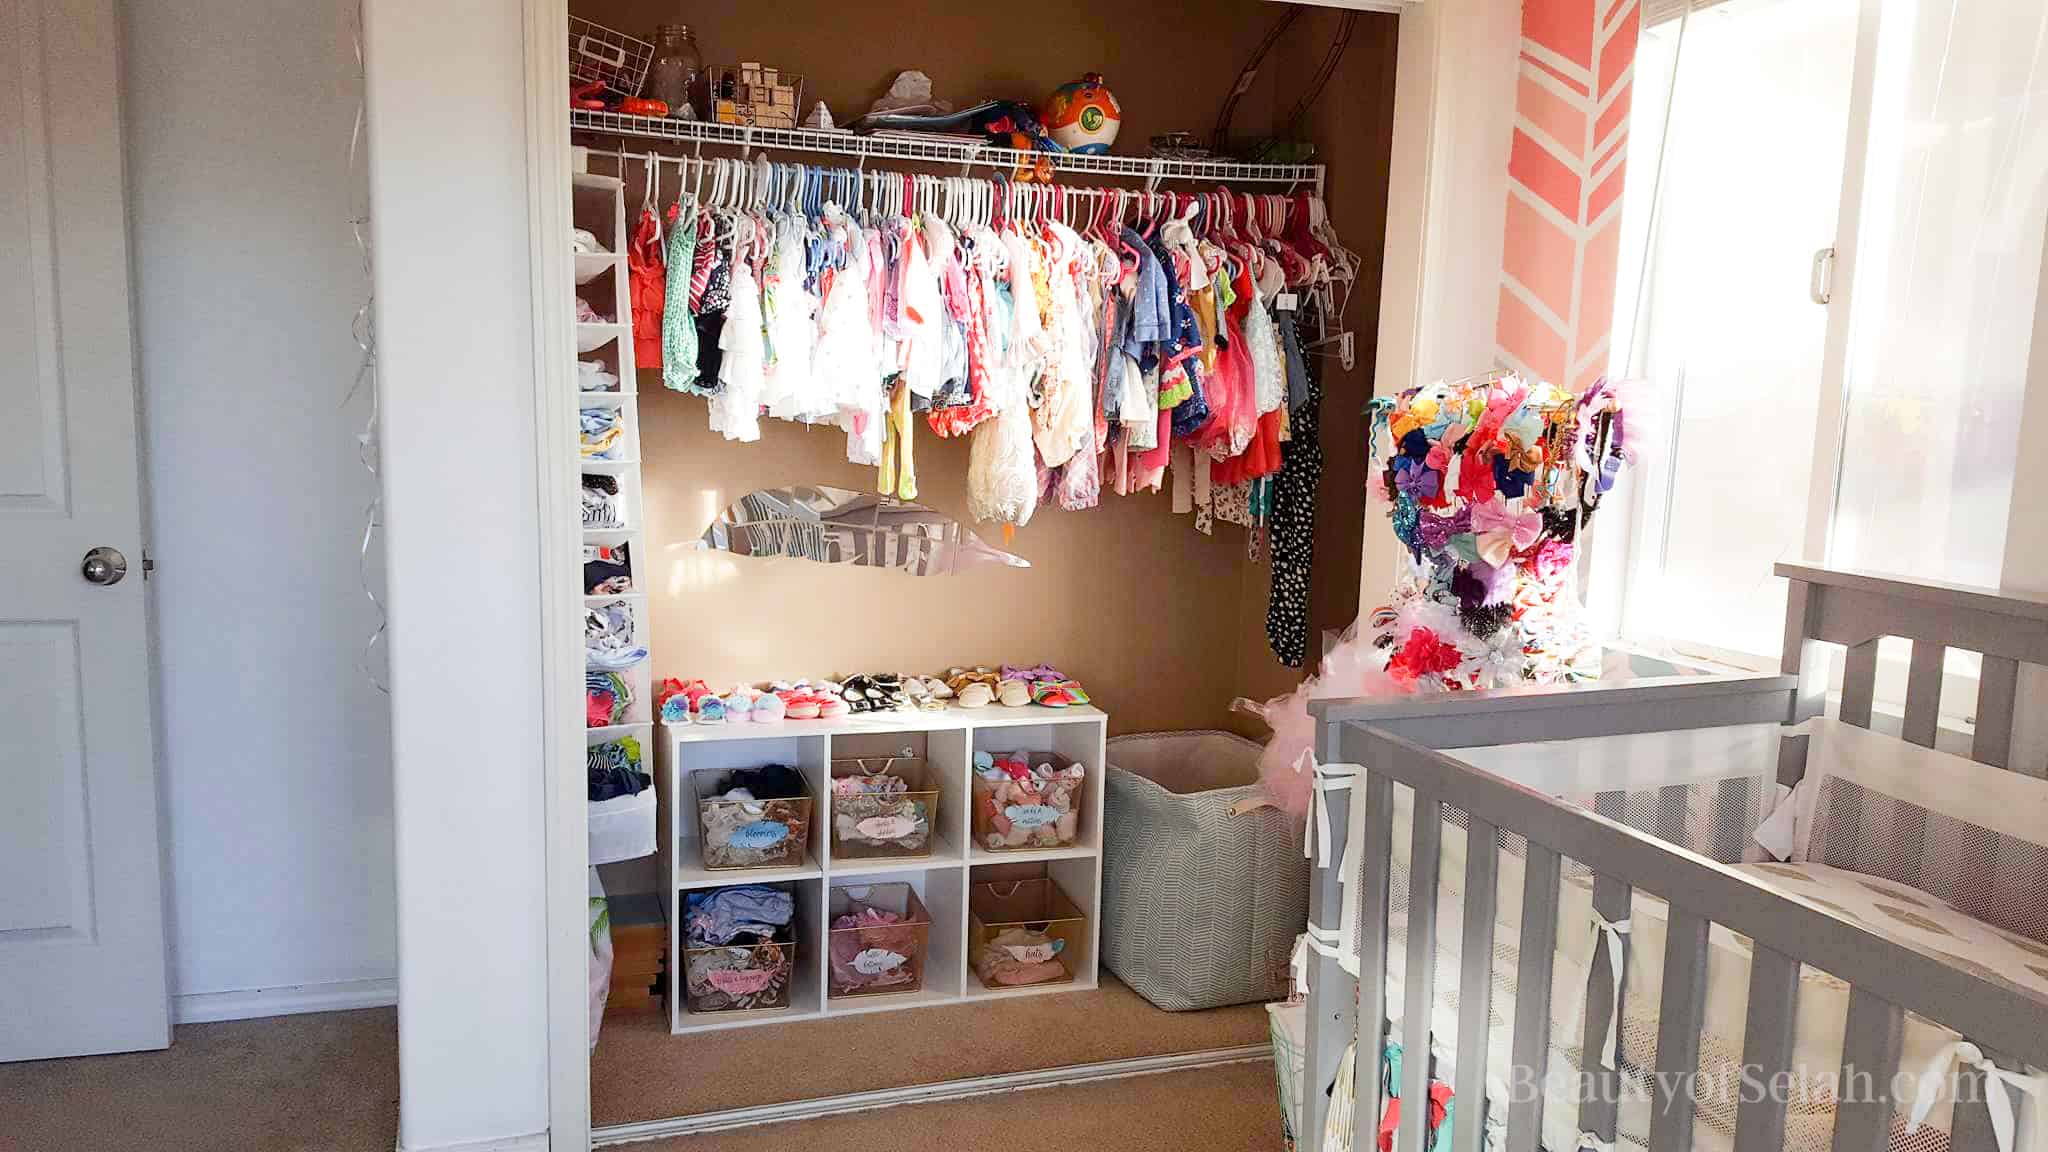
I removed the closet doors. I know, sounds crazy but I did it in Alexander’s nursery and I loved it. And I figured as long as it looked pretty and organized it wouldn’t bother me! I think it’s easier to pick out outfits for the day when I can see everything. Especially for little babies who grow so fast they can usually only wear an outfit once.
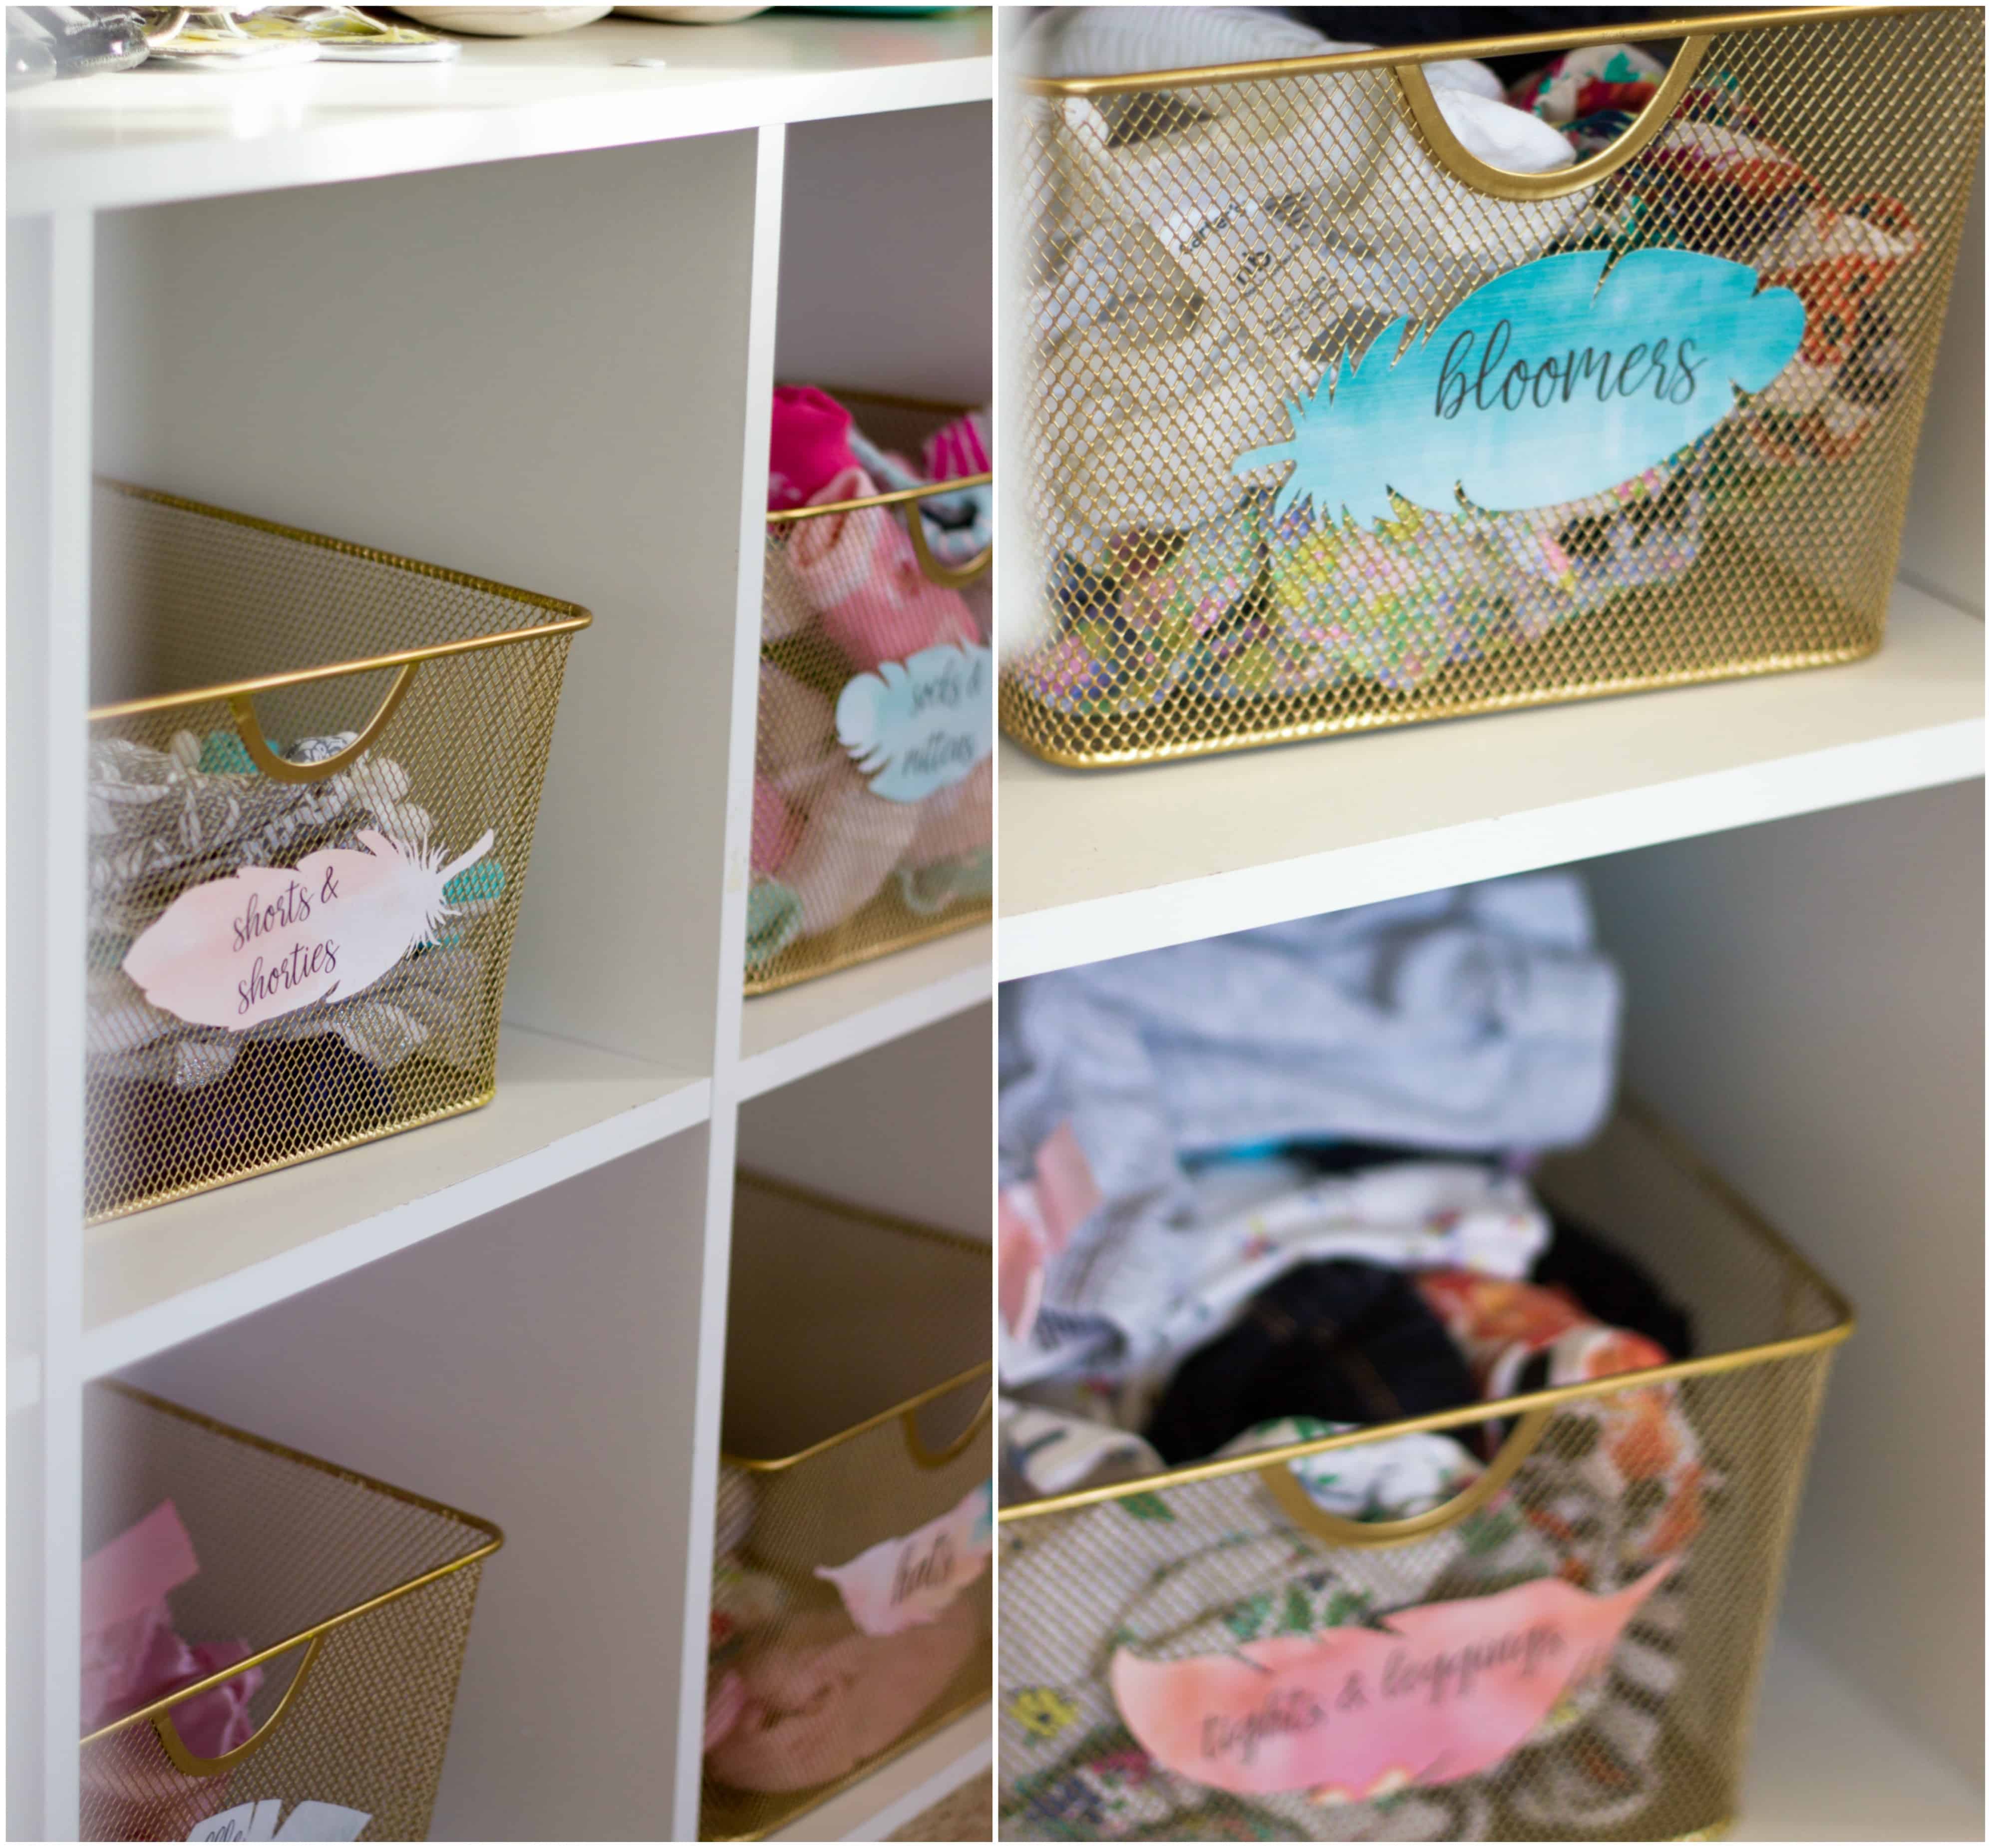
I got the feather mirror from the wish app. I honestly thought it would be bigger, but it fit in this space quite nicely. The laundry basket I found at TJ Maxx. I was surprised they had exactly what I was looking for. Next I put a cube shelf underneath her clothes. I got little wire baskets from the dollar spot at Target and spray painted them gold. Then I made custom labels for them with my silhouette.
Hair accessory storage
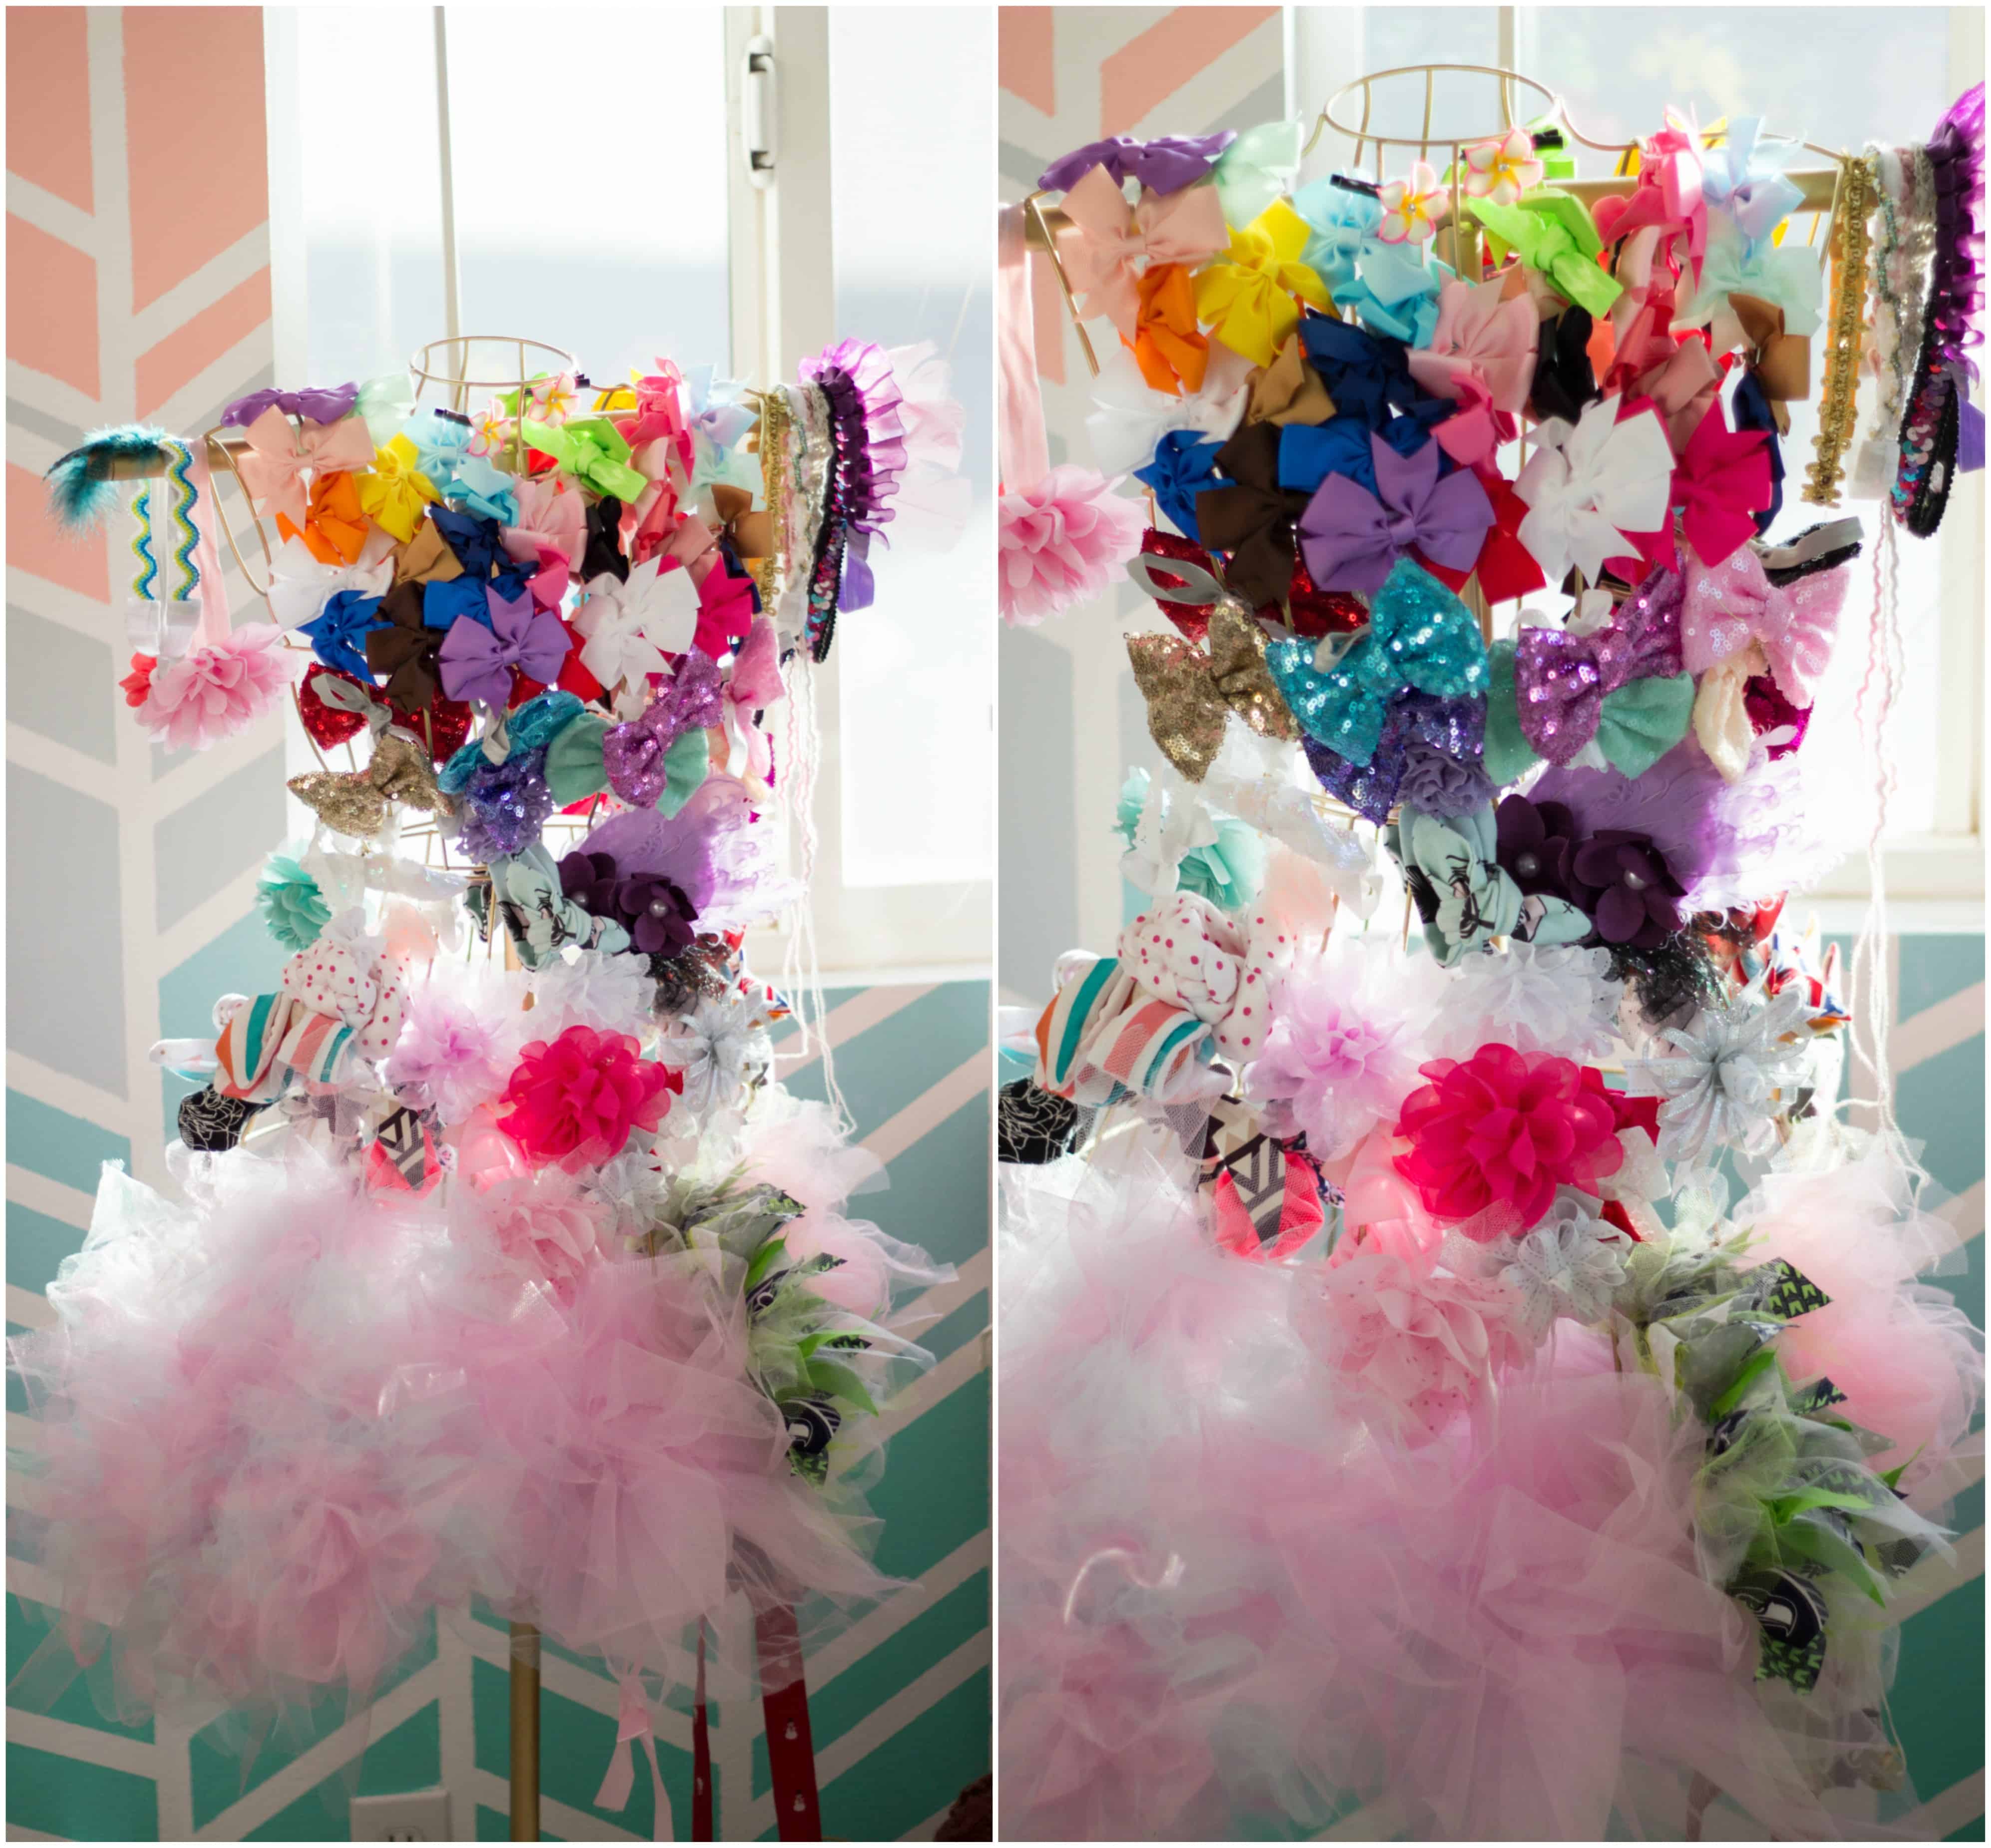
Ok so, I went a little overboard. When I found out I was having a girl, I could not stop making things for her and ordering things for her. And I definitely got way too many hair accessories. But I needed to figure out where to put all of it so I came up with this idea. I found this mannequin on Amazon. But it wouldn’t ship to Hawaii. I had to find a seller that would actually ship to me which took way longer than I was patient for. But I finally received it. It was black when I bought it and I spray painted it with the same gold I used for the baskets.
I filled the bottom in with tutus. Some I made and some I bought. I love this thing! It’s kind of finicky and leans a little but it’s held up pretty strong even through our move!
Swaddle and blanket storage
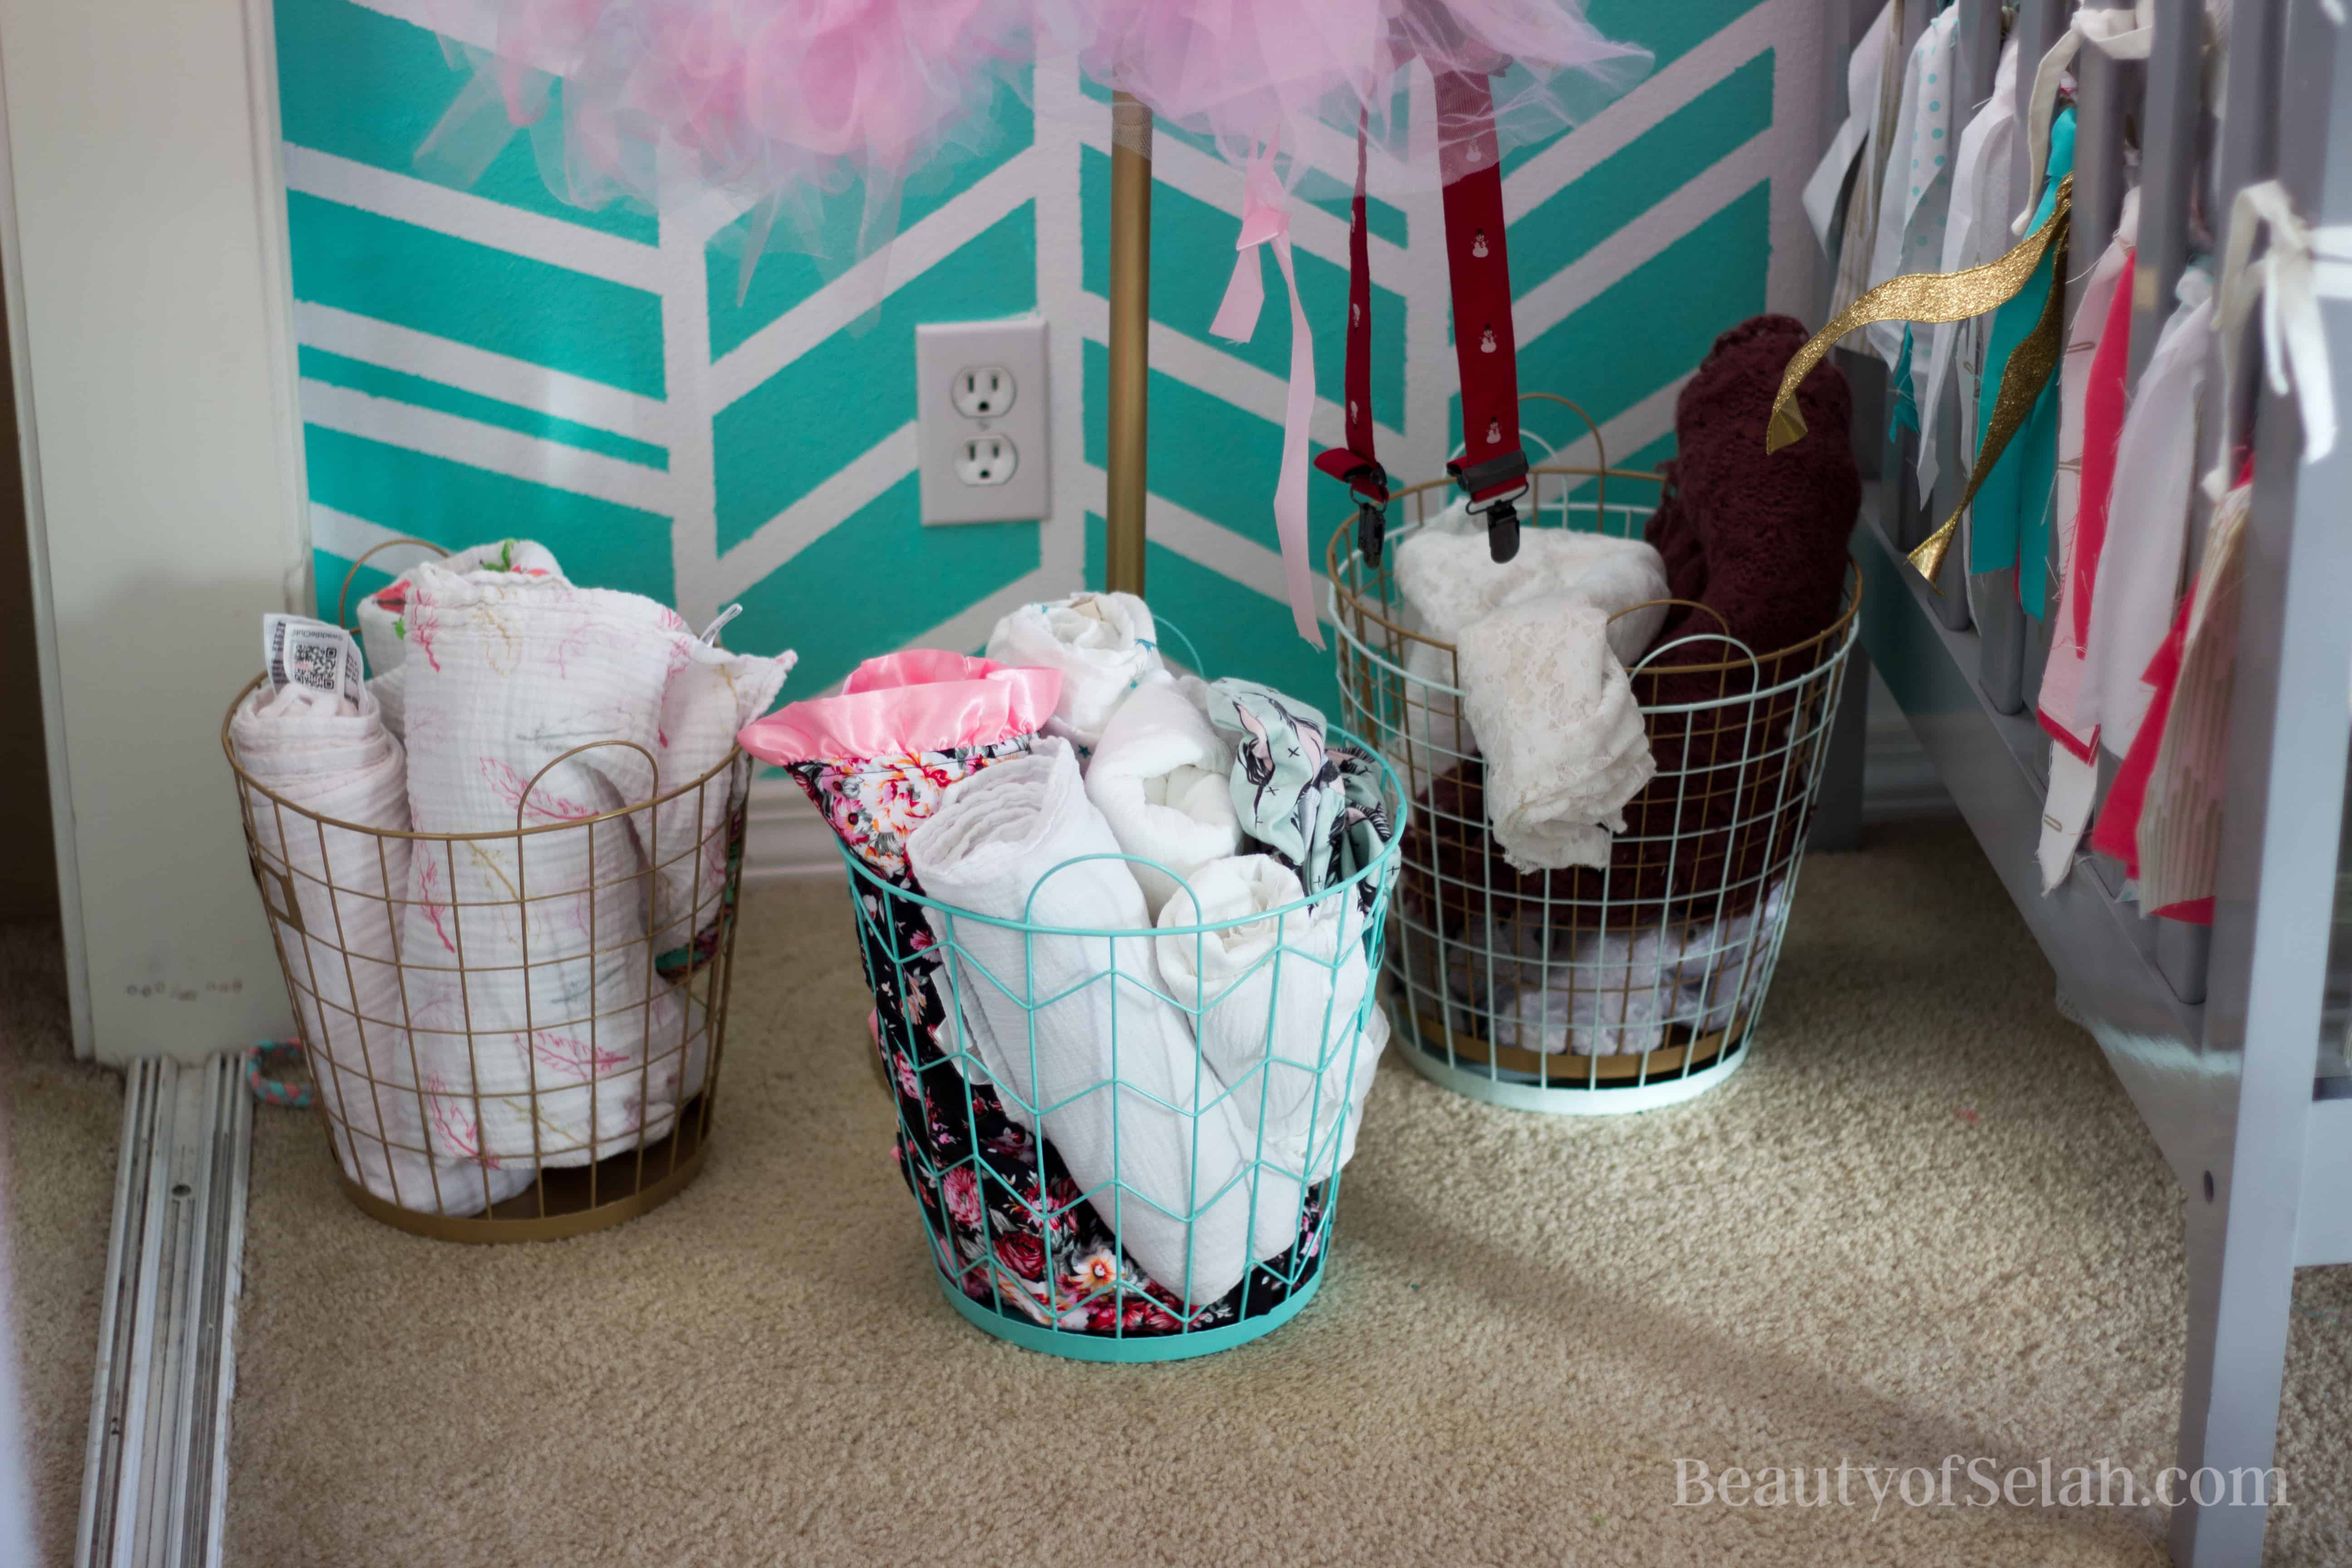
I found these little baskets at the dollar section at Target. I used them for Sarai’s swaddles and receiving blankets. They were the perfect little touch to fill in space at the bottom of the mannequin.
Reusing baby shower banner
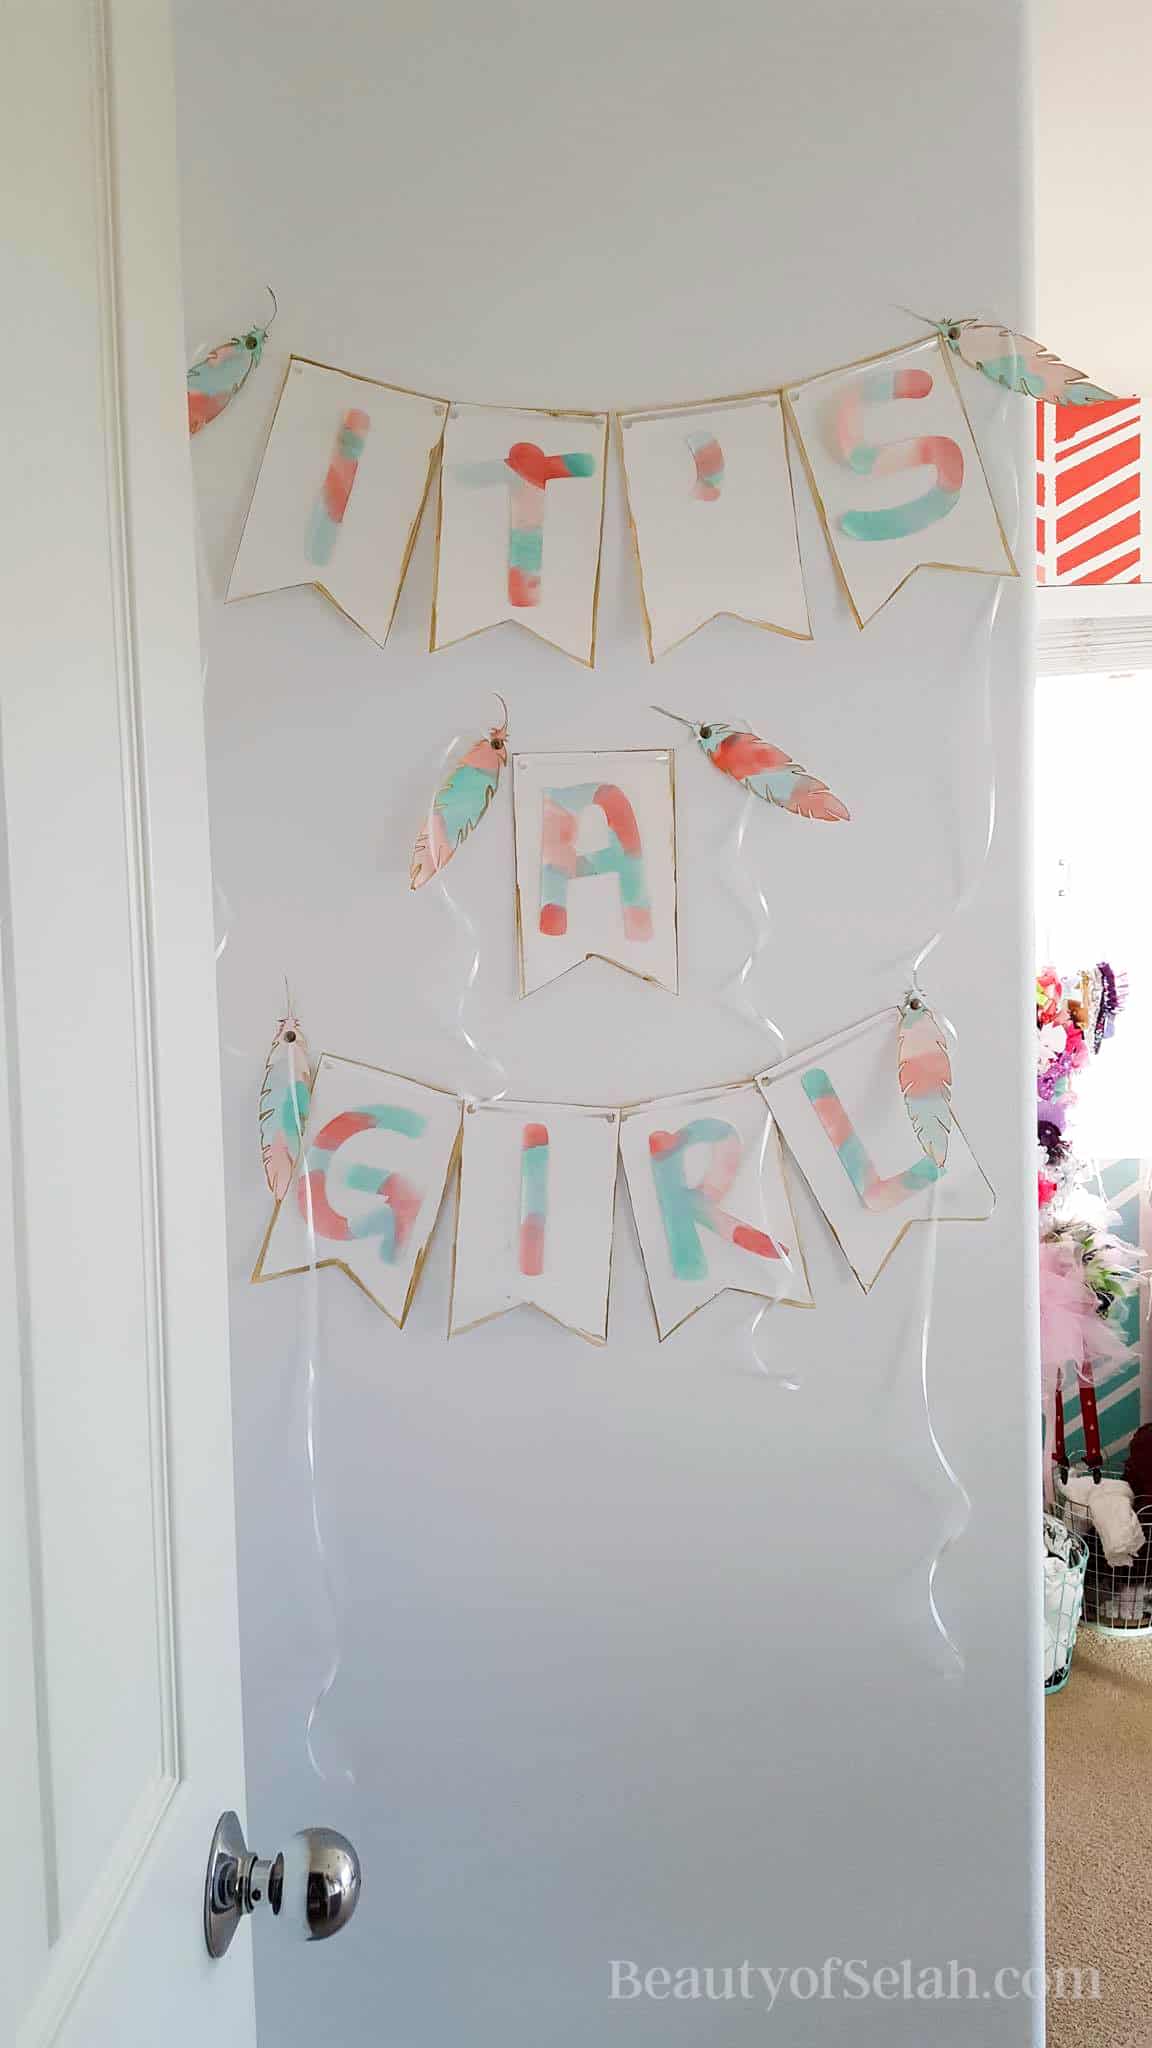
I made this banner for my baby shower and wanted to use it in Sarai’s room somewhere. I cut the banner and letters out with my silhouette. Then I used gold paint around the edges of the banner pieces and feathers. After that I used the paint from the wall and “water-colored” the letters. I just dipped my paint brush in some paint and then the water and painted the letters and feathers.
There was a little wall when you first open her door that sticks out from the closet so I placed it there.
Conclusion
I had so much fun decorating Sarai’s nursery. It definitely took me a few months to complete since I did it all while I was pregnant but the hard work really paid off. I absolutely adored this nursery. I plan on replicating it here in Germany.
I tried to explain everything I made thoroughly but if you have any questions please don’t hesitate to ask them!
For updates on when my new posts go live and specials just for my subscribers please subscribe to my blog.






What a gorgeous room for a beautiful little lady. You have an amazing talent! I can’t wait to see what other DIY projects you share with us. I can tell this room was put together with a lot of love and labor. It definitely paid off. Beautiful room!
Thank you so much LaDonna! I can’t wait to share other projects!!!
Beautiful nursery! I love the feather wall hanging you made and the way you tied the whole look together all over the room.
Thank you so much Rebecca! That was one of my favorite pieces!