How to Organize your Tailwind Tribes with Trello
[elementor-template id=”5265″]
I recently switched to the Unlimited Powerup with Tailwind which gave me access to unlimited Tailwind Tribes. It wasn’t long before I realized I desperately need to organize them.If you don’t have a Tailwind subscription and would like one, you can get your first month free here.
Since I blog about multiple topics I joined multiple tribes.
Even if you only use the 5 given to you in the Tailwind Plus subscription this post can help you organize them!
How to Organize your Tailwind Tribes with Trello
Let me break down all the steps for you to organize all your tribes in Trello!
PS, if you’re new to Trello make sure to scroll to the end of this post to sign up for a free 5 Day Trello Bootcamp to organize your blog!
Step One: Create a new Trello Board
Create a new board and name it Tailwind Tribes
(I copied my board because my board includes my Tribes strategy)

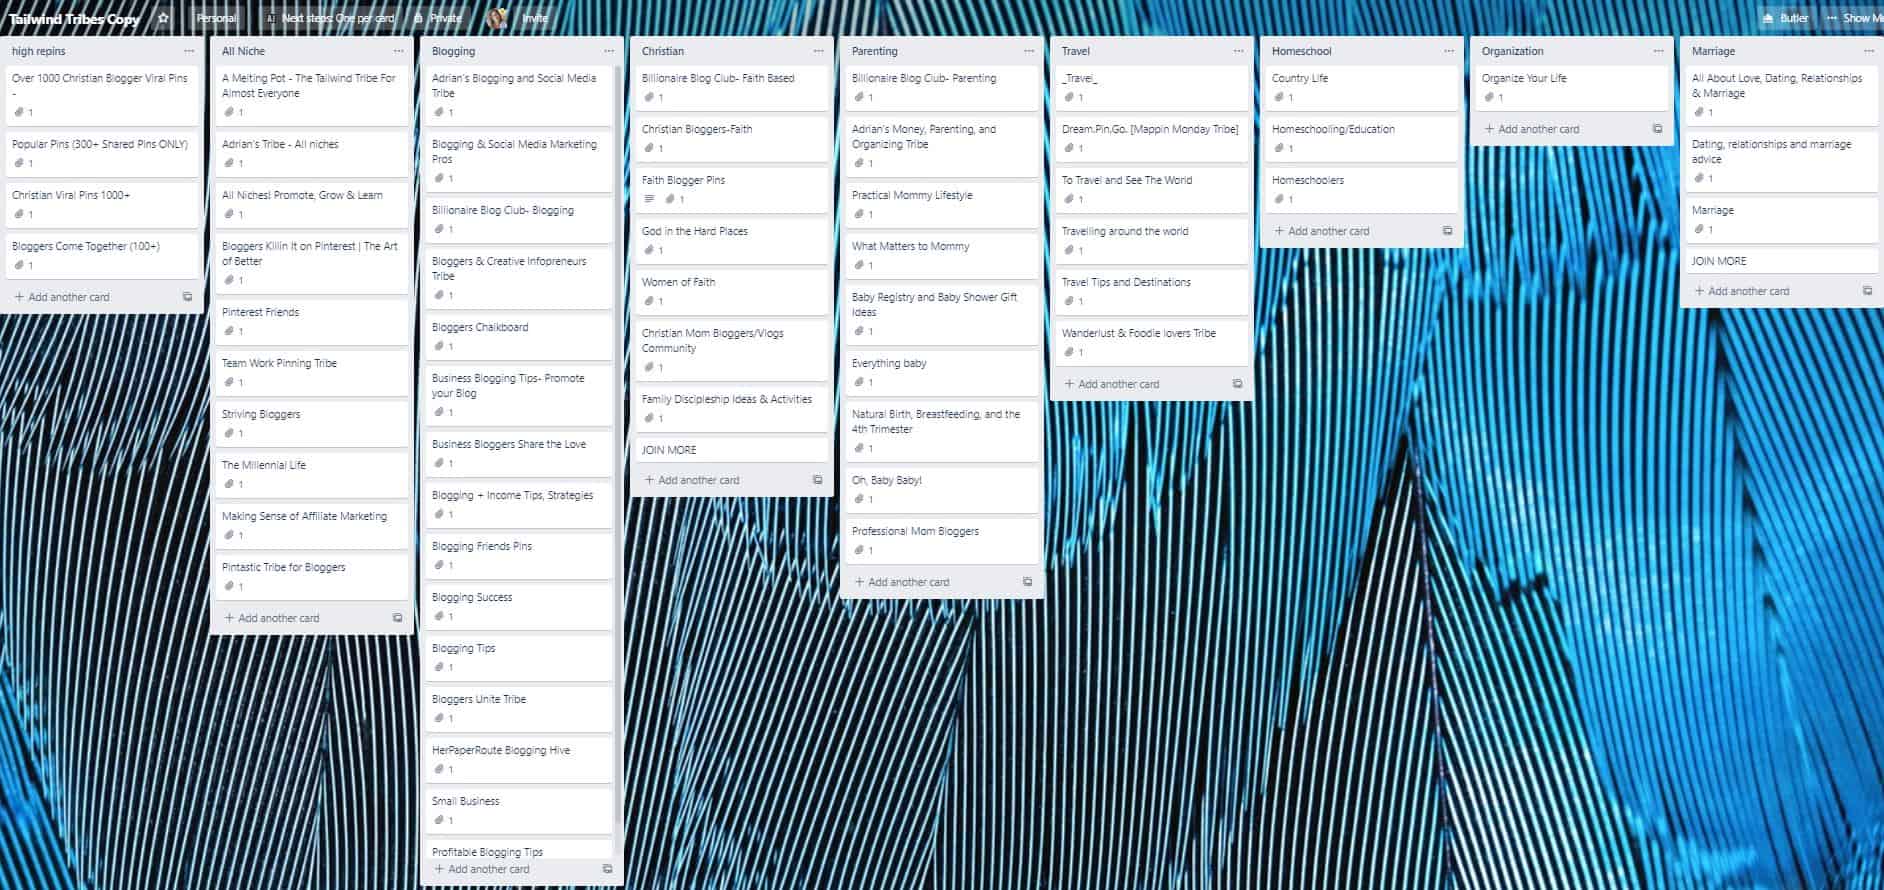
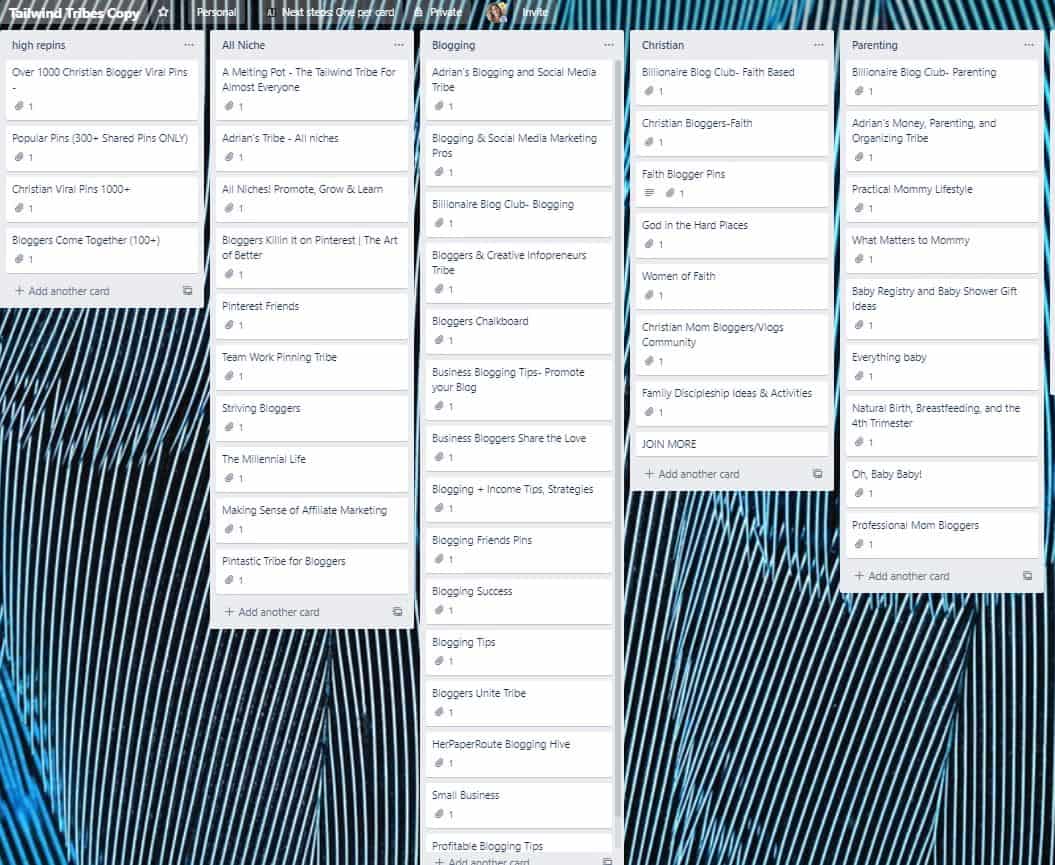
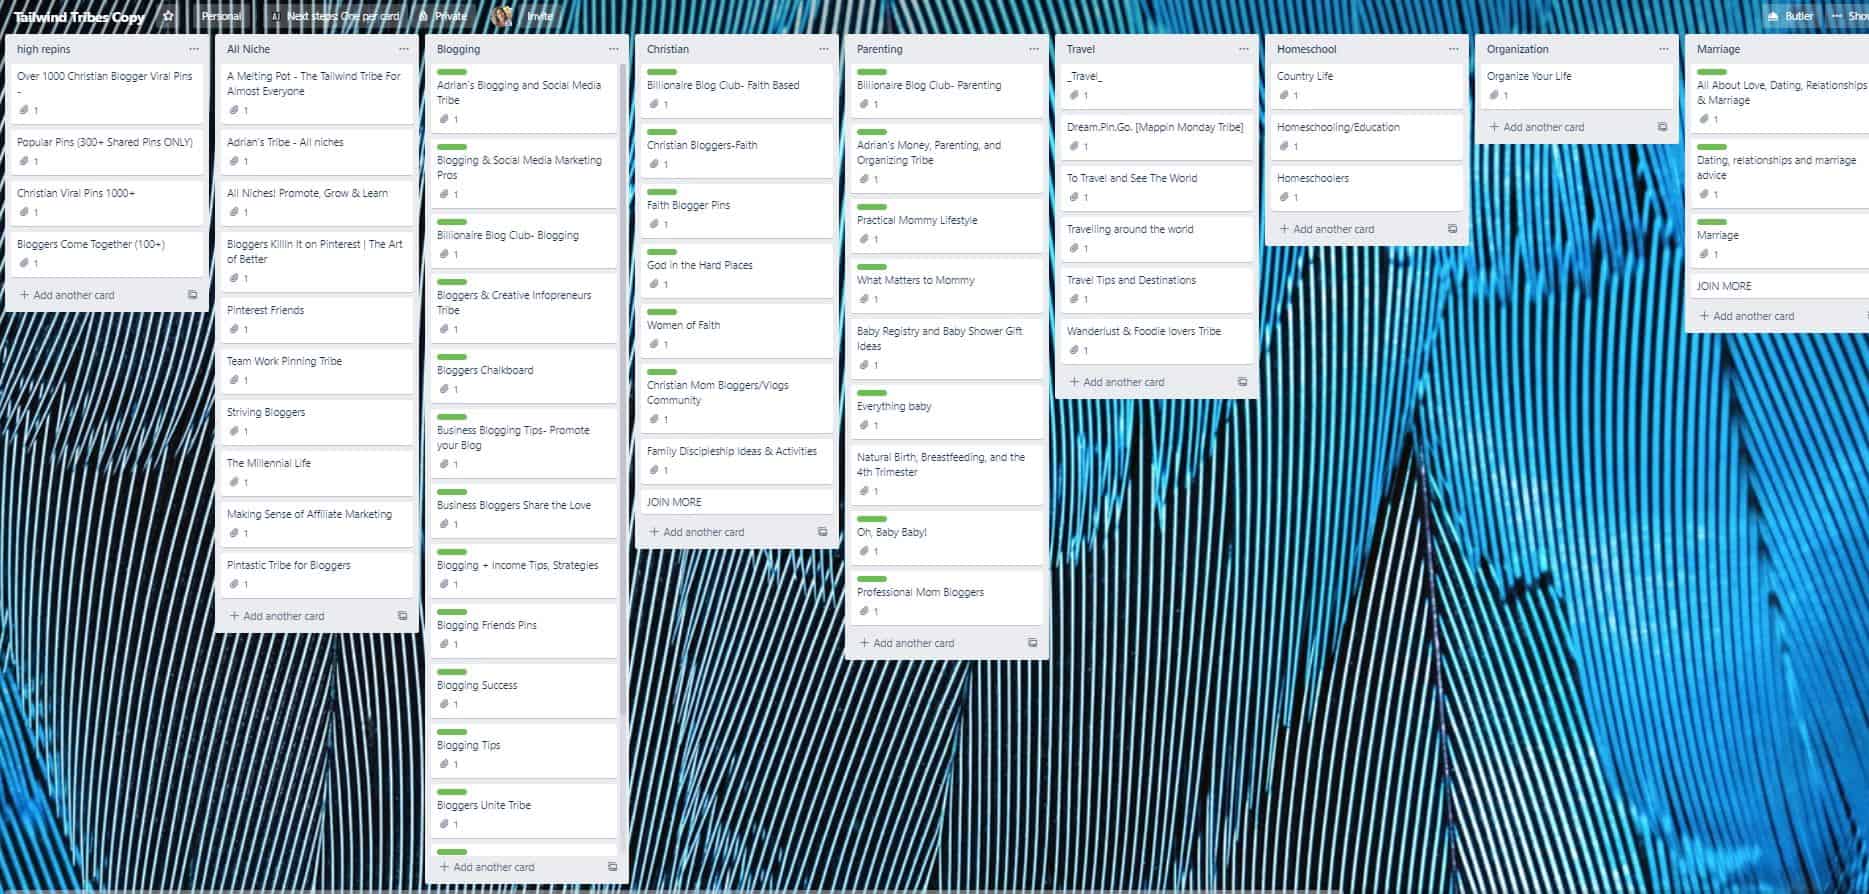
Step Two: Make Lists based on Categories
Depending on what you blog about you may only have one category. HOWEVER- if you have tribes with different rules, for example, viral pins; those need their own category.
I have my tribes broken down by the topics plus extra lists for tribes that allow pins on anything and those for specific repin counts.
Step Three: Fill in your boards
First, you want to name your boards after your tribes.
Then open up your card and paste the link to your Tribe in the card for easy access.
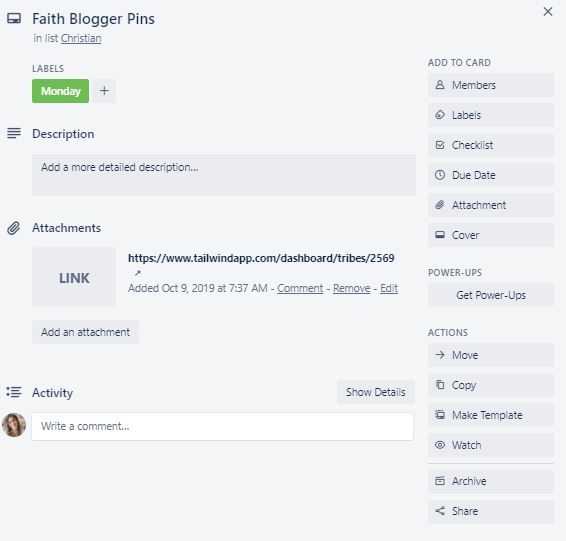
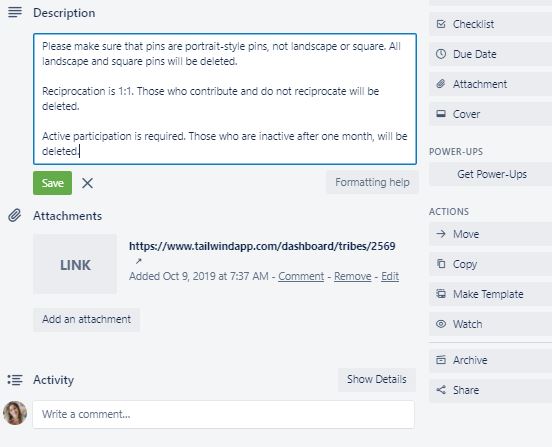
If your tribe has specific rules that you think you’ll need to be reminded of make sure to add these to the description in the card.
Step Four: Create your Labels
I like to create my labels to mark off which tribe I’ve shared to each day. So I my labels are for each day of the week.
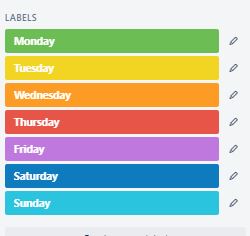
As a shortcut when you are using your labels in your cards, you can hover over your cards and press the number corresponding to each color.
Green= 1
Yellow= 2
Orange = 3
Red = 4
Purple = 5
Dark Blue = 6
Light Blue = 7
Check out more Trello shortcuts here.
Step Five: Get to Tribin’
As you share pins to your tribes, mark off which ones you shared to by labeling them.
Add sharing to Tribes to your weekly schedule!
As a part of my “20 Minute Tasks” in my blogging schedule, I make sure to share to tribes.
If you’d like a simplified blogging schedule that teaches you how to use recurring tasks to make sure you get everything done each week check out my new course:

Want to organize your blog with Trello?
And if you would like to organize more with Trello sign up for my FREE 5 Day Blog Organization Bootcamp!


Hey Elizabeth, I’m confused. What do you mean by “As you share pins to your tribes, mark off which ones you shared to by labeling them”? Are you creating a card for each pin that you share to the categories? What are we marking off? Can you clarify that?
Hey Wendy!
I’m marking off which tribes I’ve shared to. The tribes themselves tell you when you last shared a post to them with a warning so I don’t track that in Trello. But I want to only share to each tribe once a day so I mark which tribes I’ve shared to each day with labels in Trello.